Fearghus’ dark green wool cotehardie started December 11, 2019. Finished on December 26, 2019.
DETAILS:
– fully lined men’s cotehardie using the pattern posted here: Conjectural late 14th/15th century men’s cotehardie pattern with a collar
– Recycled Green wool lined in new red linen.
– Copper colored buttons down the center front to the waist and on the ends of the sleeves at the forearm
– Copper silk reinforcement at buttons and button holes on the center front and at the forearms.
FEARGHUS’ COTEHARDIE TODO:
- (done) Finalize pattern
- (done) Scavenge wool from dress.
- (done) Wash wool. Washed on cold/delicate. Tumble dry on low.
- (done) Cut out fashion fabric (green wool)
- (done) Cut out sleeves in fashion fabric.
- (done) Cut out collar interlining
- (done) Cut out lining fabric (red linen)
- (done) Cut out sleeves in lining.
- (done) Cut reinforcement strips for the front edges (2@2.5″ x 40″) [note: next time do these at 2@5″ x 40″ and fold these in half so I’m stitching down a folded edge instead of a raw edge]
- (done) Cut out reinforcement strips for the ends of the sleeves(4@2.5″x15″)
- (done) baste collar interlining to collar fashion fabric left and right.
- (done) baste back collar interlining into back pieces.
- (done) Sew fashion fabric front collar pieces to front panels (machine stitch at 1/2″) .
- (done) prick stitch collar seams open
- (done) Sew fashion fabric together at the side and back seams (machine stitch at 1/2″).
- (done) Mark shoulder seam at 1/2″ seam allowance.
- (done) Sew shoulder seams (hand sew backstitch at 1/2″ seam allowance). There’s a lot of tension on this seam and it’s just easier to backstitch this by hand to prevent the layers from slipping out of the correct alignment.
- (done) prick stitch all of the seams open.
- (done) Add reinforcement strips to the front edges (machine stitch at 1/2″) iron it, flip it to the inside. (I should have also prick stitched the seam allowances to the fashion fabric. I’ll do that next time)
- (didn’t do. see 12/15 below)
???, and attach (stitch by hand) to tack it down in a way that is not too visible on the outside of the garment (if I’d used interlining on the garment I would have herringboned this edge to the interlining). - (done) Add button holes to left side of the front opening from neck to waist level (machine made 1/8″ from edge, 3/4″ apart) and open them.
- (done) Add buttons to the other side (hole in fabric with awl, button held in place with linen string).
- (done) Add lining to the front collar.
- (done) baste the 1/2″ seam allowance at the center back collar down.
- (done) Add reinforcement strip to the ends of the sleeves (machine 1/2″)
- (done) Close the sleeves
- (done) prick stitch the sleeve seams open and the seam allowance at the reinforcement strips.
- (done) prick stitch the seam allowance of the facing to the fashion fabric.
- (done) Add button holes to the sleeves (on the
bottomtop edge) and open button holes. - (done) Add buttons to the end of the sleeves (to the
topbottom edge) - (done) Line the sleeves
- (done) Attach completed sleeves to the body of the garment (machine stitch at 1/2″)
- (done) prick stitch sleeve seams down on the body side
- (done) Cut the hem of the lining 2.5 inches shorter than the outer fabric.
- (done) Attach the lining the other outer fabric at the hem (1/2″ machine stitch)
- (done) prick stitch the seam allowance of the hem to the outer fabric.
- (done) Add lining into the body of the garment. Fold front edge back so the lining comes to the edge of the buttonholes. Fold seam allowances in. Slip stitch in place.
- (done) Iron the hem to press in a crease.
COSTS
Green wool scavenged from Green and Gold swiss gown
IL019 FIRECRACKER RED Softened – 100% Linen 4 yds $39.04 (purchased October 2019)
Tawney silk taffeta from Puresilks for reinforcement strips along the front edge and sleeves $6.70 (originally it was $20/yd I used four strips 2.5 inches wide by 40 inches long)
52 8 mm true ball buttons with metal shank, set of 100 (wholesale lots) Antique copper $24 (purchased from Etsy November 2019 $46.79 for 100 buttons)
White 4C22 scrap to interline the collar (scrap)

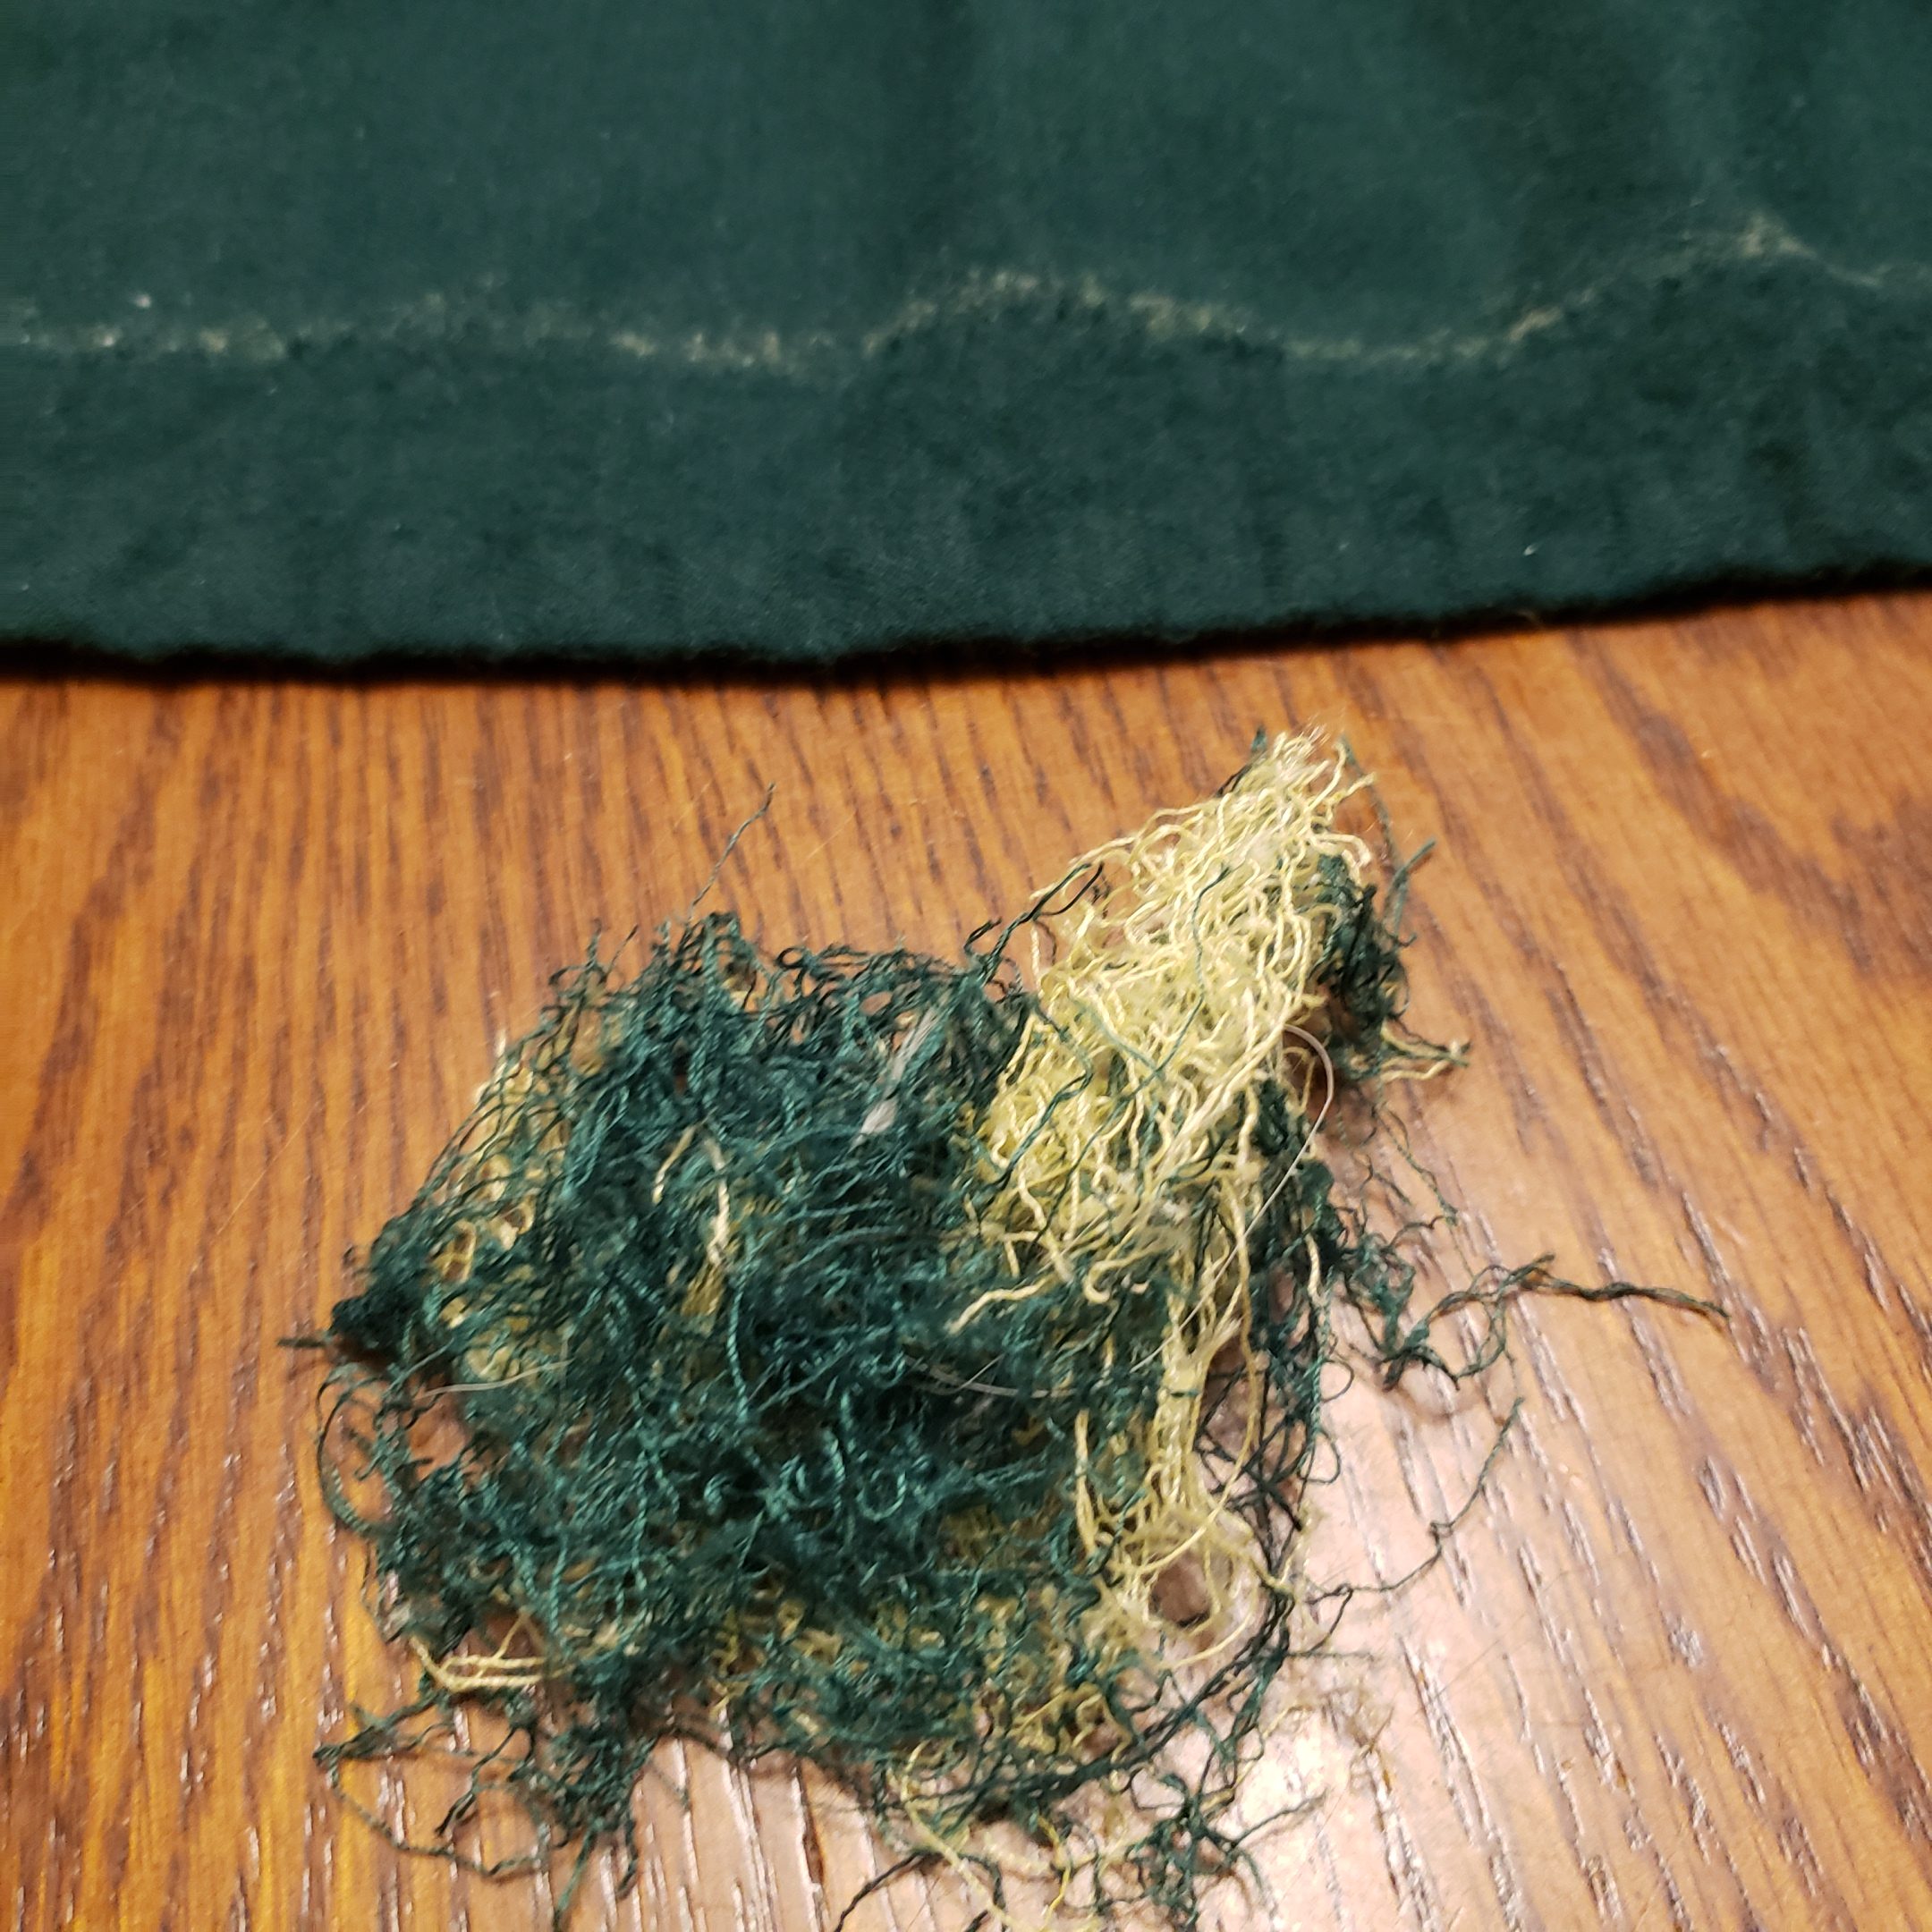
Cleaning the wool. Threads pulled from the fabric from seam ripping 
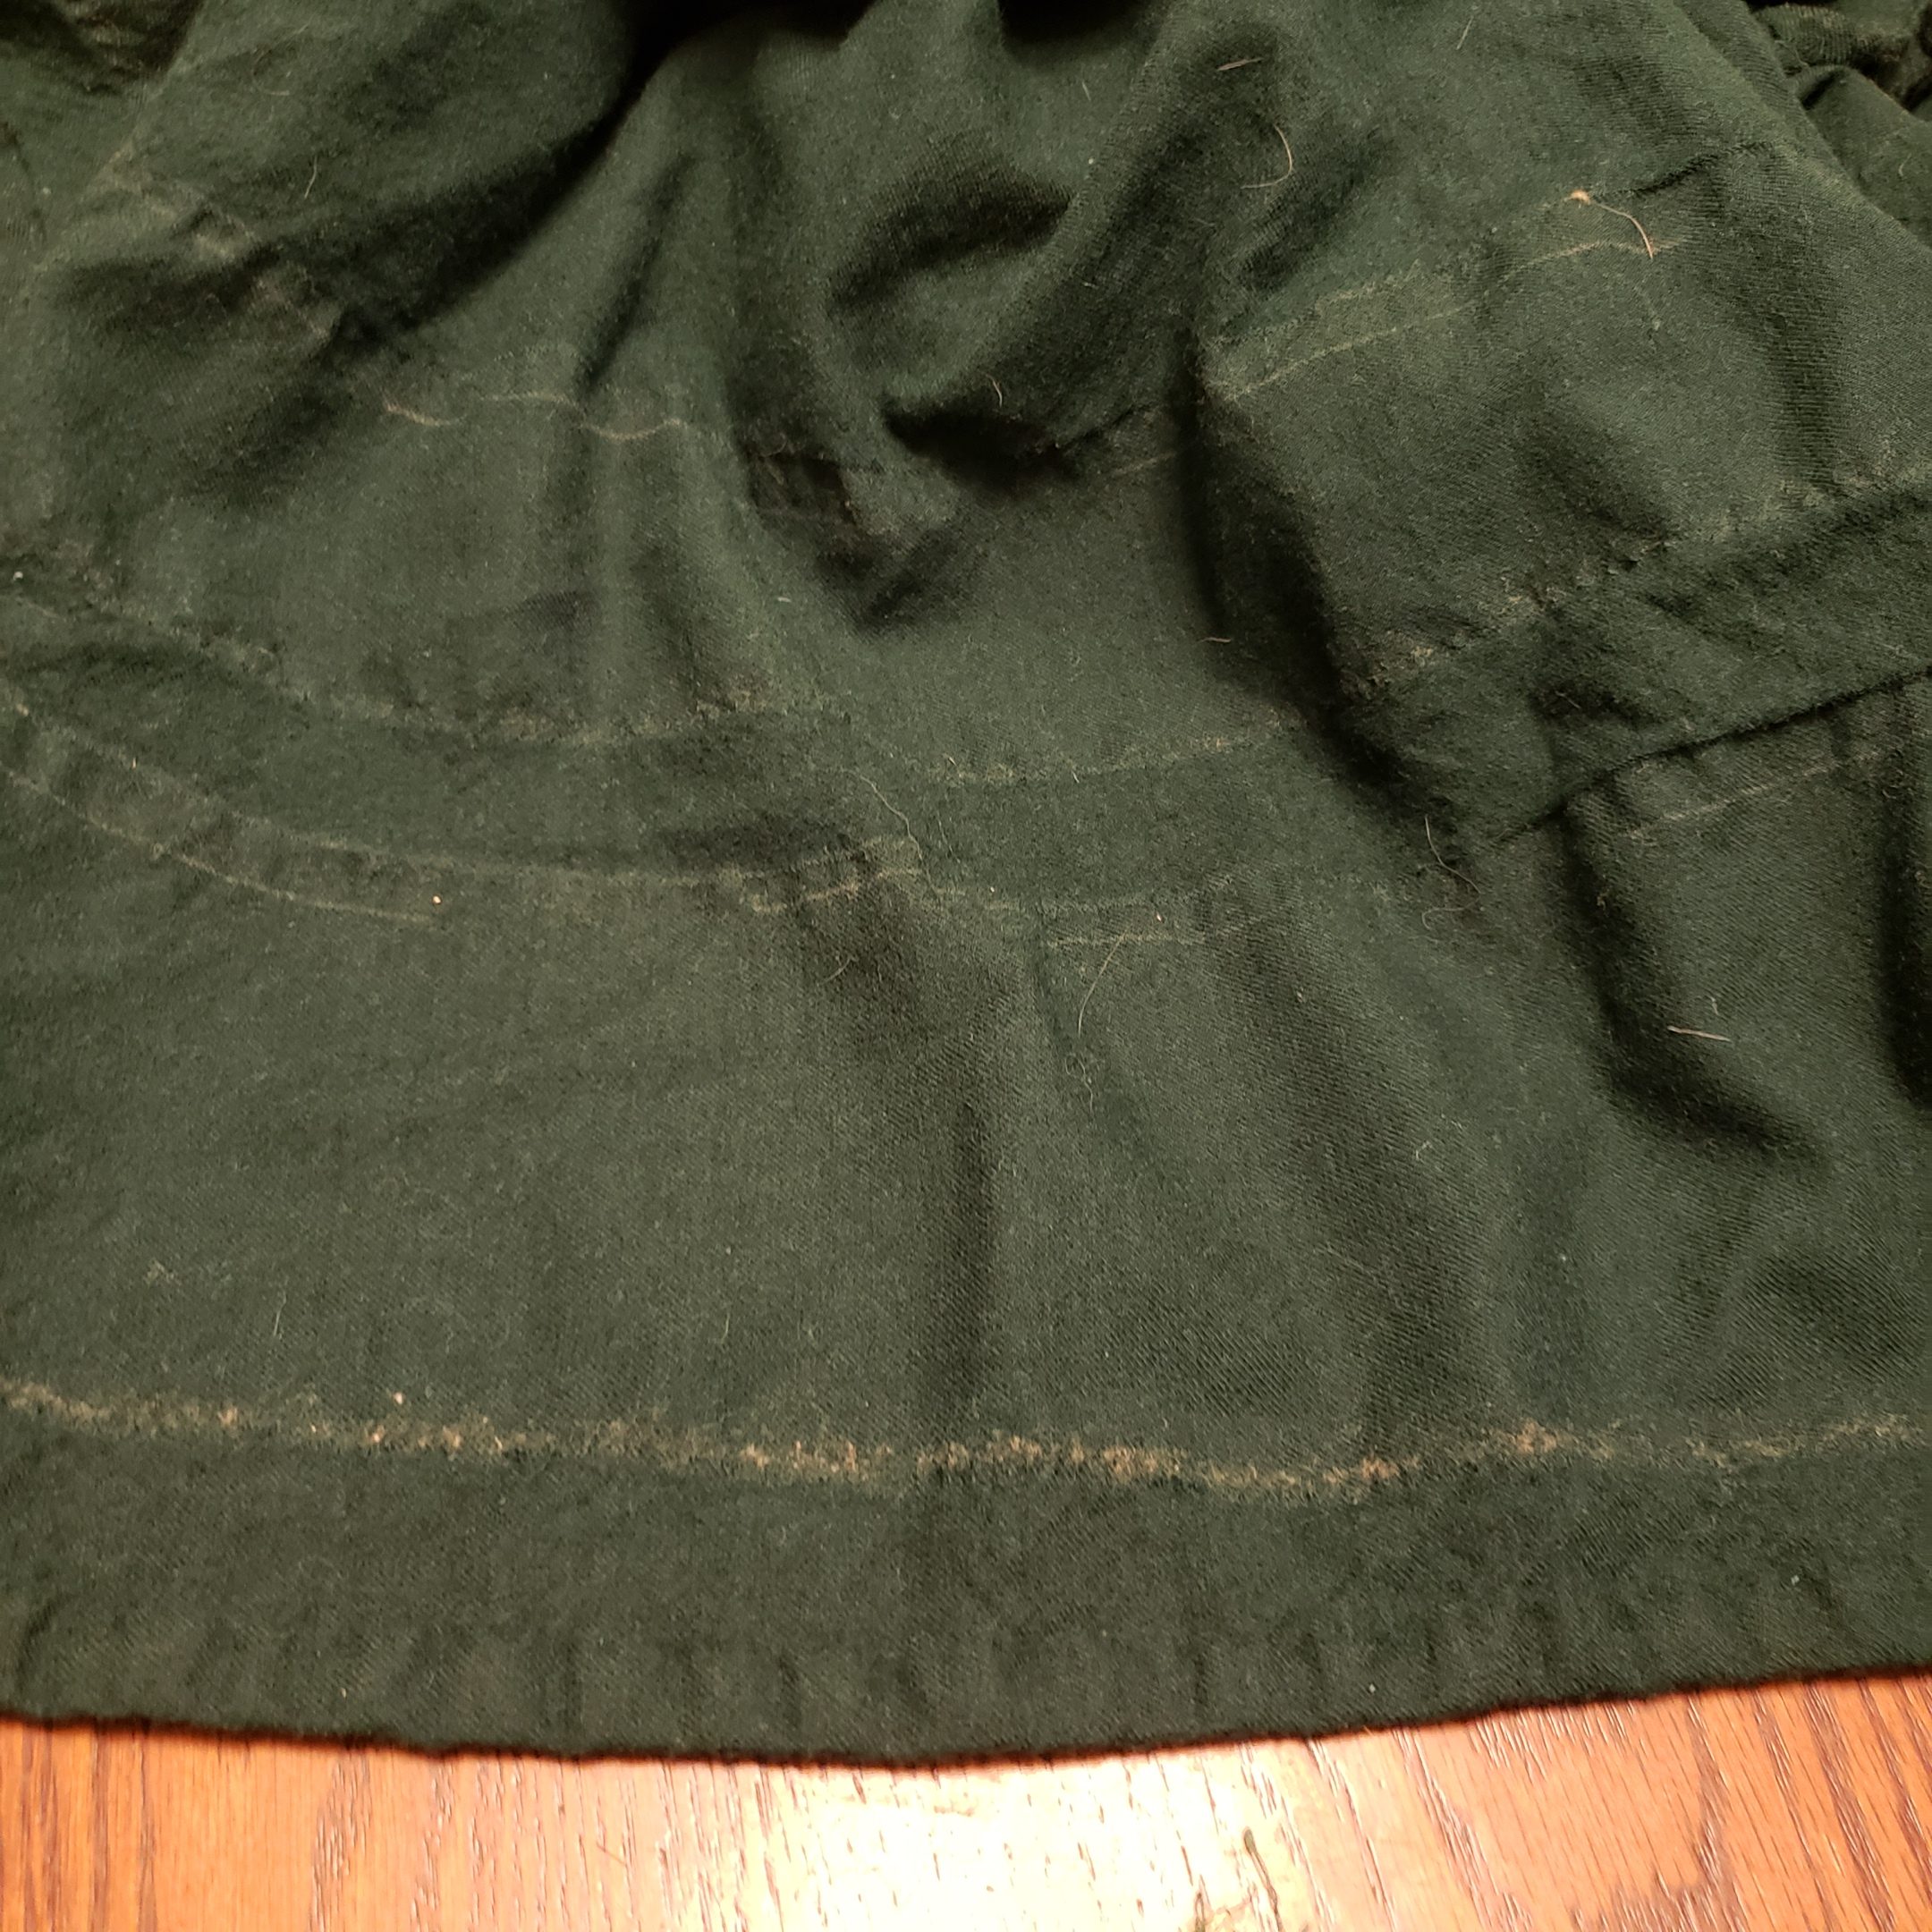
Cleaning the wool. The shadow of guards past
LEARNINGS (AKA TRIALS AND TRIBULATIONS)
12/11/2019
For 12th night Uther and Vera will be stepping up as King and Queen of the West. They’ve asked folks to wear green and gold cotehardies/cotte to walk in with them during Coronation. In preparation for this I purchased some dusty green linen from fabrics-store.com for my husband’s cotehardie. It is okay.. but the dusty green is kind of muted. While discussing this with my husband he pointed at my green and gold swiss gown which was sitting out and said that was a much better shade of green and he’d prefer a green closer to that.
A while ago I lent my Green and Gold swiss gown to someone. When they returned it I found that they had washed it and the green wool had bled onto the gold guards. I was disappointed but since I hadn’t worn the dress in a while I figured it wasn’t a huge loss. I planned that eventually I would pull the guards off and add new one, but since I never wear the dress that project has never been prioritized.
When this cotehardie/cotte project came up I pulled out the green/gold gown to see if I could scavenge enough fabric from it to make a women’s cotte. Sadly there just isn’t quite enough. Luckily the men’s cotehardie takes slightly less fabric.
So I scavenged this luscious dark green wool from the Green and Gold swiss gown and will use that to make a new cotehardie for my husband. We decided we wanted it to be lined in a shocking color and my husband chose a screaming red. The firecracker red linen was bought new from fabric-store.com for this project.
A few weeks ago my husband pulled the dress a part. Tonight I picked all of the seam-ripped thread off of the fabric. The guards have definitely added a wear pattern on the face of the fabric. I’ll have to arrange the cotehardie pieces carefully to hide the wear marks as best as possible. After I picked off all of the threads I washed the wool on cold and then dried it on low heat. The fabric cleaned up fairly nice but I still see some marks on what was the face of the fabric in lines for the tops of the guards. I believe when I made the German gown I laid the guards out using a metallic sharpie.
Lesson learned. Even if you know the marks will be hidden, use something where the marks can be removed.
Finally I laid out my pattern pieces on the wool and cut them out. I ended up having to piece together one of the sleeves. I believe I’ll be able to tuck this extra seam along the back of one of the arms.
In handling the wool I worried that the collar wasn’t going to have enough body on its own. I decided to interline the collar only with a single piece of heavier linen. At this time I’m not planning to pad stitch it.
I didn’t get as far as I wanted to tonight.. I was definitely thrown off track by having to wash/dry the fabric. More soon.

12/12/2019
Originally I’d been calling this the “green and red cotehardie”. I didn’t love the name. It was in fact fairly boring. In searching for alternatives to the word “green” I tried out “verdant” and “vert” and then stumbled on a note on the Internet that reminded me that “verdigris” is a green substance that is created by using copper. Since I’d already planned to use copper buttons on this cotehardie I decided it amuses me to refer to this as the “Copper and Verdigris Cotehardie”. I do think the green wool is a bit darker and bit less “teal” than actual verdigris.. but I’m willing to squint and pretend it’s the same.
This also helped me to decide which color of silk to use as the button/button hole reinforcement. I had been planning to use the red silk but as soon as I named this the “Copper and Verdigris Cotehardie” it became terribly convenient that I already have Tawney silk taffeta in my fabric stash which reads as copper colored.
Today I was able to cut out the lining and the reinforcement strips. At this point everything is cut out and ready for assembly.
12/12/2019
I basted the interlining into the collar, attached the collar to the front panels, prick stitched the seams open.
12/14/2019
I sewed up the center back and side seams by machine. Then I sewed up the shoulder seams backstitched by hand and prick stitched those open. I’m now half way done prick stitching the center back and side seams.
Honestly the seams get all sexy once they’re prick stitched down. I’m not even being punny or making a euphemism.
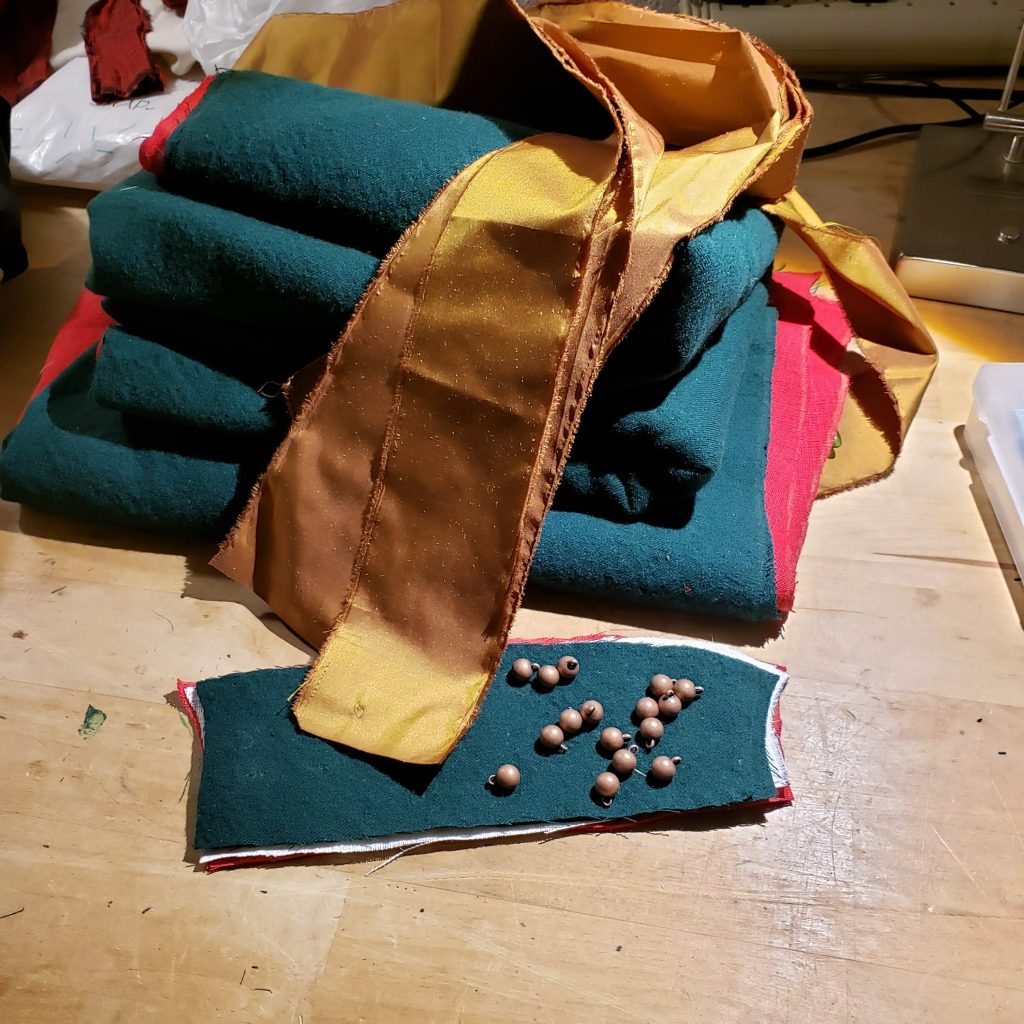
All the pieces cut out 
Back collar interlining stitched in 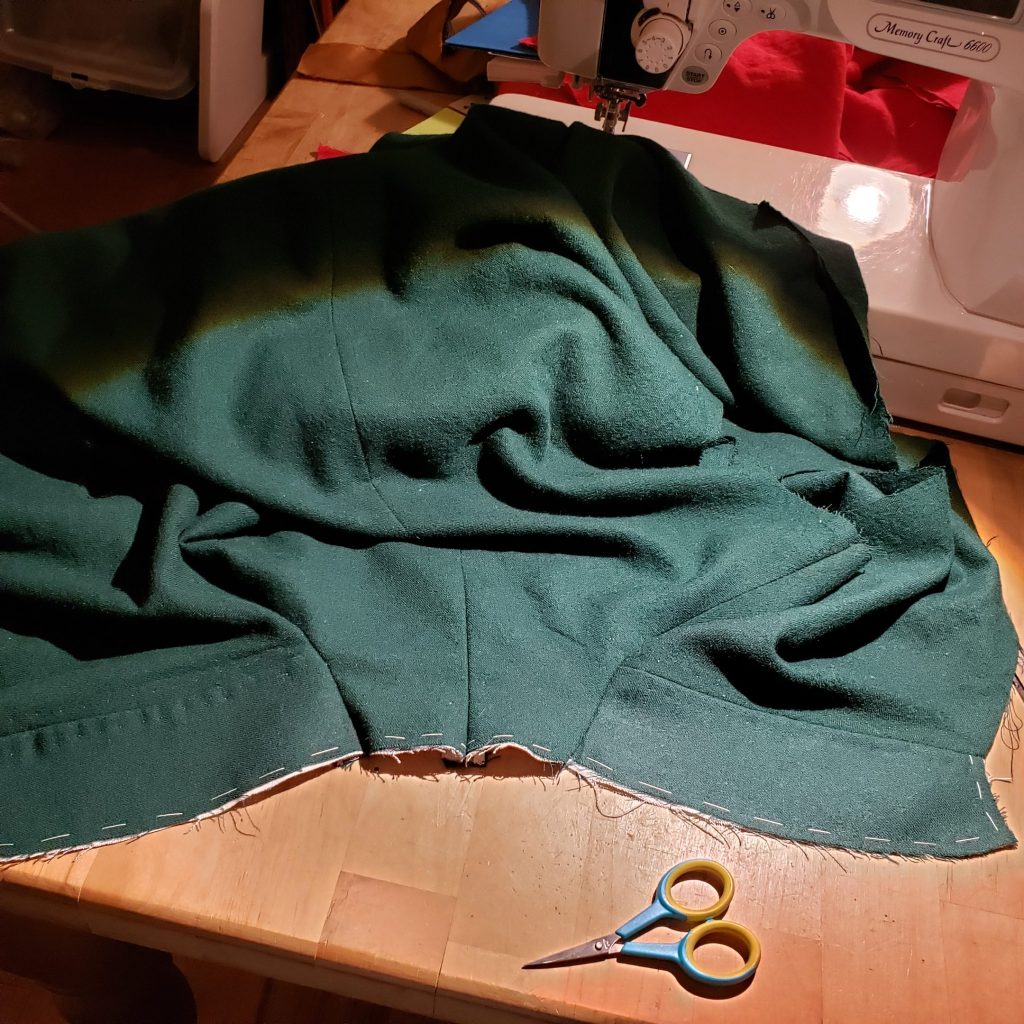
Shoulder seams complete, ready to prick stitch 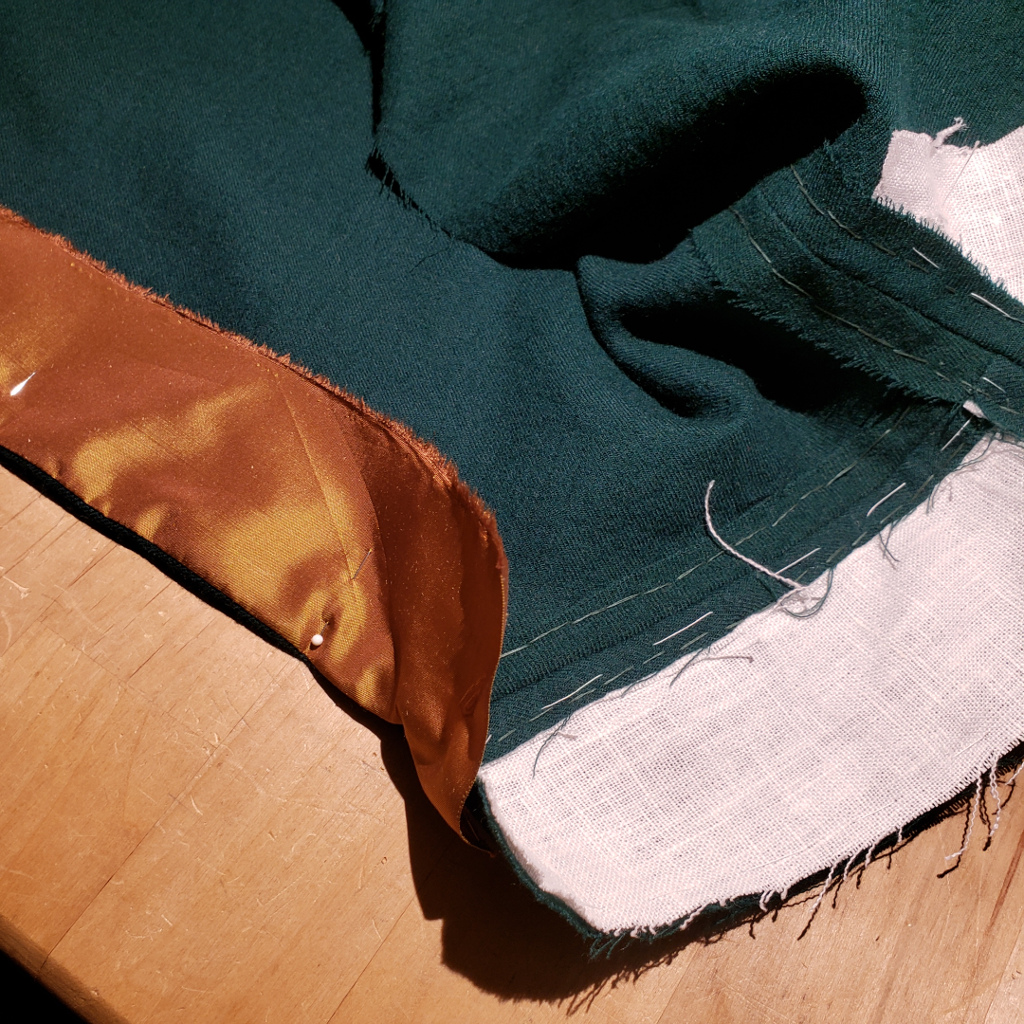
Adding facing to front opeing
12/15/2019
I finished the prick stitching stitched the seams, added the front facing, added the button holes to the left-hand side of the front opening.
In retrospect I wish I’d left the front facing as a folded over strip like I did on the grey and green cotehardie. I ran into issue trying to stitch this one down. Without the fold I’m trying to stitch a raw edge down and it just wants to ravel. I’m going to try to leave that edge just loose on the final garment and see how that works. Next time I’ll use a wider strip and fold it in half or have interlining to stitch it to where the size of the stitch doesn’t matter. Anyway, I did baste the raw edge down. I’ll pull that out when I add the lining in place.
For the buttons I’m using an awl to pierce the wool and silk facing and then shoving the button shank through the fabric (with the button head on the wool side) and running a linen string through the metal shank. Initially I just ran the string through the shanks in a line. About 1/4 of the way through adding the buttons I decided to add a half hitch knot on either side of the shank (much the way I would knot pearls). I like the way that works better and will use that in future.
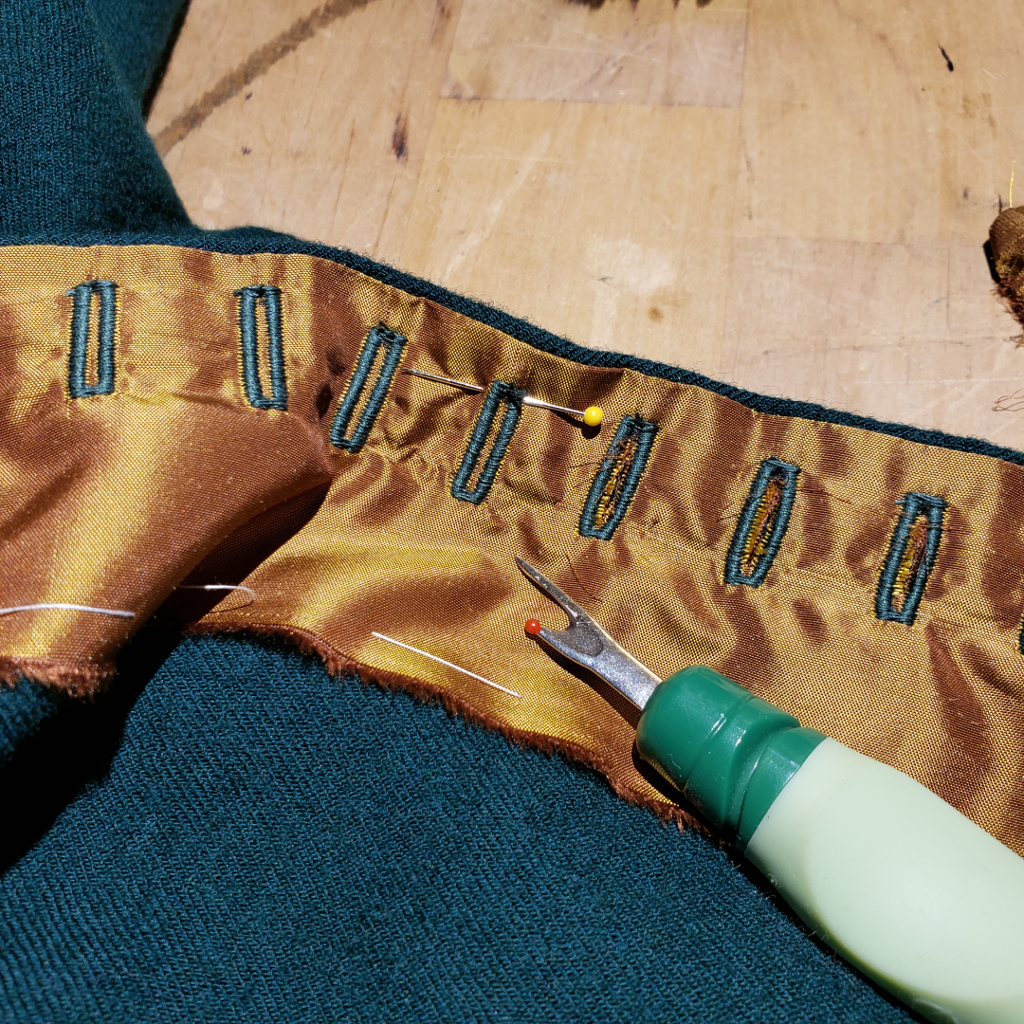
Opening machine made button holes with a seam ripper. Pin as a seam ripper stopper. 
Button holes done, on to the buttons 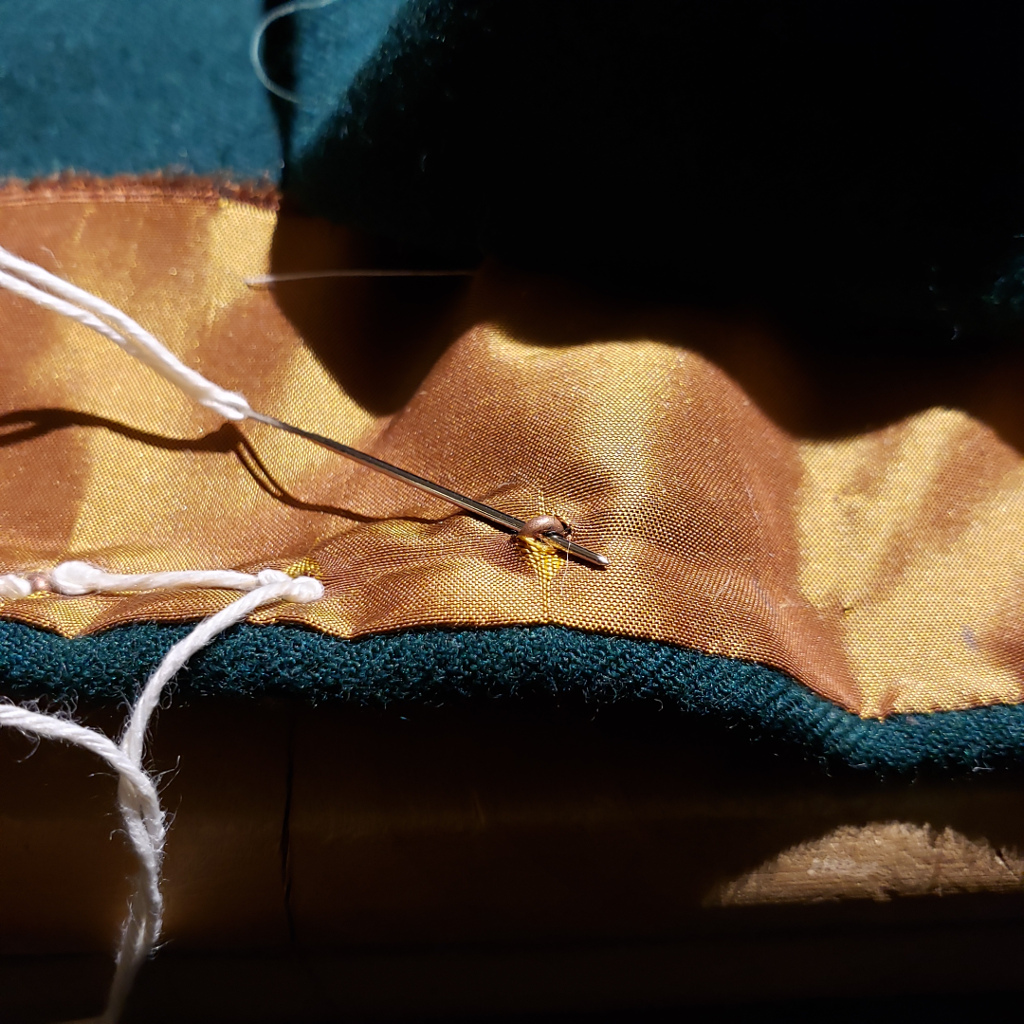
Clever method for button attachment 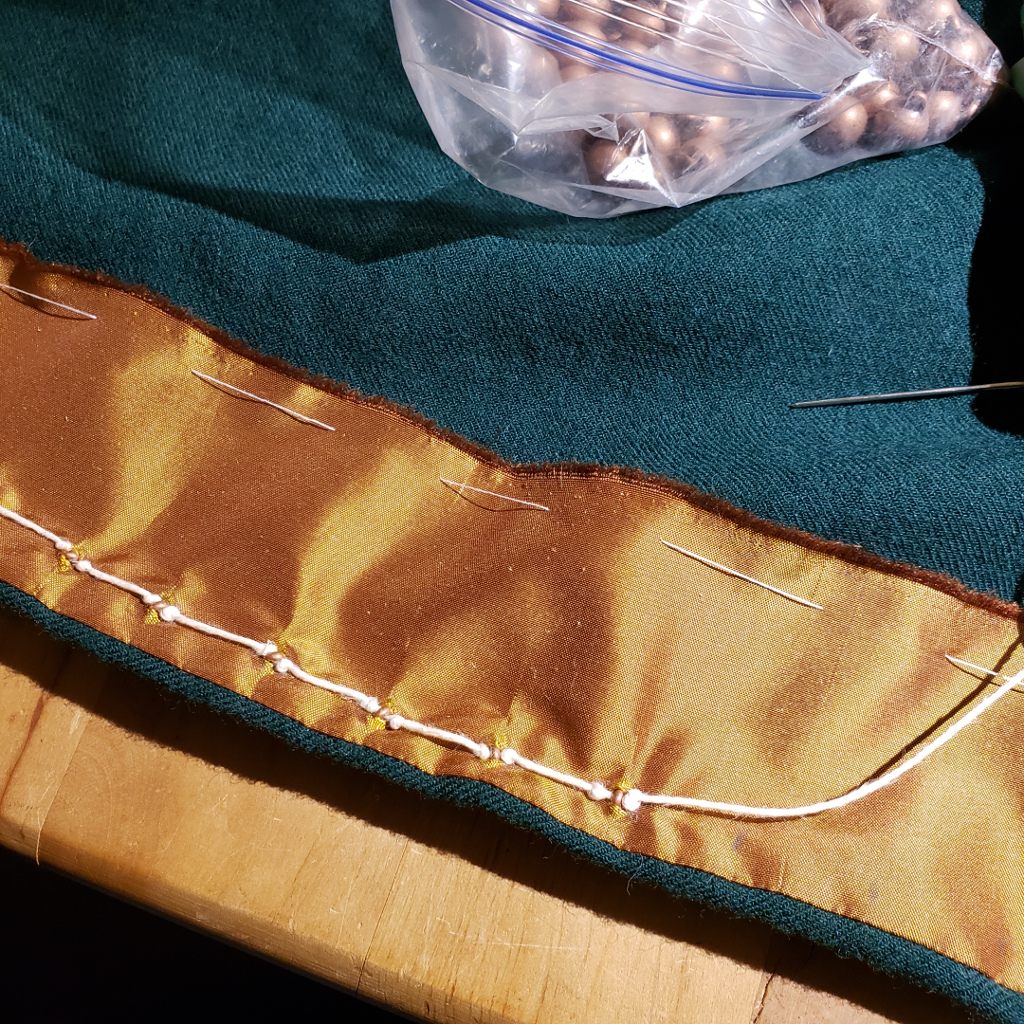
Adding half hitches to each side of each button shank. 
Half finished buttons 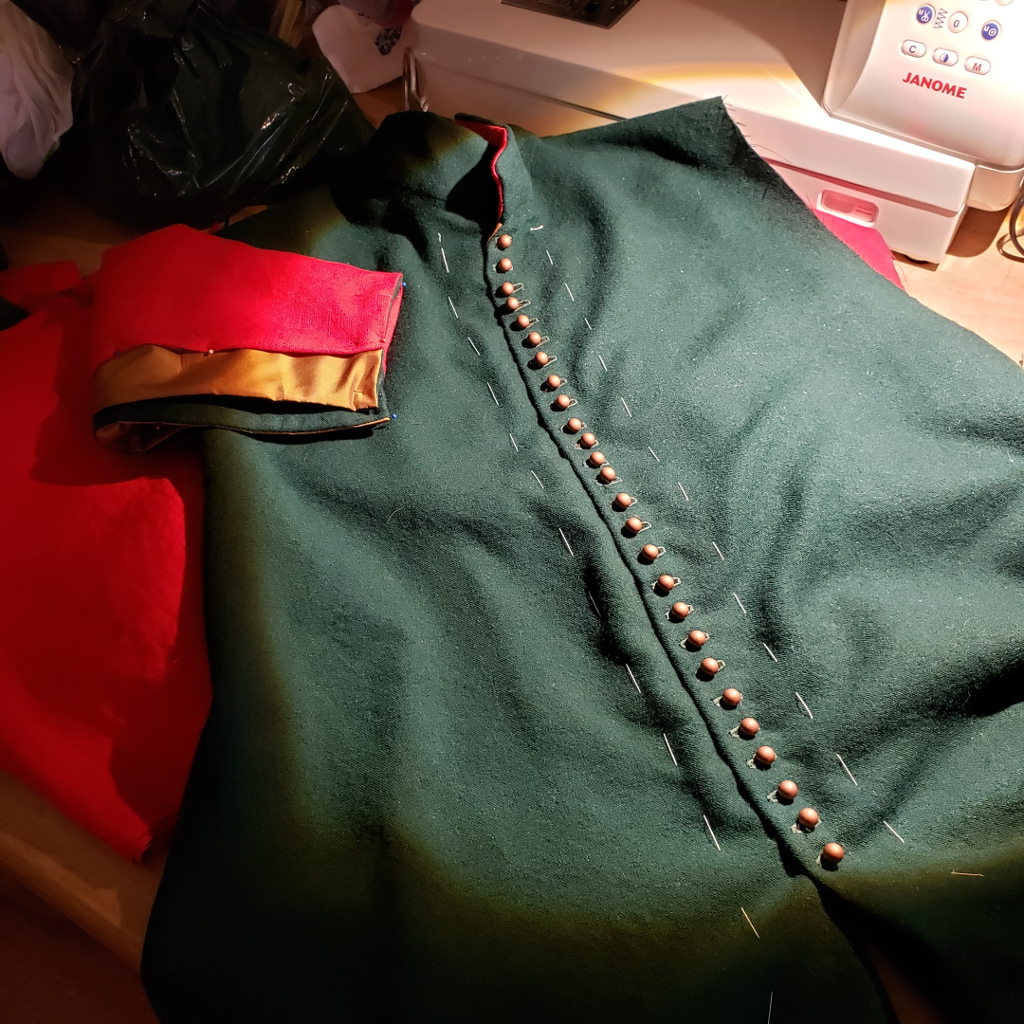
Finished front buttons
12/16/2019
I finished adding the buttons to the center front opening. There are 26 buttons down the front.
On to sleeves. I stitched the silk reinforcement to both sides of both sleeves (1/2″ machine stitch) and then stitched the upper arms closed on one of them (1/2″ machine stitch to the elbow). When I went to stitch the other arm closed I was reminded that I had never prick stitched the sleeve piecing down. So I did that and then stitched the second upper arm closed. I prick stitched the seams down on one of the arms (the arm with the piecing) before bed time. I’m still finding prick stitching damned sexy.
12/17/2019
I prick stitched the ends of the sleeves to make sure the interlining can lie flat. In this case I worked it from the face of the garment through the green wool, green wool seam allowance, and the silk facing seam allowance. This leaves the actual silk facing loose but holds the seam allowances down and hides the back side of the prick stitch in between the layers. In retrospect I probably should have done this along the front edge of the garment before I added the buttons/button holes. Ah well, live and learn. After I’d prick stitched this edge I went back and basted the raw edge of the facing to the inside of the garment. This will make it a bit easier to add the button holes/buttons.
I really should have added buttons/button holes before closing the sleeves. I got ahead of myself. *sigh*
So okay fine. I realized what happened. While staring at the facings I realized I didn’t know exactly where to add the button holes/button (offset from the ends of the sleeve) and decided to go ahead with the next part where I add the lining to a sleeve. After stitching down half of the lining and then pinning the whole thing in place I realized that I’m an utter ninny and should definitely have the button/button holes in place BEFORE I finish lining the sleeves. Meh. So okay. I will unpin the ends of the sleeves, add buttons/button holes and THEN go back to lining the sleeves.
It wasn’t a wasted night.. but it would have gone better if I’d stayed on task and finished the tasks in the right order.
I did realize that the easy way to finish off the lining from the ends of the sleeves is to fold the seam allowance of the wool and the interlining to end up inside of the interlining. I will go ahead and stitch that in place before adding the buttons/button holes.

Elbow on the right sleeve that is pieced 
Prick stitching down the seam allowance of the facing on the sleeve 
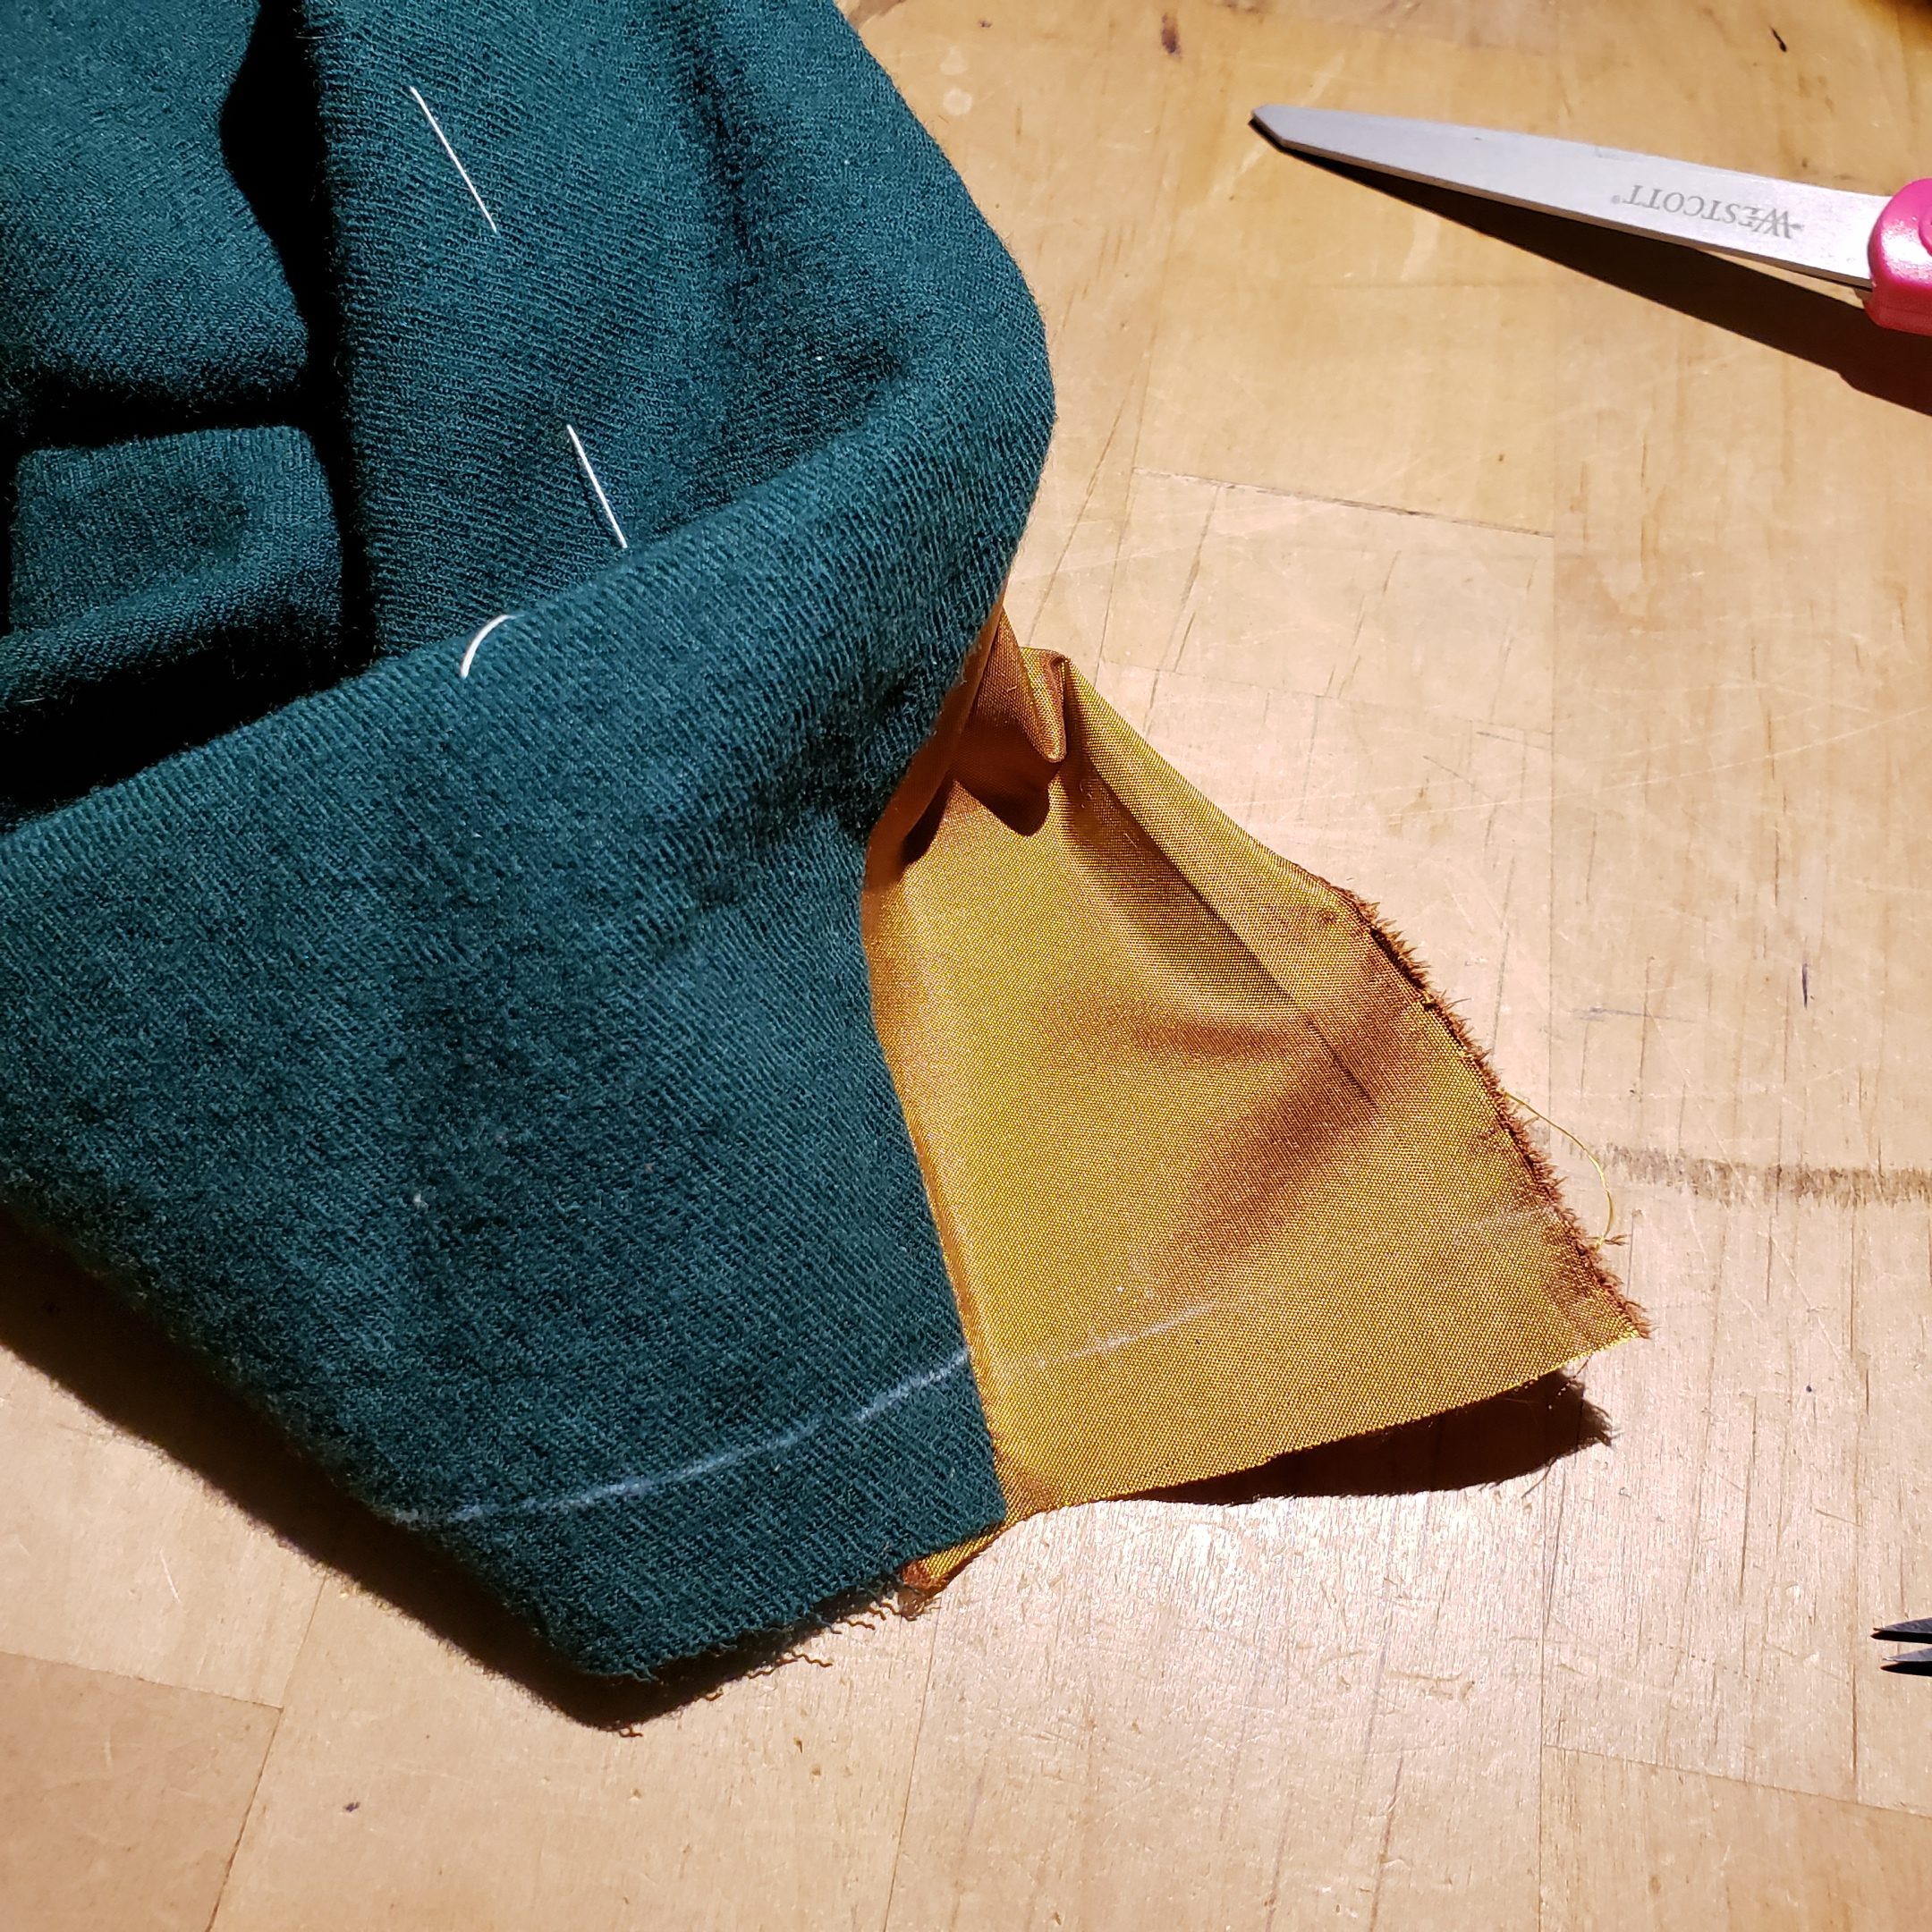
Trim sleeve facing to the ends of the sleeve 
Marking sleeve allowance (1/2″) on the sleeve end 
Open facing and mark seam allowance (1/2″) on facing 
Fold facing and sleeve seam allowance to be hidden inside of the facing.


12/18/2019
I sewed the facing edges closed at the end of the sleeves, added button holes (and opened them) on both sleeves and added buttons to one sleeve. Each sleeve has 13 buttons. I was right, the buttons/button holes would have been easier to add before I closed the sleeves.
I resumed adding the lining on the sleeve that was a quarter finished. I’m about half way done with it.
12/19/2019
I added the last of the button to the second sleeve. The cotehardie has a total of 52 buttons. I finished stitching the lining into the sleeve that I had previously started. I attached that sleeve to the body. I started adding the lining to the other sleeve. I’ve finished the upper arm and have pinned the forearm.
12/20/2019
Looking at the sleeve attached to the garment, they look “wrong” to my eye. Putting the button on the bottom edge of the forearm makes the sleeve easier to button.. but I think the opening at the cuff points the wrong way. 😐 Meh. No changing it now. Well okay, that’s not entirely true. I could swap the sleeves around right for left since the pattern is the same for both BUT that would put the sleeve piecing on the front of the arm instead of the back. Double meh. I’ll have my husband try on the half finished garment and see what we think.
I was right, it was wrong, I couldn’t stand it. I remove the attached sleeve and will put it on the other site. This will put the piecing seam on the front of the arm.. but that bugs me less than having the cuff open the wrong way. Meh.
Anyway I used the machine to attach the sleeves.

12/21/2019
I prick stitched the seam allowance of the sleeves into the body of the garment and started attaching the lining. First I added the back panels, then I added the front panels. 3/4 of pinned into place.
I trimmed about 2.5″ from the bottom of each lining panel. This will roll the hem towards the inside and prevent the lining from showing at the hem. In working with it I noticed that this linen stretches like crazy.
12/22/2019
Slip stitching lining into place. The collar edge is completed on all four lining pieces. One of the armseyes is complete, the other is at 80% complete.
The garment is suddenly very heavy. The addition of 52 buttons and a lining has made this a substantial garment.
12/25/2019
Slip stitching. I also ended up prick stitching the hem seam allowance down to the wool.
12/26/2019
Finished slip stitching the last of the lining. Removed all of the basting threads. Ironed the hem. Done is beautiful.
I plan to add more pictures after the first wearing.
POST MORTEM
– The next time I do a facing strip it should be doubled over to make it easy to stitch down the folded edge.
– Somehow I missed the final fitting for Fearghus’ sleeves. They fit and he can wear the garment but the forearm is too loose and he can slip his hand in/out of the sleeve without having to mess with the buttons. I’ll need to fix the sleeve pattern before making him another of this style (assuming I make him another of this style).
– A single layer of wool was very light. Wool+buttons was starting to feel substantial. Wool+buttons+lining is hefty verging on heavy.
– I adore this method of attaching buttons. I’ll do that again.
BINGE LIST
6 Underground (Netflix) A- “What if we did an action movie.. and made it EXTRA extra…like ridiculously extra and then laugh at ourselves but stop kind of just short of breaking the third wall.” In one of the car crashes a coffee cart sort of randomly explodes and shoots fire. The most Michael Bay-est movie to ever be Michael Bay-ed.
“Ooooo you’re gonna be a pirate.” I laughed.. a lot.. Over the top action movie. Lots of blood, lots of violence, laugh out loud funny at places. In fact I’m not ashamed to admit I’ve already watched it twice to pick up on some of the bits I missed on first watching.
Iron Sky: The Coming Race (Netflix) B- (It’s a definite B movie) Moon Nazis, space aliens, space aliens that ARE Nazis, dinosaurs, a red shirt, a love story, crazy Russians, Nokia, The Holy Church of Apple (thou shalt not jailbreak). It is bad.. and then it tried to be bad and circle back around to being good.. I don’t think it made it to good. Lots of loose ends.. and weird.
Living with yourself (Netflix) A man visits a mysterious spa which promises to help you get “the best you”. An accident leaves him to cope with the best version of himself and the ramifications it has on his life, career and marriage. I think this is a metaphor for depression and suicide maybe an allegory. I’m not sure.
Iron Sky (Amazon) I tried to watch it. It was not invested and turned it off half way through.
Firefly (Hulu) I needed something background-y that I love and can sew to.
Lost in Space (Netflix) Season 2 has been released. Interesting but still possible to hand sew with this in the background.


2 thoughts on “Copper and Verdigris Cotehardie”