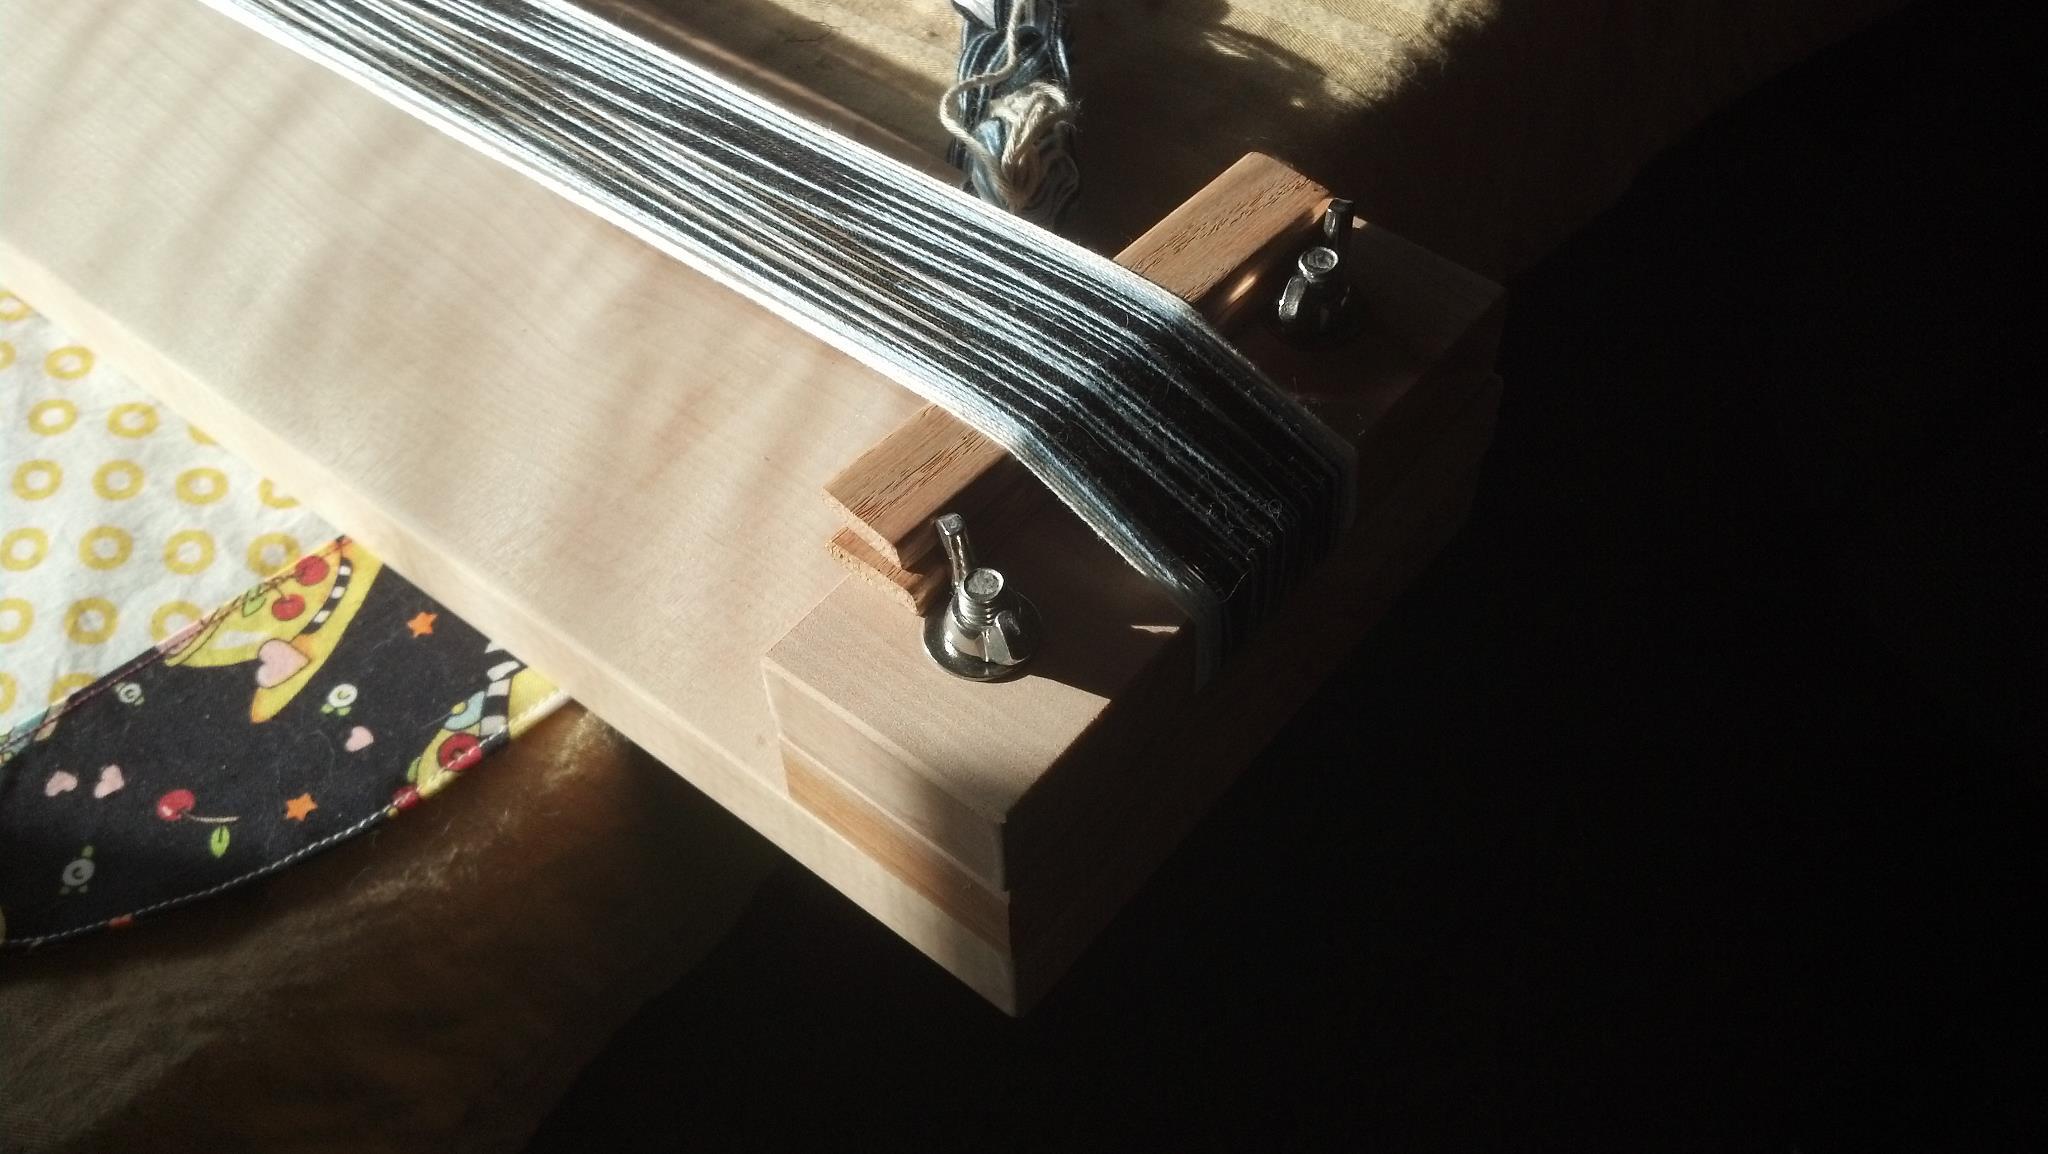
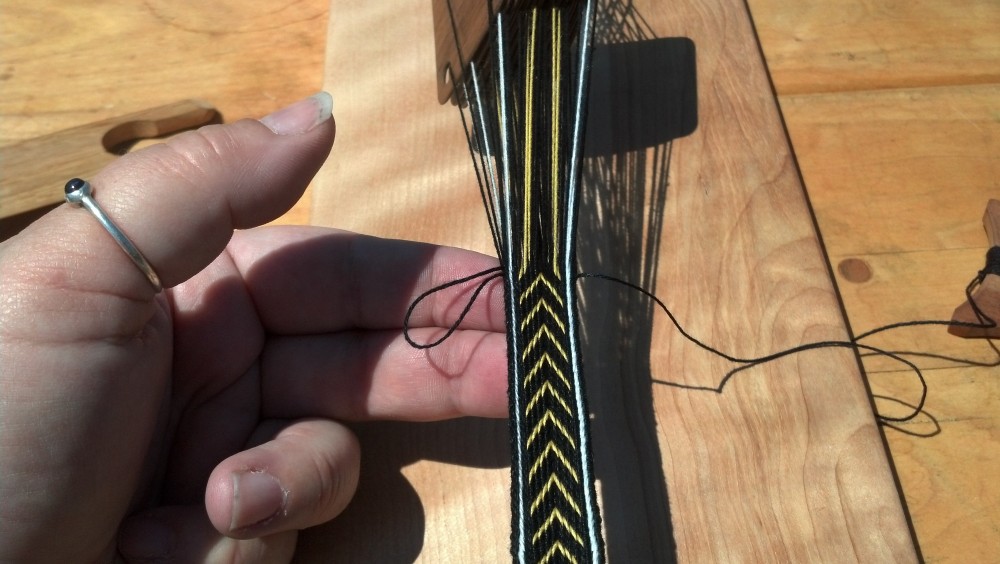
Over the weekend I started weaving the trim for Fearghus’ knighting tunic. I couldn’t just choose an “easy” trim(4f4b), no, I had to choose something that I’d never woven before in a challenging pattern. Now I’m crossing my fingers and hoping that I have enough time to finish it.
The trim pattern is based on a picture from the book “The Willful Pursuit of Complexity”(p. 62) using the “Icelandic Vacant-Hole Technique” and “Warp Float Brocade” by Teresa Taylor.
28 pattern cards and 6 border cards, 3-thread missed-hole “Icelandic” method with long floats. I’ll see about posting a picture of the weaving in progress once I finish a single repeat. The warp is size 10 cotton crochet thread and the weft is white size 8 crochet thread. A bigger, fluffier weft emphasizes the textural empty space between the two white warp threads.
On the pattern to the right, blocks indicated with a yellow thread were threaded in white and the blocks indicated with a white thread were actually left empty (I find it easier to =see= the yellow on the pattern so I drew it up in yellow instead of white). The cards are threaded as empty, white, green, white. In addition to the pattern shown I also threaded 3 border cards on each side (for a total of 6 border cards). The border cards were threaded with 4 white, 4 green and then 4 white. The border cards are turned continuously in one direction until the twist build up is too much (about half the pattern) then they are reversed.
 S vs Z on the diagram indicates the thread direction. See the image to the left for a visual (Thanks to Phiala from whom I lifted the image).
The weaving is setup like this:
[Weaver] [finished band] [active weft] [cards][the rest of the warp]
On the pattern, blocks shaded grey are turned “away” from the weaver. That is, the hole that is on the top, closest to the weaver is turned so that the hole is still on the top, but is furthest from the weaver.
Blocks which are shaded white are turned “towards” the weaver. That is, the hole that is on the top, closest to the weaver is turned so that the hole is still near the weaver, but is on the bottom.
The threading is such that turning all of the cards “away” from the weaver will result in arrows pointing in the direction in which the cards were turned (that is, pointing away from the weaver).
Progress Notes:
– I want to make enough trim for the wrists (36″) + ~neck (36″) + hem (100″). (After weaving a few repeats I see that this is probably not possible in the time alotted so I will opt to either leave off the hem trim or do a much simpler weave for the hem.)
– Three yards of thread measured on a warping board and then wound on the loom on Thursday/Friday. Three yards should be enough for the neck/wrist trims plus loom waste. (4/25)
– Last night(4/29) I finished 1 repeat of the trim for Fearghus’ knighting tunic. One repeat measures in at 8″ long.. and the first time through it took me about 6 hours (I expect to get faster as I get more experience with it) and I can spot two mistakes (which I didn’t unweave). It’s lovely.. even in this first sample I learned a lot about weaving using this method. More importantly, Fearghus likes it.
– Tuesday night (4/30) I finished a second repeat of the trim. It took just about 6 hours. This was interrupted by dinner and about 30 minutes of unweaving when I made a two different mistakes.
– Sunday night (5/12) I finished the fourth repeat of the trim. It does feel like it’s getting faster.. but it’s still taking quite a while for each repeat. That said, I feel like I’m making fewer mistakes.
– Tuesday night (5/14) I finished the fifth repeat of the trim. That puts me 50% done.
– Thursday night (6/13) I finished the thread on the loom. I’m hoping that’s enough trim. I should know soon.
– This morning (6/20) I cut the trim off the loom. I count 8 repeats.
Special thanks to Swift Moon Photography for the really excellent pictures of me weaving from the Civil Unrest event this past Saturday(4/27).
Final measurements used for knighting tunic.
Body, two pieces at: 36″ wide x 52″ long. Shoulders nipped in 6.5″x18″
Sleeve, two at: 26″ at armseye, 16″ at wrist x 25″
Gores, two rectangles cut into triangles at: 36″ x 15″
Gussets, two squares: 8.5″x8/5″
Originally I wanted to try a new pattern for this tunic. I made a sample of the pattern in a different fabric.. and after it was tweaked I started making the final tunic in the white linen I’d set aside for this project. I was totally on schedule to finish the knighting tunic in plenty of time..until the Sunday the week before the knighting when the parade of tragedies started.
Tragedy 1:
I finally had the tunic together enough for Fearghus try it on Sunday night. It looks like somewhere in the fitting/fiddling with the new pattern I flubbed it up. For some reason on the new white tunic the under arm just came out HUGE. Huge to the point of unwearable (and in the short-term unfixable). Unfortunately we finally figured this out at 9pm on Sunday. So after messing with it for a while to see if there was a quick fix I had to admit defeat and we agreed that early on Monday morning we’d run get some new fabric and I’d make a whole new tunic based on our tried-and-true tunic pattern and go from there. So instead of being 75% done on Monday and having just a little bit more to do.. instead I was back to 0% done and spent the rest of the week rushing to try to catch up.
Tragedy 2:
On Thursday night I had the new tunic all together and I started trying to add the trim. I had finished a bit over 8 repeats of the trim before I ran out of string on the loom. After futzing with it for a while I finally figured out that I had just about 3-4 inches too little trim to be able to do both the neck and the sleeves. There was just no way I was going to be able to stretch the trim to fit the needed length.. and there was no way I’d be able to finish the tunic AND weave even more trim to make up the shortfall before he needed to wear the tunic on Saturday morning. I finally decided it was more important to have the trim on the neck opening.. and I spent about an hour pinning and fussing with the straight trim at the neck to get it to fit the rounded neck opening. After about an hour I sat back to look at the trim and realized it looked like crap on the neck. I was nearly in tears.
Tragedy 3:
 The trim is tablet woven using Icelandic Missed Hole technique with long floats.. long floats meaning long strings sticking up at the surface of the trim.. long strings that really looked like crap when I tried to bend the trim to get it to fit the curve of the neck line. After having a minor freak out I sat down to consider my options. Finally I decided the only option would be to use the trim on only the sleeves and to do “something different” at the neck. Then I remembered the “Olympic ring” embroidery from Oseberg finds and I believe has also been found at Birka (image to the right). I decided this would be simple and elegant and perfect for the neckline.
Tragedy 4:
Unfortunately I had to work all day on Friday..and there’s no way I could do the embroidery and work at the same time. My mother came to the rescue.. she volunteered to sew the circles at the neck. This totally saved my bacon. The rings were sized to fit a US quarter executed in two-strands of green cotton size 10 crochet thread with a white tie-down.
Finally, Friday night, during the Vigil I and my mother were able to finish the last of the tunic hem and decorative stitches. Sewing the night before the deadline sucks. I got done sewing at 3am. The Vigil completed at 4am. The tunic looks gorgeous and looks great on him.. but next time I’ll try harder to be done LONG before the deadline.
Source:
Malan, Linda and Leet, Linda, The Willful Pursuit of Complexity: self published. Print.
– – Instructions and background about the Icelandic missed-hole technique. To get a copy Contact Linda Malan lindajoemalan@frontier.com She sells the books. You would need to check with her about shipping.The cost of the book is $30 + $whatever the cost is for priority mail. Then you send a check to: Linda Malan @ 636 Daley St. #7, Edmonds, WA 98020.


That's a lovely pattern! I'm sure it'll look super-spiffy when you're done. Too bad you can't work on it during your commute… (or can you?)
I honestly don't know.. even on the little loom it's a little bit more bulky than something I'd want to drag too/from work everyday. At the moment I'm reserving commute time for all of the hand sewing I need to do.. but if time becomes short I may look to weave on the bus.
so awesome. thanks for sharing.
Is there any way you could link us to the threading pattern? Or how to read the pattern to thread the holes…I don’t understand it 🙁
The cards are threaded white, green, white, empty. Threaded S on the left and Z on the right. They start off in a staggered pattern such that turning all cards together away from the weaver will show as an arrow pointing away from the weaver (the first two turns showing at the bottom of the pattern).
Thank you so much! That makes so much sense now 😀