
[Late to the conversation? See all of the tunic sew-along from the beginning]
Step 5:
Trim your hem.
If I were working on a full length tunic or a dress I’d have the recipient try it on with the shoes they plan to wear and a belt/appron if they plan to wear that and then mark where it hits the floor all around. This will be different front to back and it’s important to account for that if this will be to the ground. This would give me a mark at where I want the fold to hit the ground. I’d add my hem allowance (usually 1-2 inches) below that and cut the dress off there.
In this case the tunic is above knee length and close enough is close enough so I trim the hem to a rounded shape at the same general length all around.

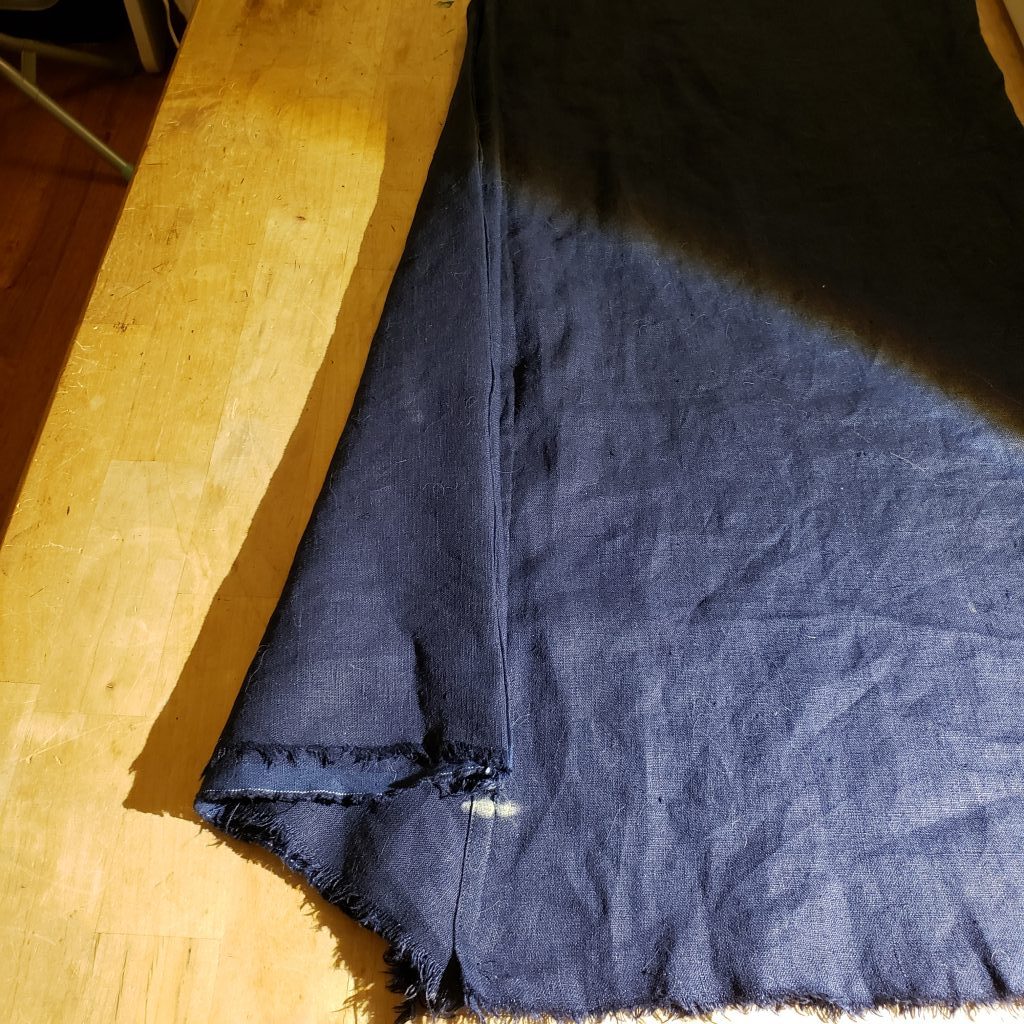


1. Fold your tunic shoulder to shoulder carefully match it up all the way down. Match up the two center gore seams and the four side seams as closely as you can get it.
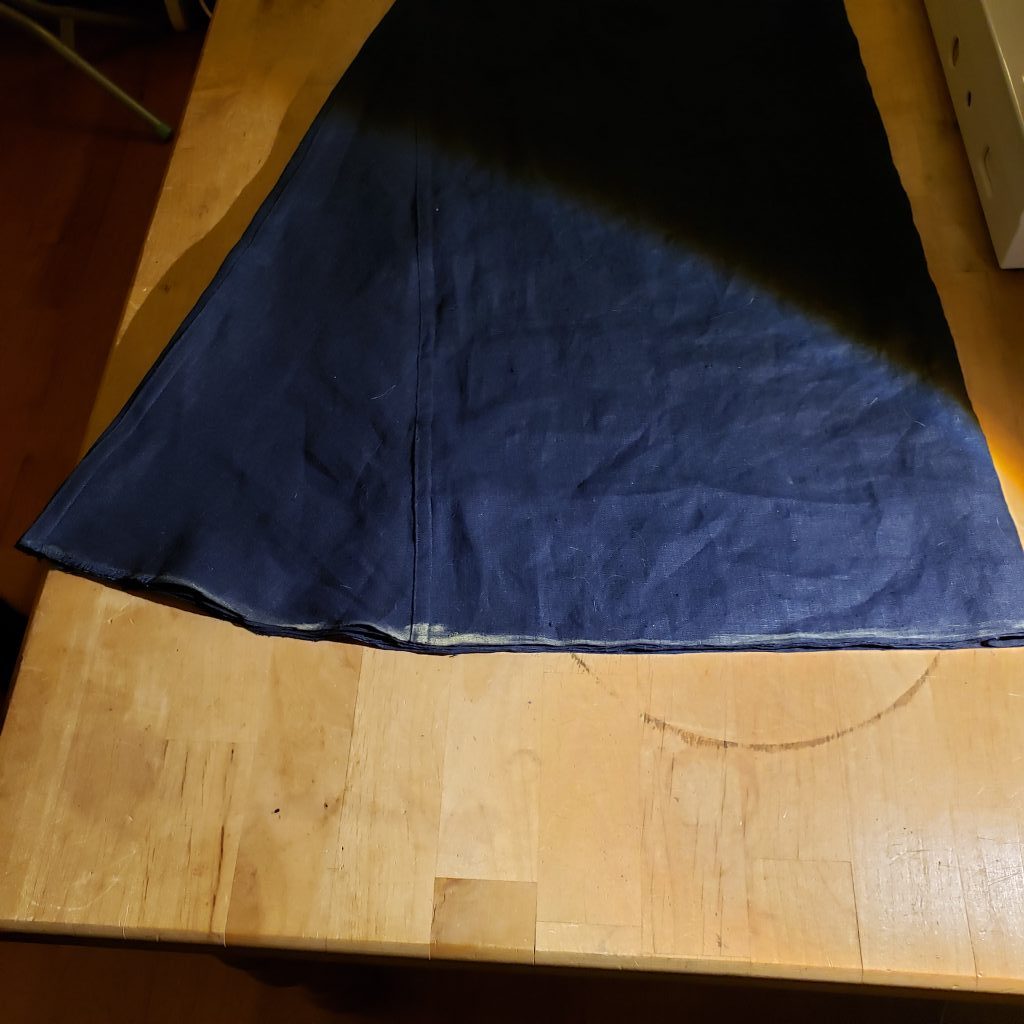
2. Place a finger on the point of the gores and then fold the center gore seams over to meet the side seams. Place a mark there.
3. Keeping your finger at the point of the gores, fold the center gore seams to about half way across the gores. Place a mark there.
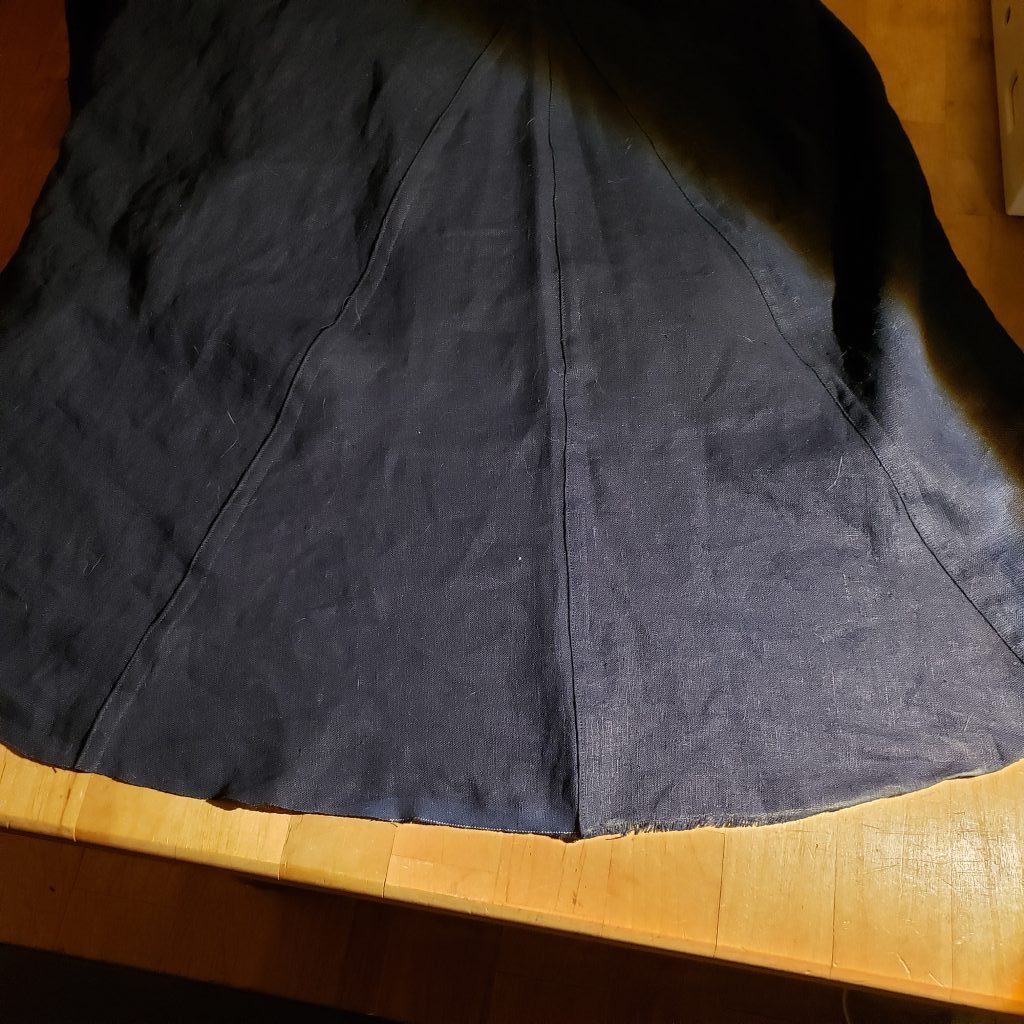
4. Draw in this arc connecting the bottom outside corner of the gores with the two marks you’ve made.
5. Continue this line across the front of the tunic.
6. Cut on this line.
Next: Finish your tunic


1 thought on “Tunic Sew Along: Trim your hem”