
Coenwulf’s cotehardie started December 26, 2019. Finished on December 31, 2019.
Details:
– fully lined men’s cotehardie using the pattern posted here: Conjectural late 14th/15th century men’s cotehardie pattern with a collar
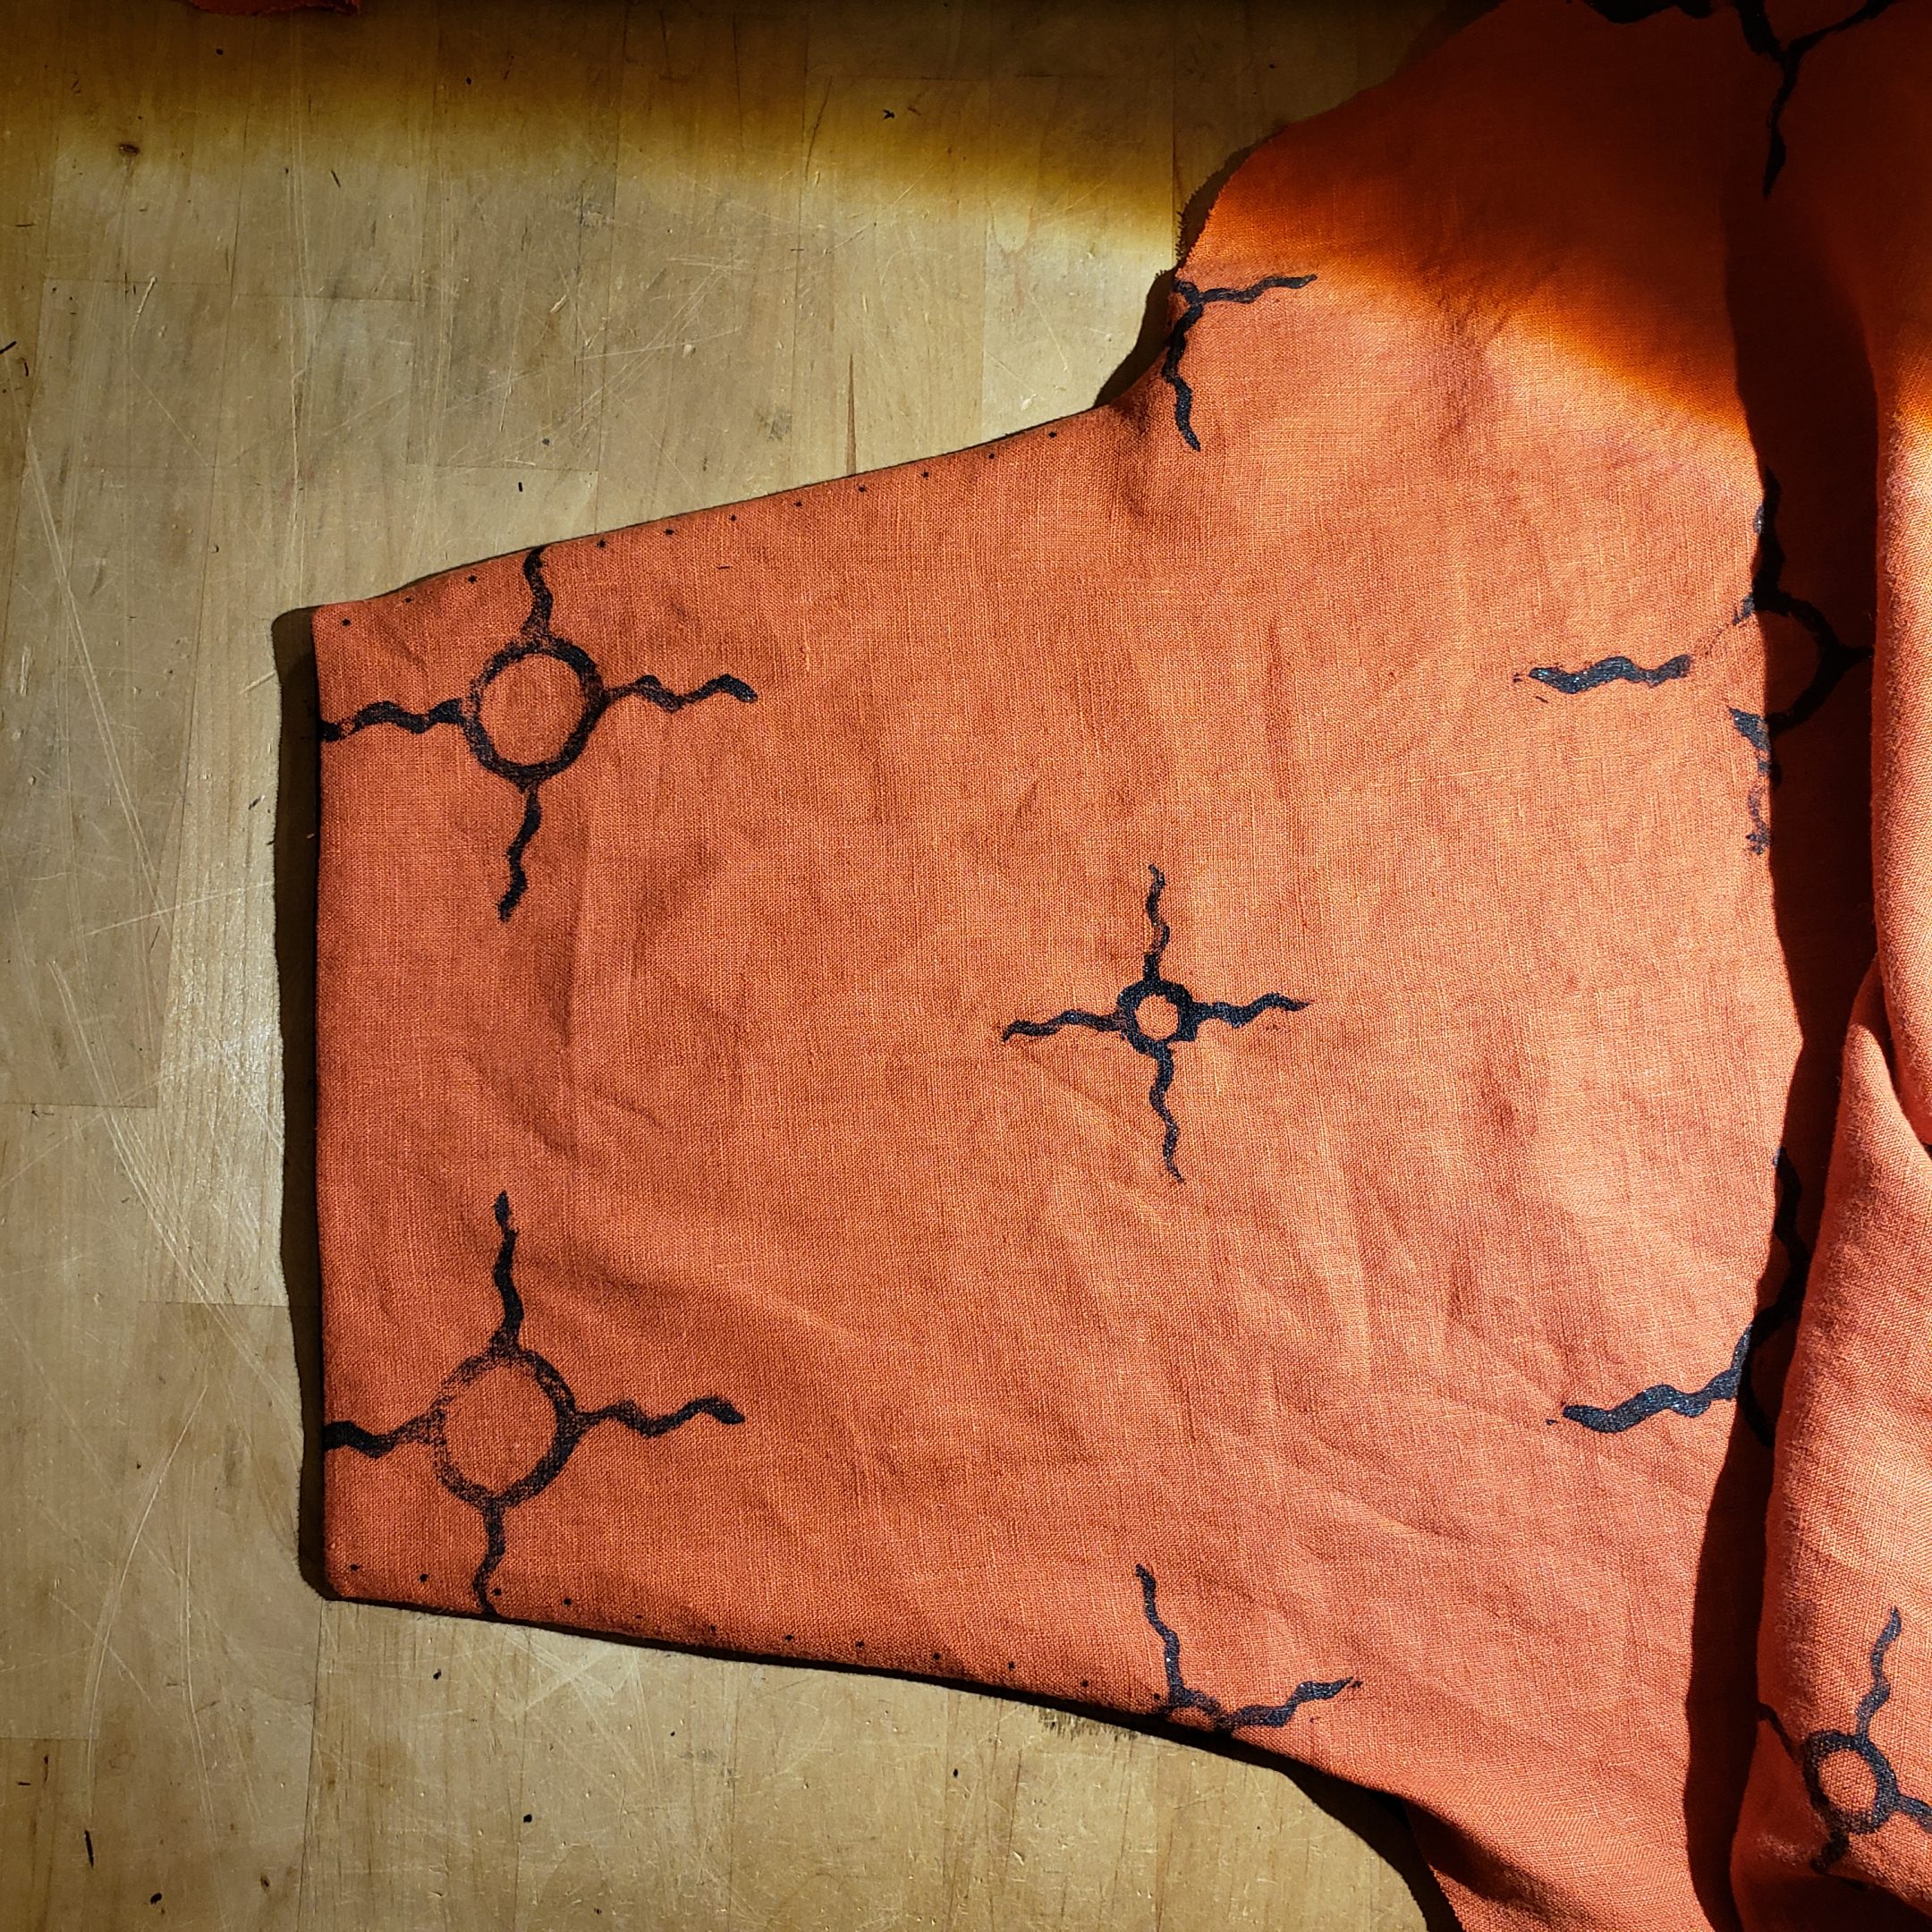
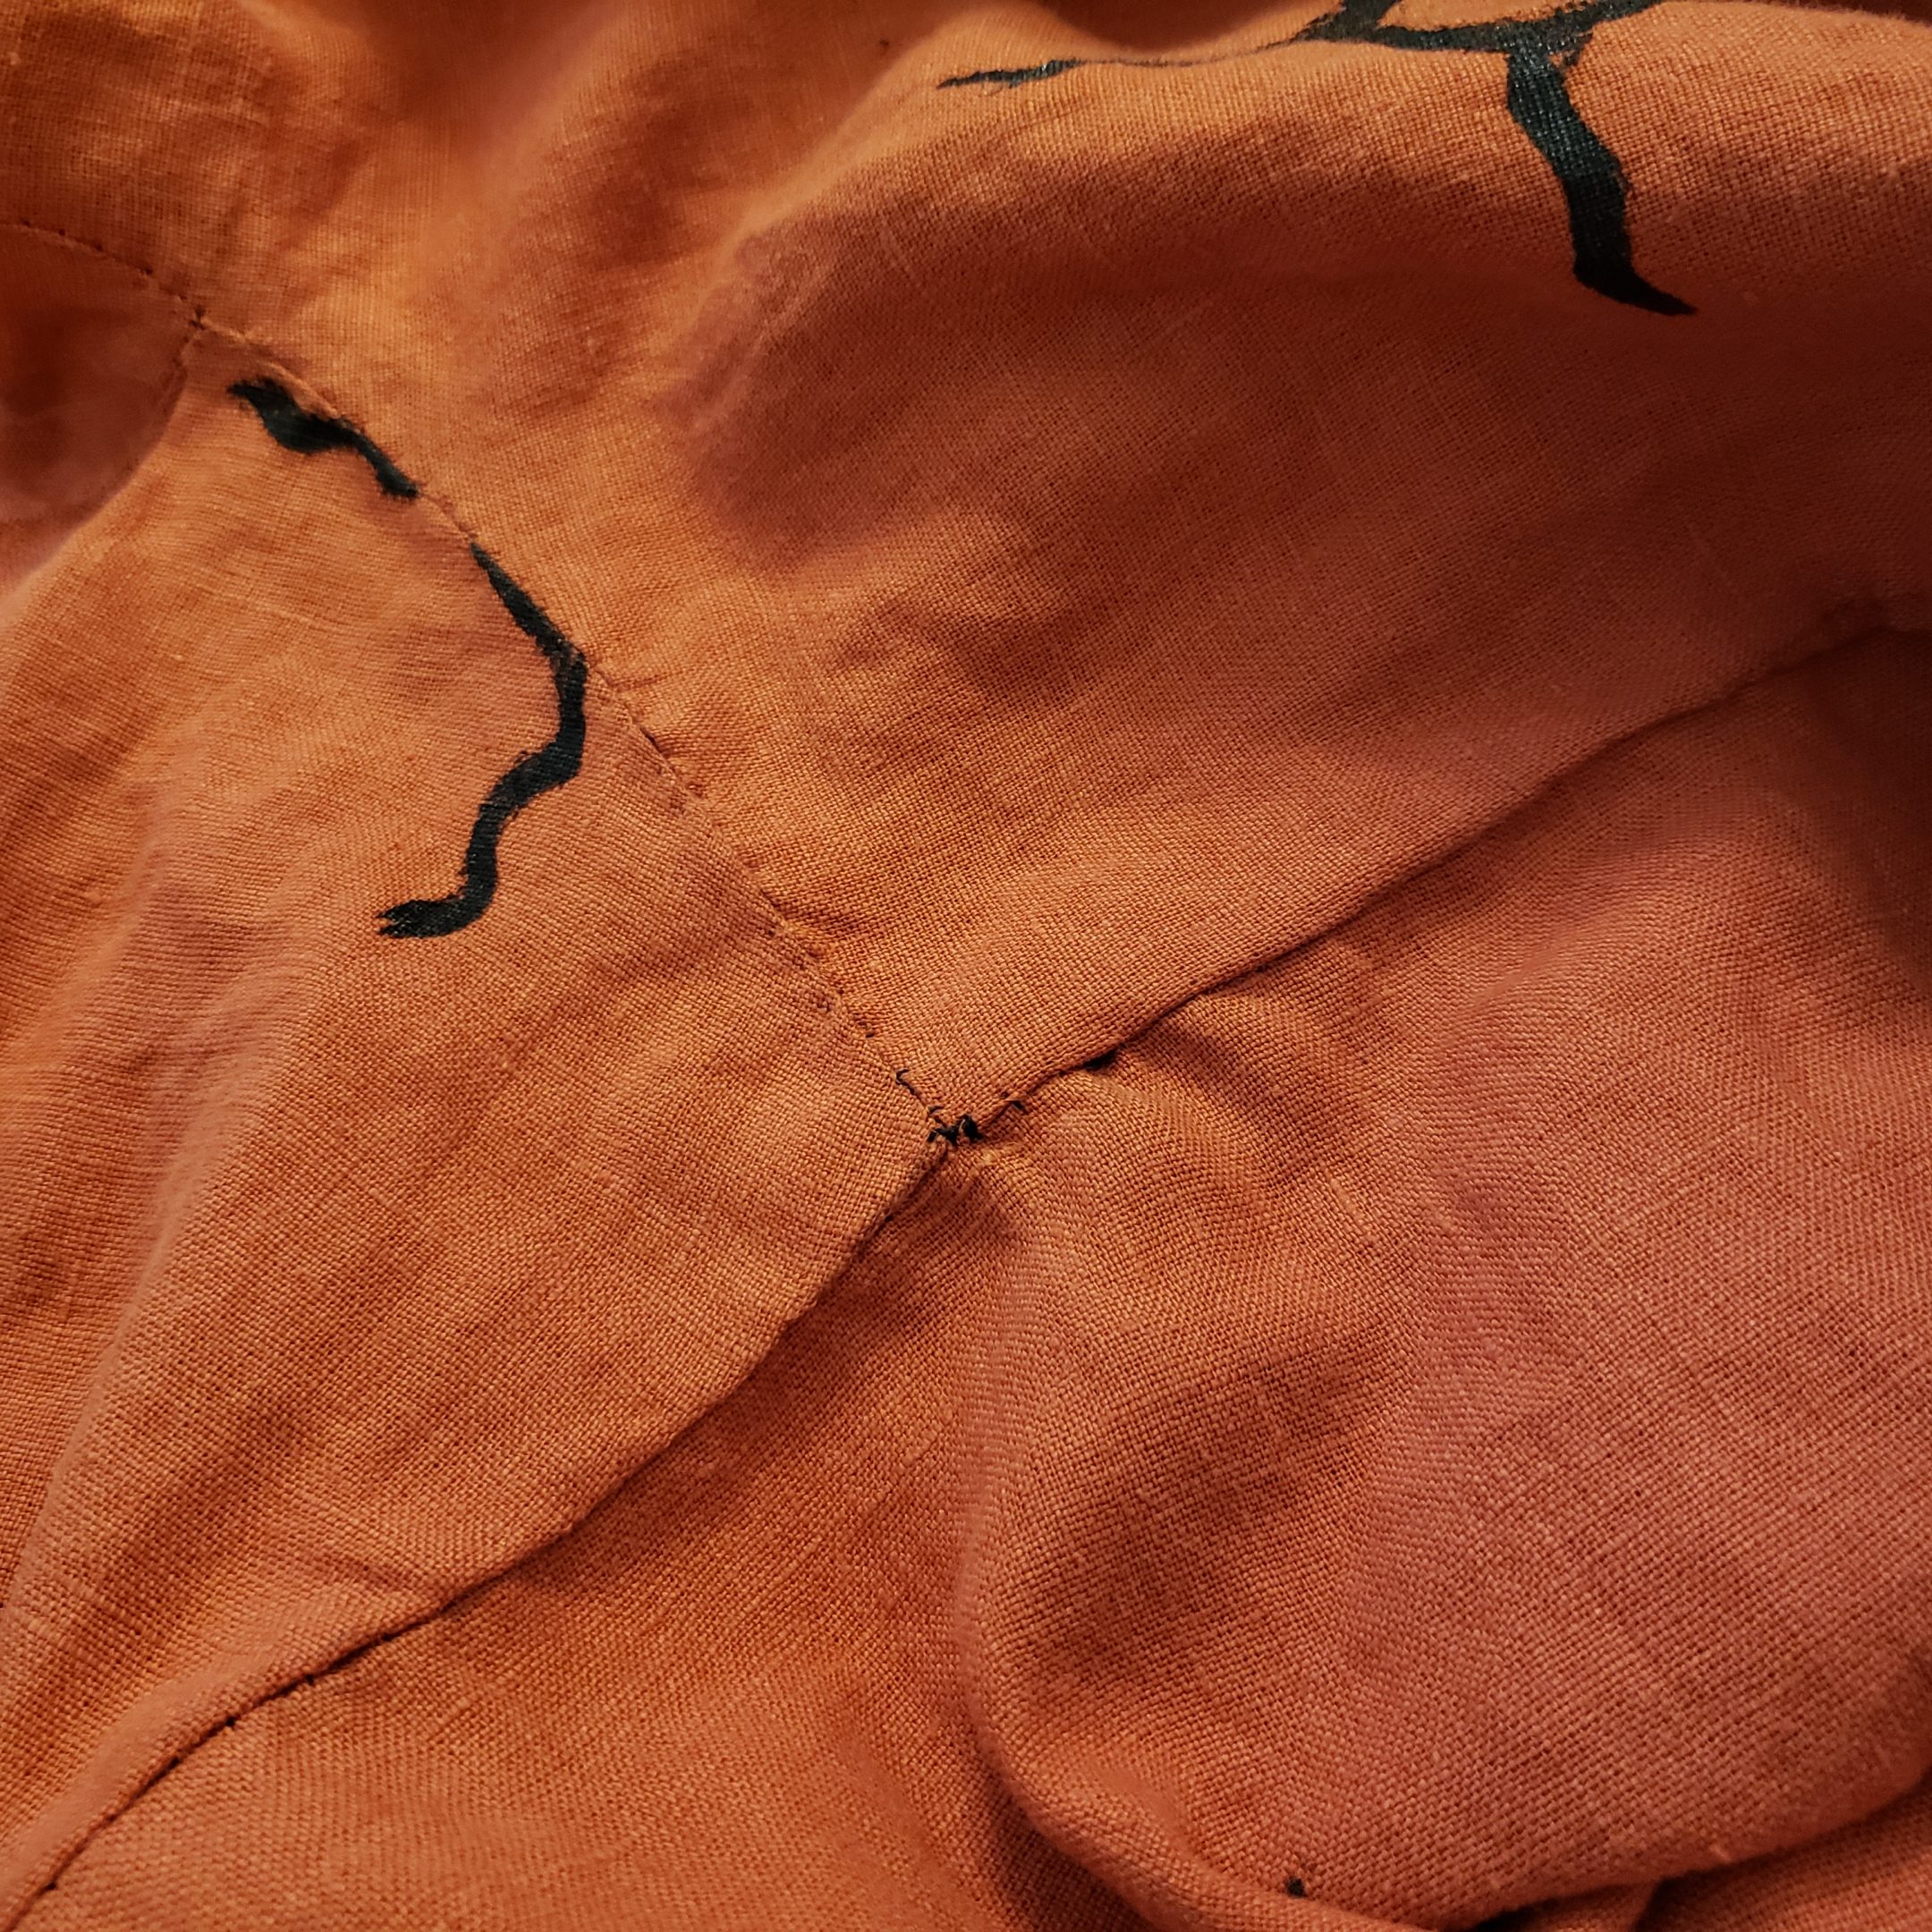
– New Black linen lined in new orange linen. Orange is stamped.
– Buttons down the center front to the waist.
– Buttons on the ends of the sleeves at the forearm
COENWULF’S COTEHARDIE TODO:
- (done) Finalize pattern
- (done) Cut out fashion fabric (black)
- (done) Cut out lining fabric (orange stamped)
- (done) Cut out collar interlining
Construct body - (done) baste collar interlining to collar fashion fabric left and right.
- (done) baste back collar interlining into back pieces.
- (done) Sew fashion fabric front collar pieces to front panels (machine stitch at 1/2″).
- (done) prick stitch fashion fabric collar seams open.
- (done) Sew fashion fabric together at the side and back seams (machine stitch at 1/2″). prick stitch seams open.
- (done) Sew lining front and sides together (machine stitch at 1/2″)
- (done) Mark fashion fabric shoulder seams at 1/2″ seam allowance.
- (done) Sew fashion fabric shoulder seams (hand sew back stitch at 1/2″ seam allowance). There’s a lot of tension on this seam and it’s just easier to back stitch this by hand to prevent the layers from slipping out of the correct alignment.
- (done) prick stitch fashion fabric shoulder seams open.
Construct sleeves - (done) Sew fashion fabric and lining together at the forearm. Clip seams, flip and iron.
- (done) Add button holes to the top edge (machine made 1/4″ from edge, 3/4″ apart). (12 buttons per sleeve)
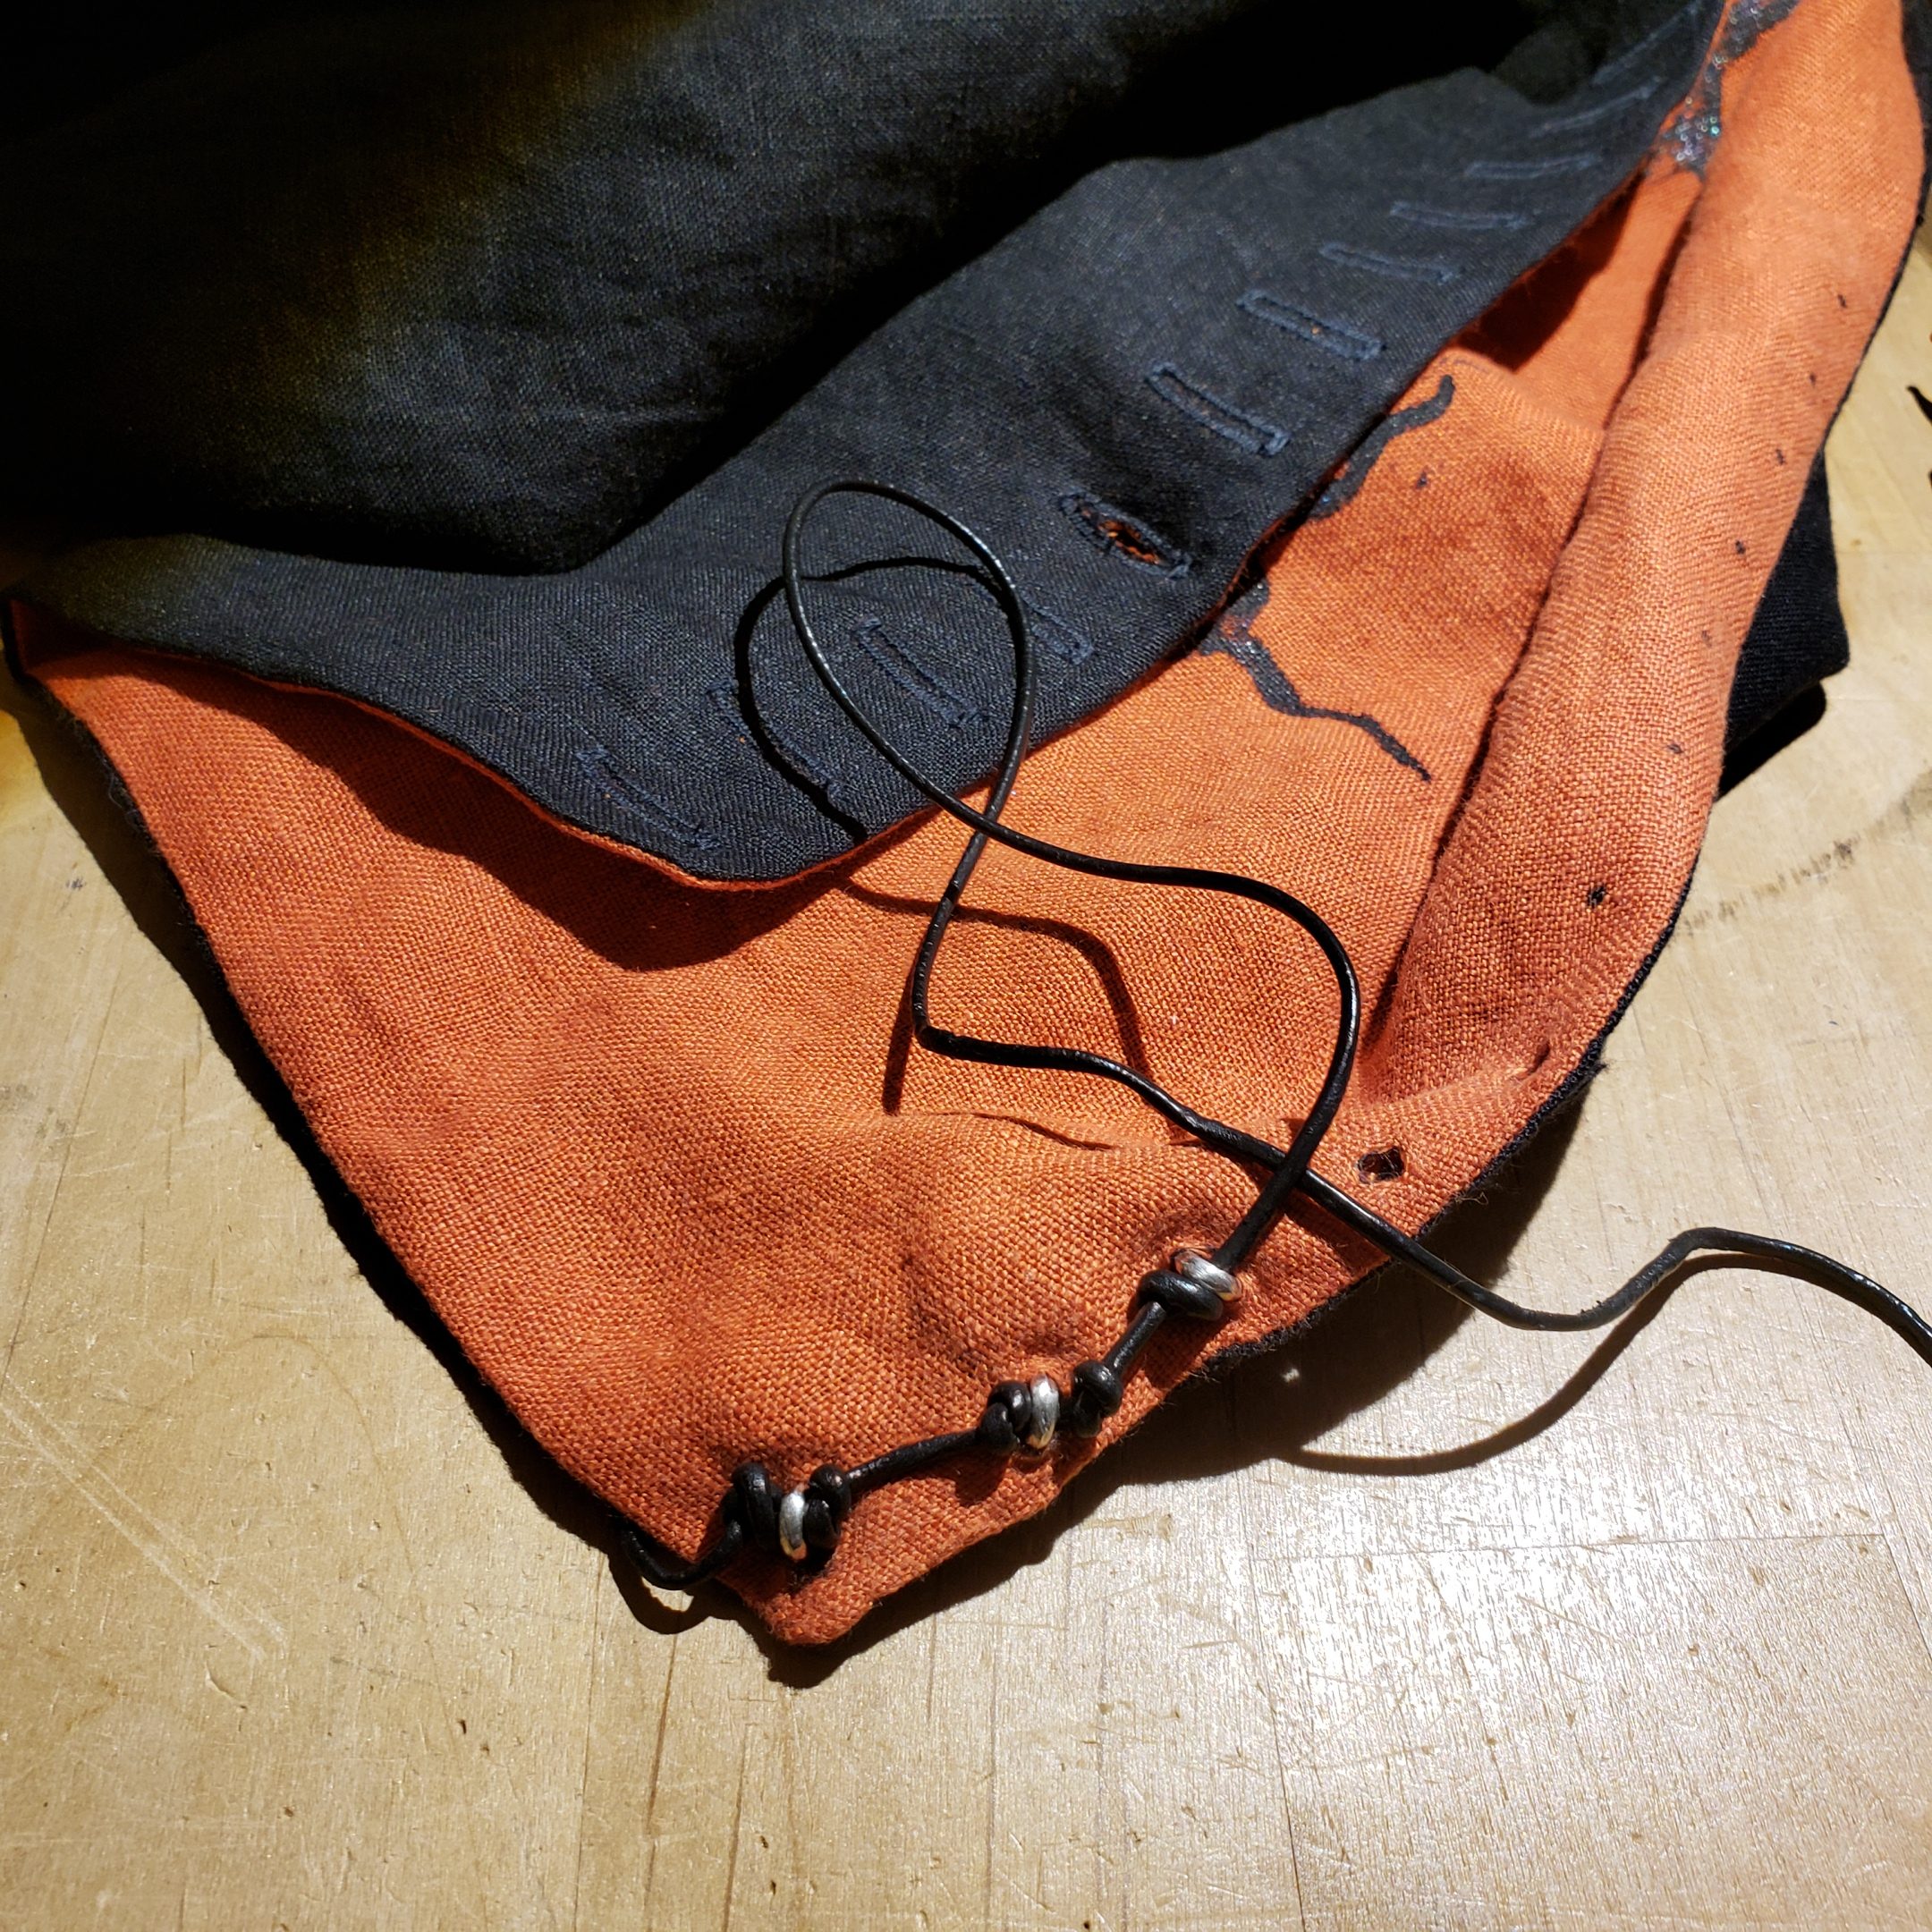
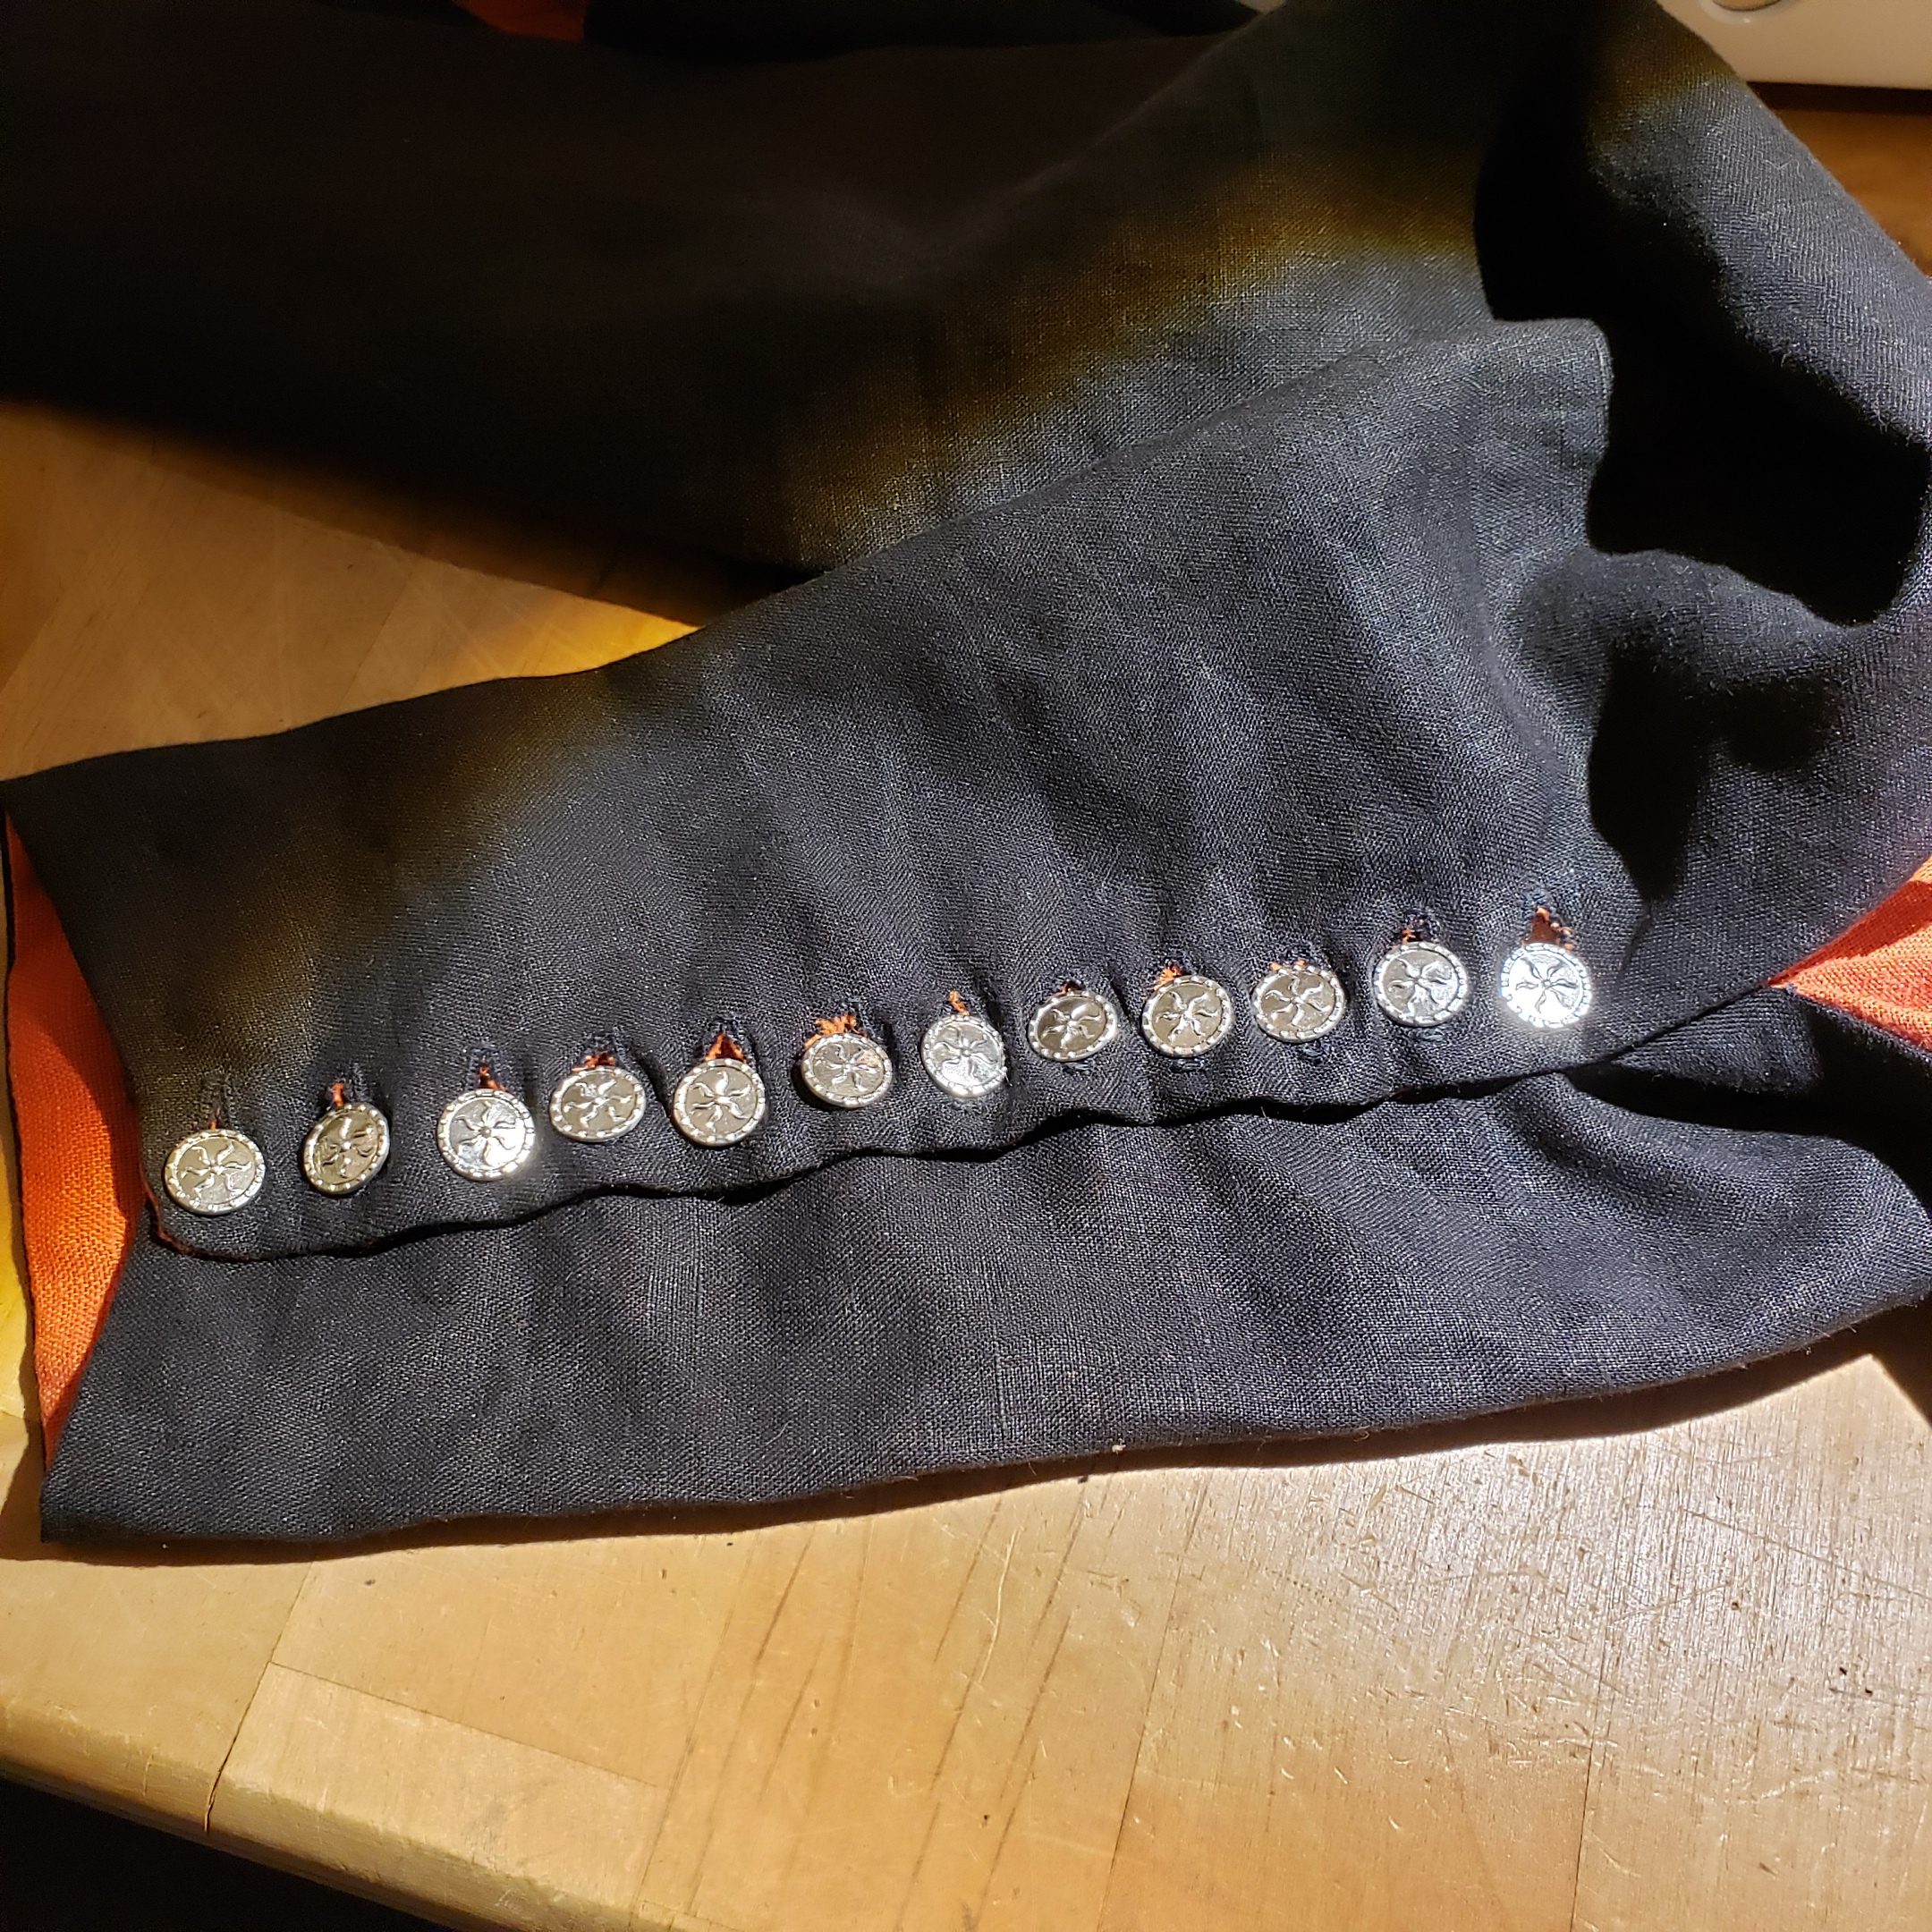
- (done) Add buttons to the bottom edge (hole in fabric with awl, button held in place with linen string) .
- (done) Close fashion fabric upper arm. prick stitch seams open.
- (done) Close lining upper arm.
- (done) baste armseye lining and fashion fabric together in seam allowance.
- (done) Attach sleeves to the body of the garment (machine sew at at 1/2″)(Note: this one would probably be easier to do by hand in future).
- (done) prick stitch the sleeve seams into the body of the garment.
Finish - (done) Sew lining front collar piece to garment. Flip. Iron flat. Fold bottom seam allowance to the inside and slip stitch it in place.
- (done) Sew lining to fashion fabric (bag line essentially) at front edges and hem. Flip and iron.
- (done) Slip stitch the rest of the lining in place.
- (done) Add button holes (12) to left side of the front opening from neck to waist level (machine made 1/4″ from edge, 1 1/2″ apart) and open them.
- (done) Add buttons to the right side (hole in fabric with awl, button held in place with bolo cord).
LEARNINGS (AKA TRIALS AND TRIBULATIONS)
12/26/2019
Cut out the fashion fabric, and lining for body and sleeves. Cut out interlining for collar pieces and the top of the center back.

basting collar interling 
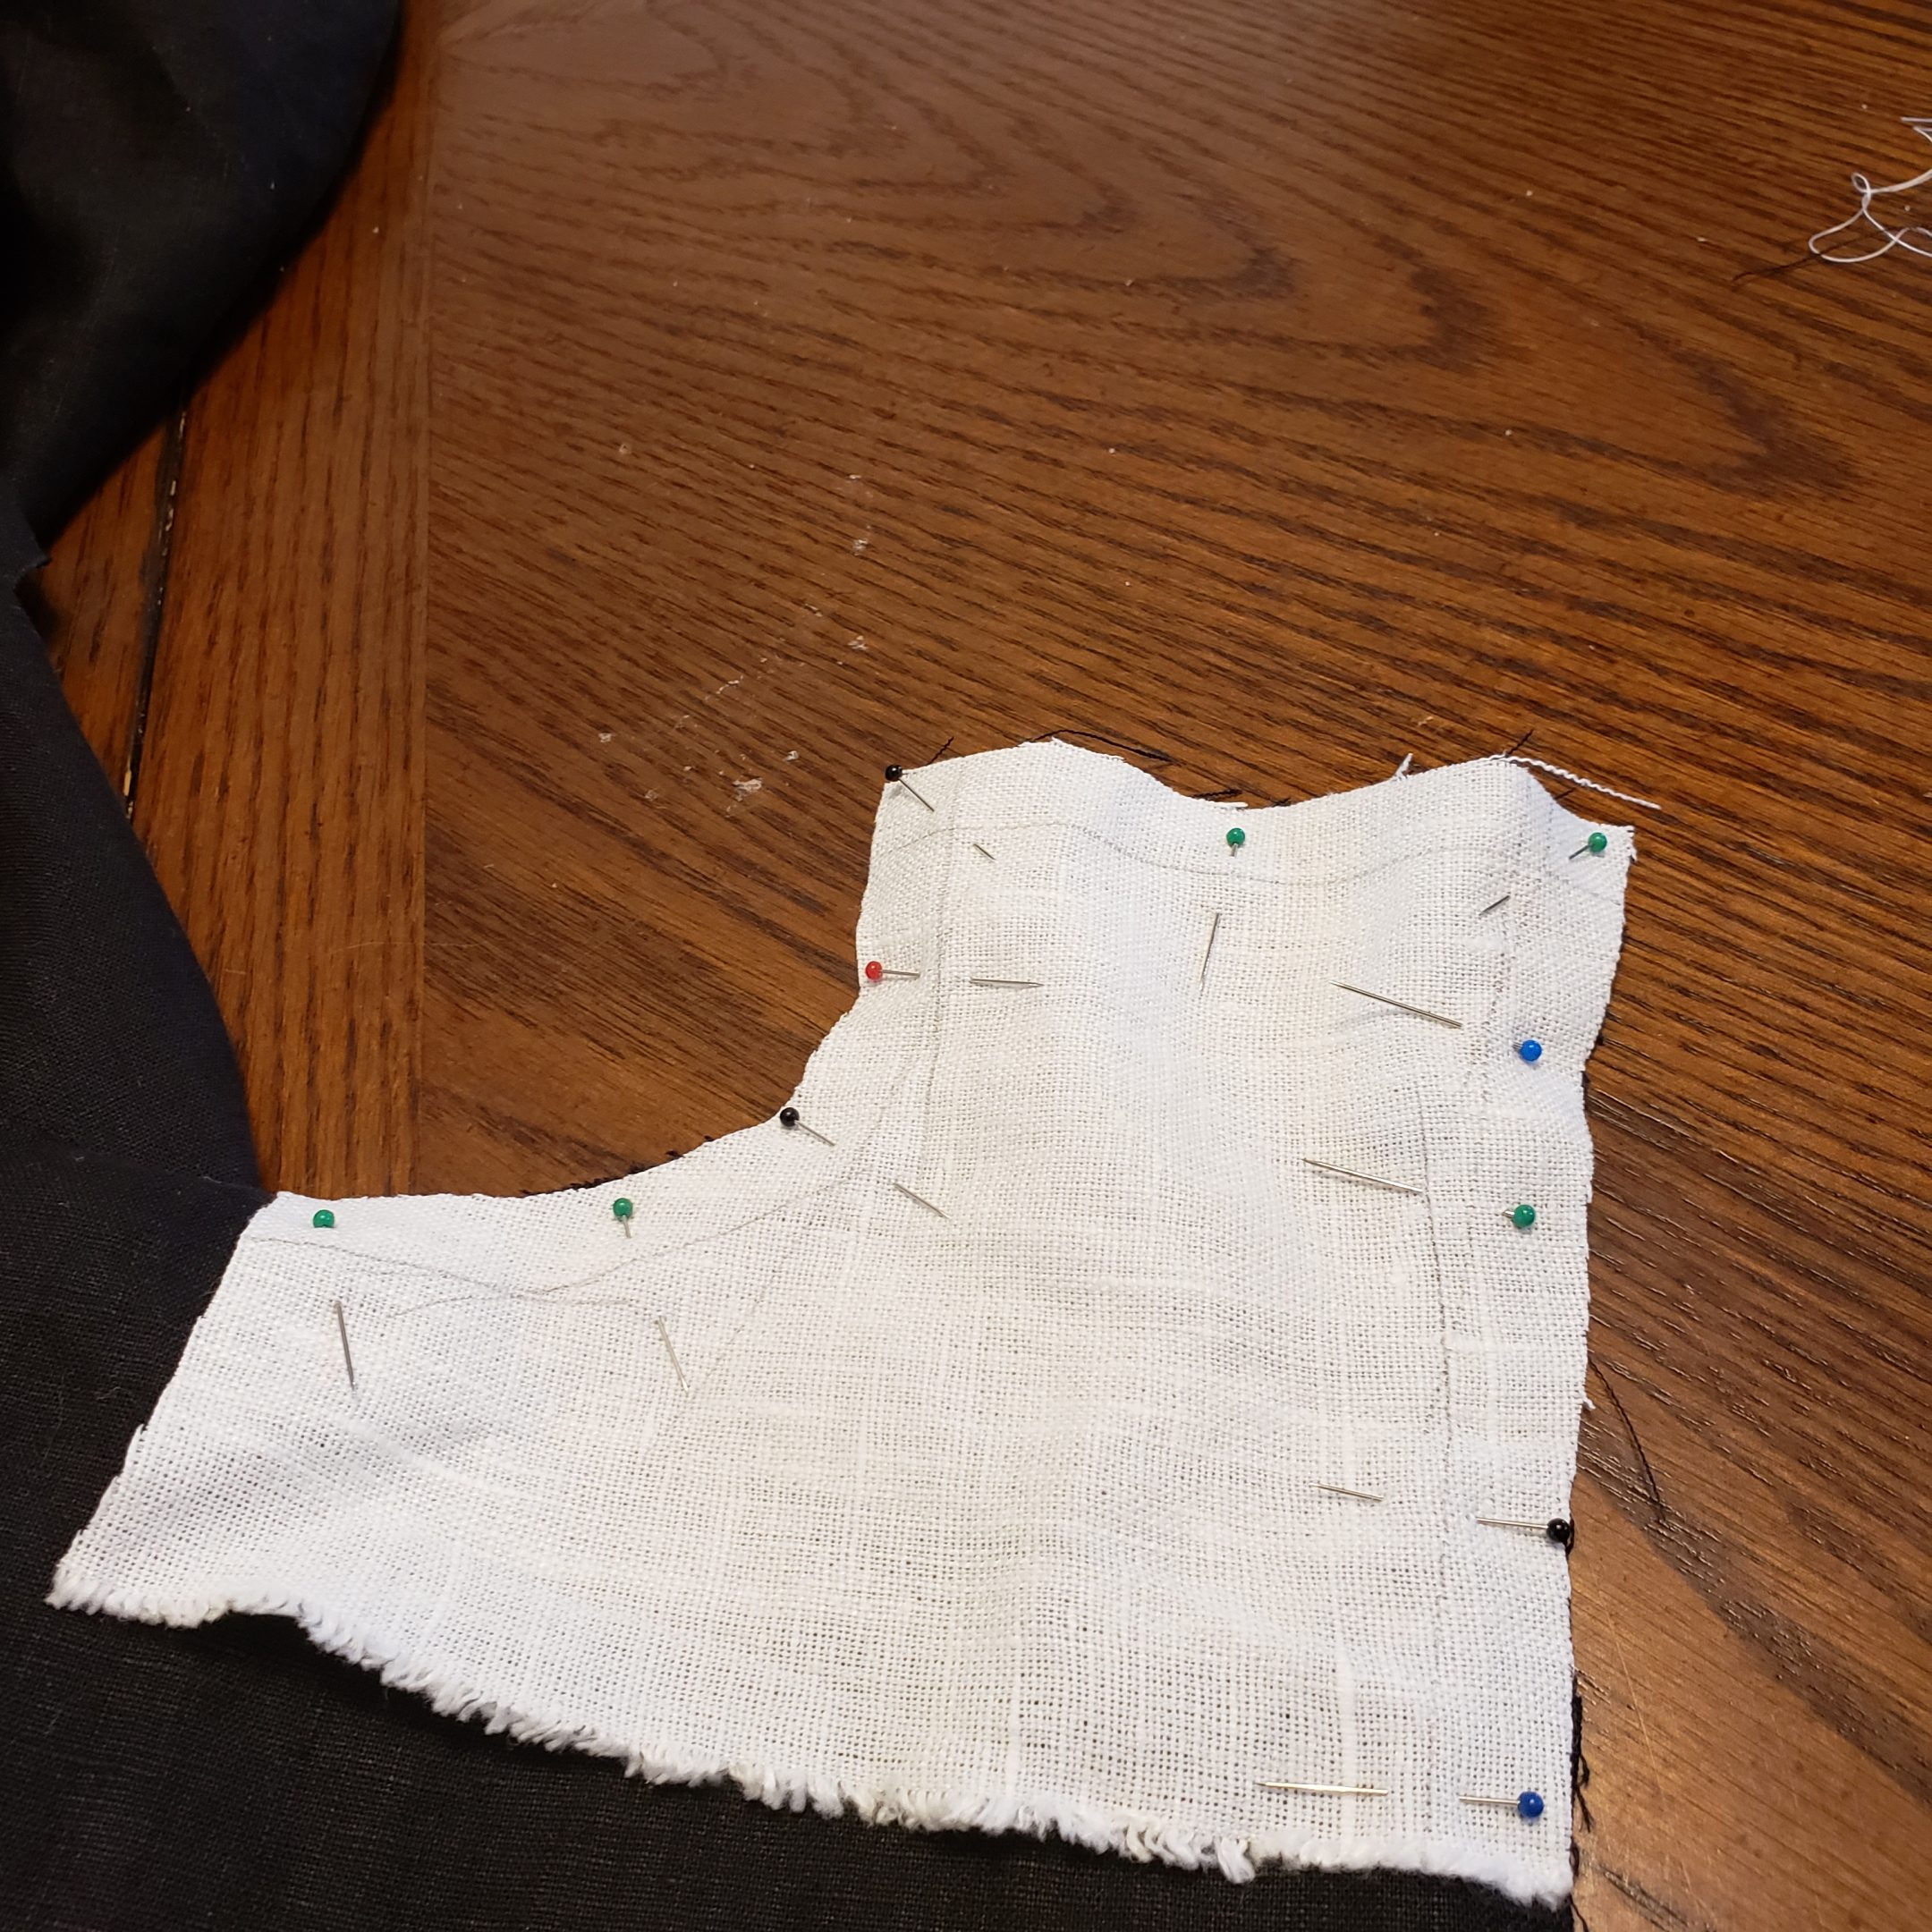
Adding interlining to center back 
Attaching collar to front 
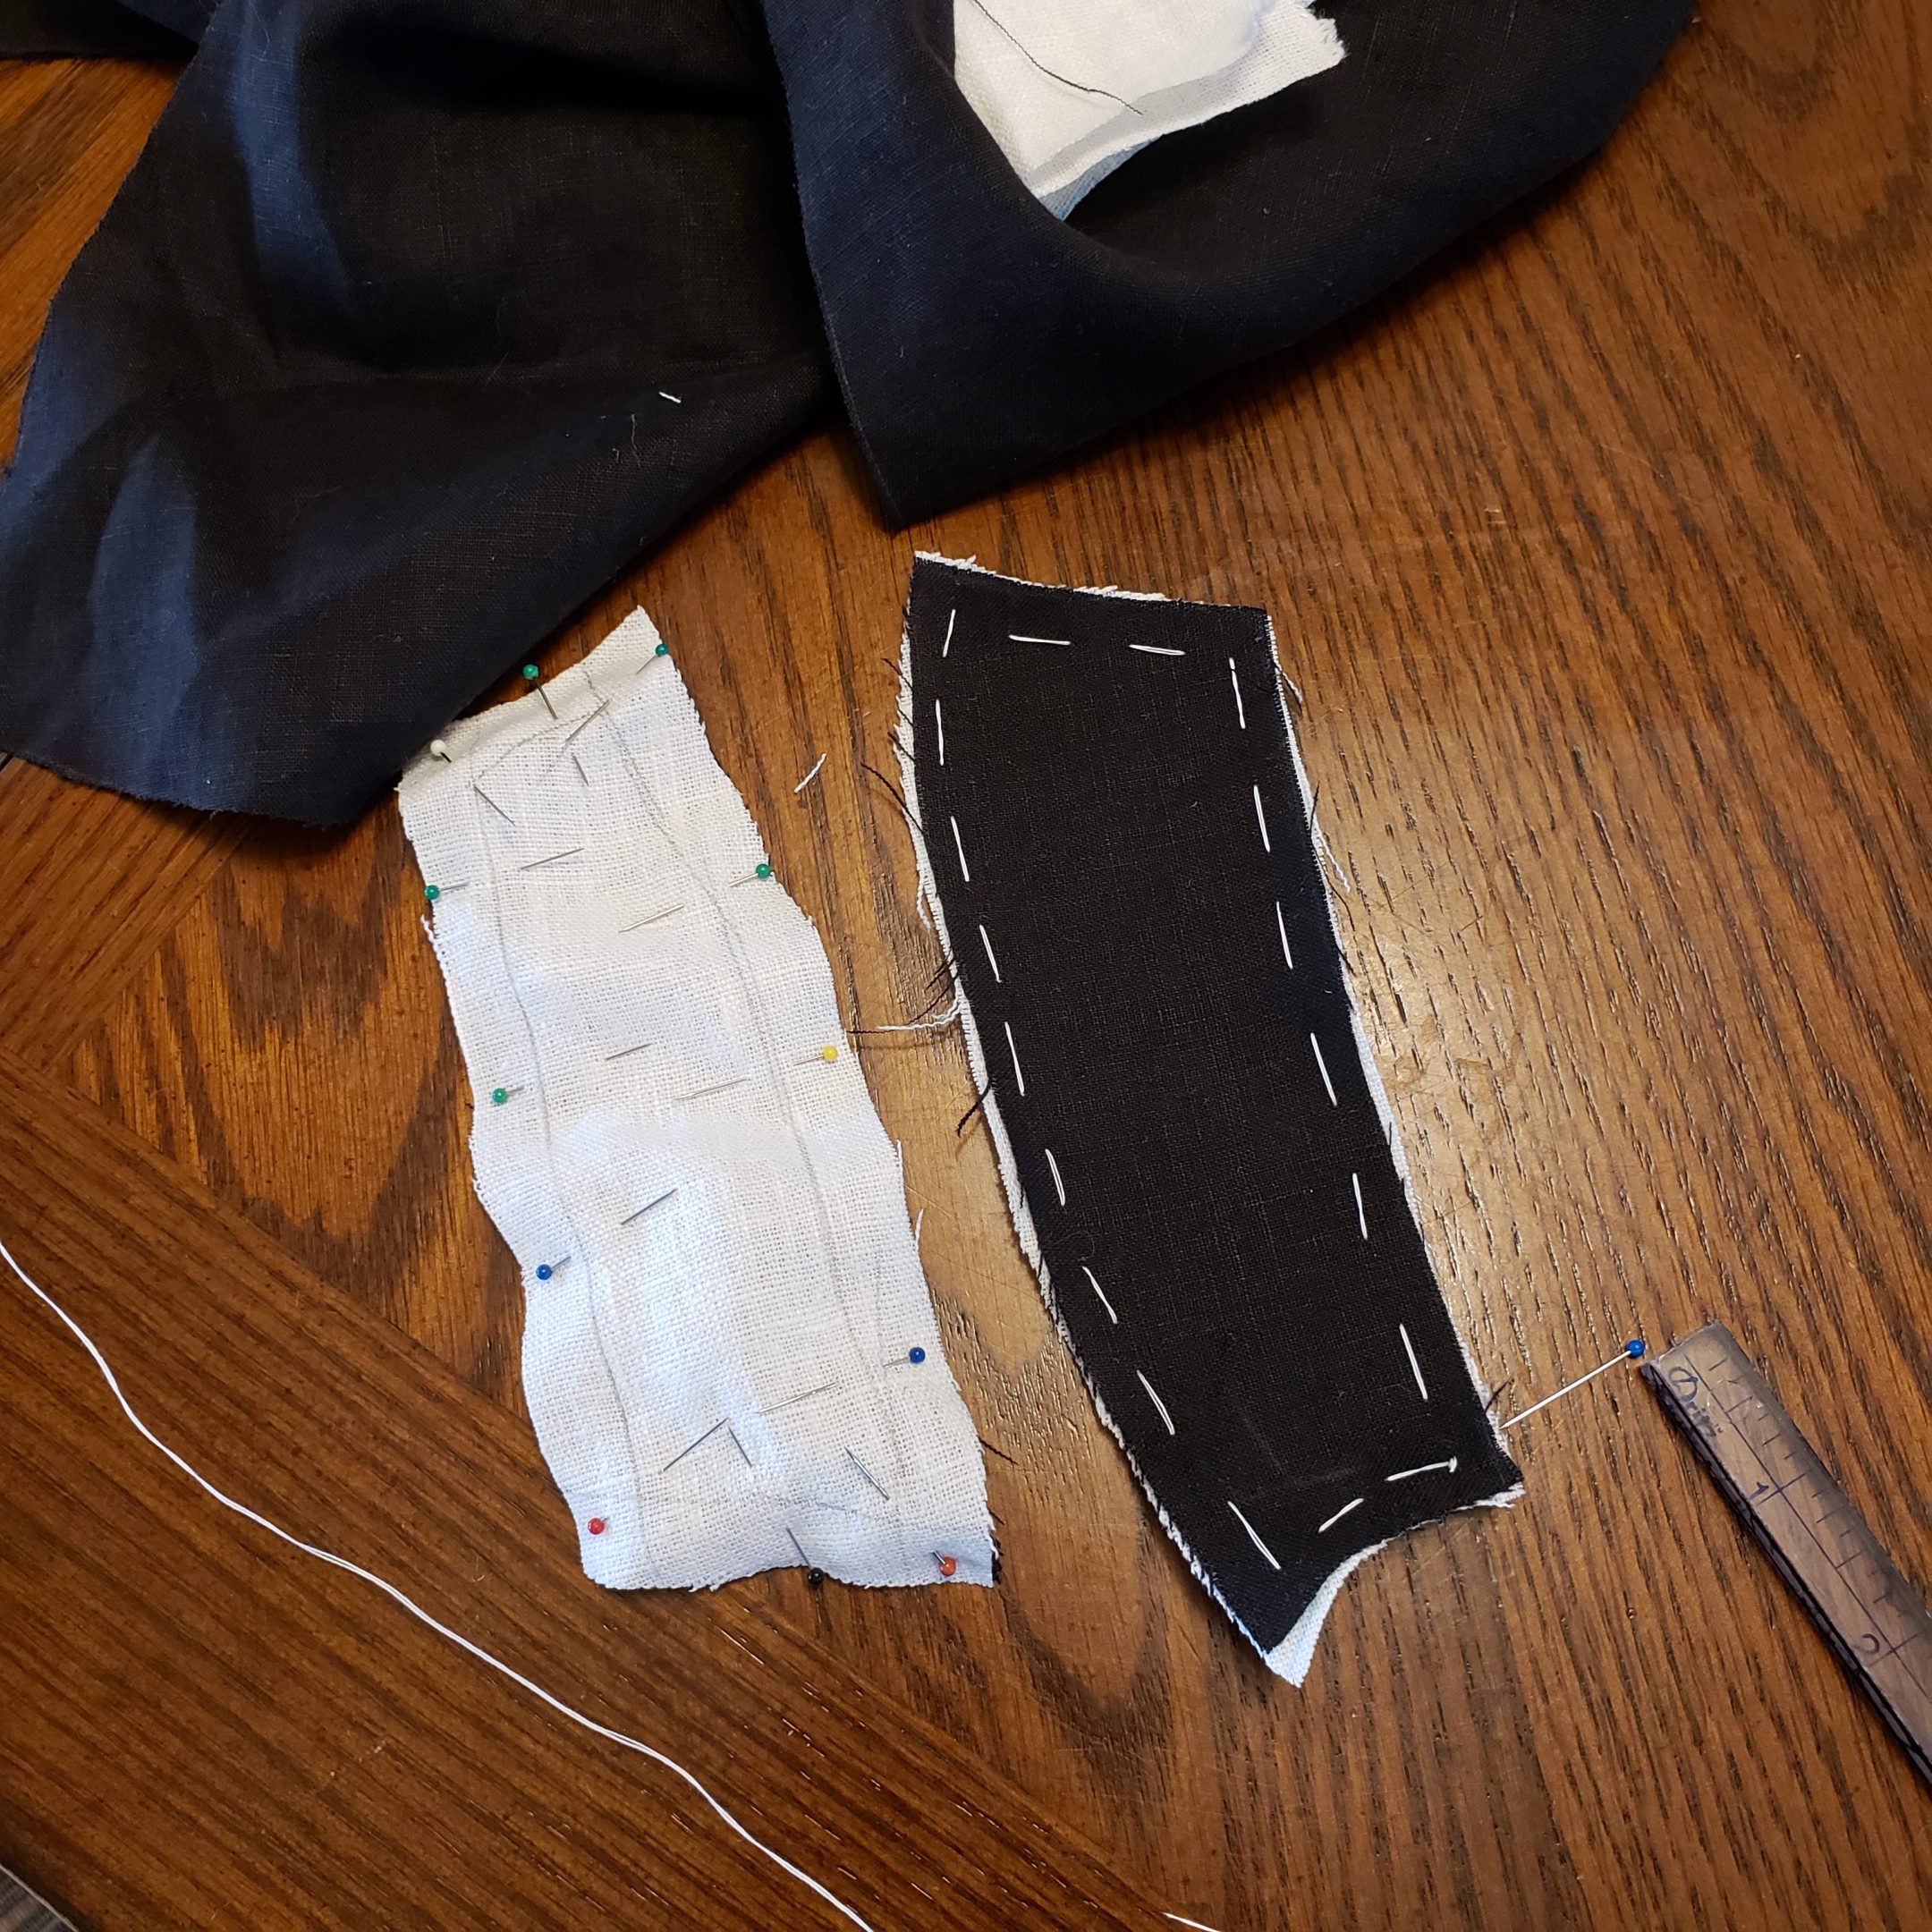
Sewn (and not ironed) next to pen
vs. sewn, finger pressed and prick stitched next to scissors


12/28/2019
basted collar interlining into collar pieces and the top of the back pieces. Attached fashion fabric collar pieces to the front panels. Machine sewed side and back seams on fashion fabric of garment. Prick stitched all of the seams open.
Back stitched fashion fabric shoulder seams, prick stitched shoulder seams open.
Machine sewed the side and back seams on the lining.

Sleeves laid out wrong sides together 
Stitched around forearms 
Forearms ironed 
It’s a project now.
Awls are sharp
Adding buttons to sleeve 
A finished sleeve


12/29/2019
Ironed the body lining seams open. Laid out sleeve fashion fabric and lining with the wrong sides together and stitched this around the forearm (1/2″ machine SA), clipped the corners, ironed the seams open, flipped it right-side-out and then ironed it flat.
I have 12 buttons for each forearm. The forearm portion is 9-ish inches long. Ironically that works out to divisions of 3/4 inch between each button which is the normal offset I use for buttons/eyelets.
I used my machine to make all the button holes in the sleeves.
For the buttons I tried adding an eyelet but my machine made eyelets are too small for the shanks of the buttons provided. Instead I’ll use an awl to open a hole and push the shank through the hole. The buttons will be held in place with some bolo cord from my stash. I’m making a half hitch on each side of each button to prevent them from pulling the cord through the hole. I finished adding buttons and opened all the button holes on one of the sleeves.
12/30/2019
I sewed the upper sleeve portion on each arm (machine at 1/2″) and prick stitched that seam open on the outer fabric. I basted the sleeve lining and fashion fabric together at the armseye. I added the sleeves to the fashion fabric body piece (1/2″ machine). I think I may add this sleeve attachment seam as another seam that would be easier to do by hand. I prick stitched the sleeve seam into the body of the garment.

Attaching the sleeve 
Slip stitching the lining 
Lining done 
Done is beautiful


I lined up the body fashion fabric and lining wrong sides together and added my lining by machine stitching 1/2″ at the front edges, hem, back slit and back collar. Then I clipped my corners, flipped this right side out, and ironed all of the edges. Then I sewed the front collar pieces and flipped these to the inside of the garment. I folded all of the lining pieces at the marked seam allowance and pinned these into the fashion fabric. This feels very awkward. There’s probably a better way to do it.
The lining is all set to be stitched.
12/31/2019
Stitched the all the linings into place. Added the button holes down the front edge (1/4″ from the edge, 1 1/2″ apart to waist), added buttons to the last sleeve and to the center front. Done is beautiful.
1/4/2020
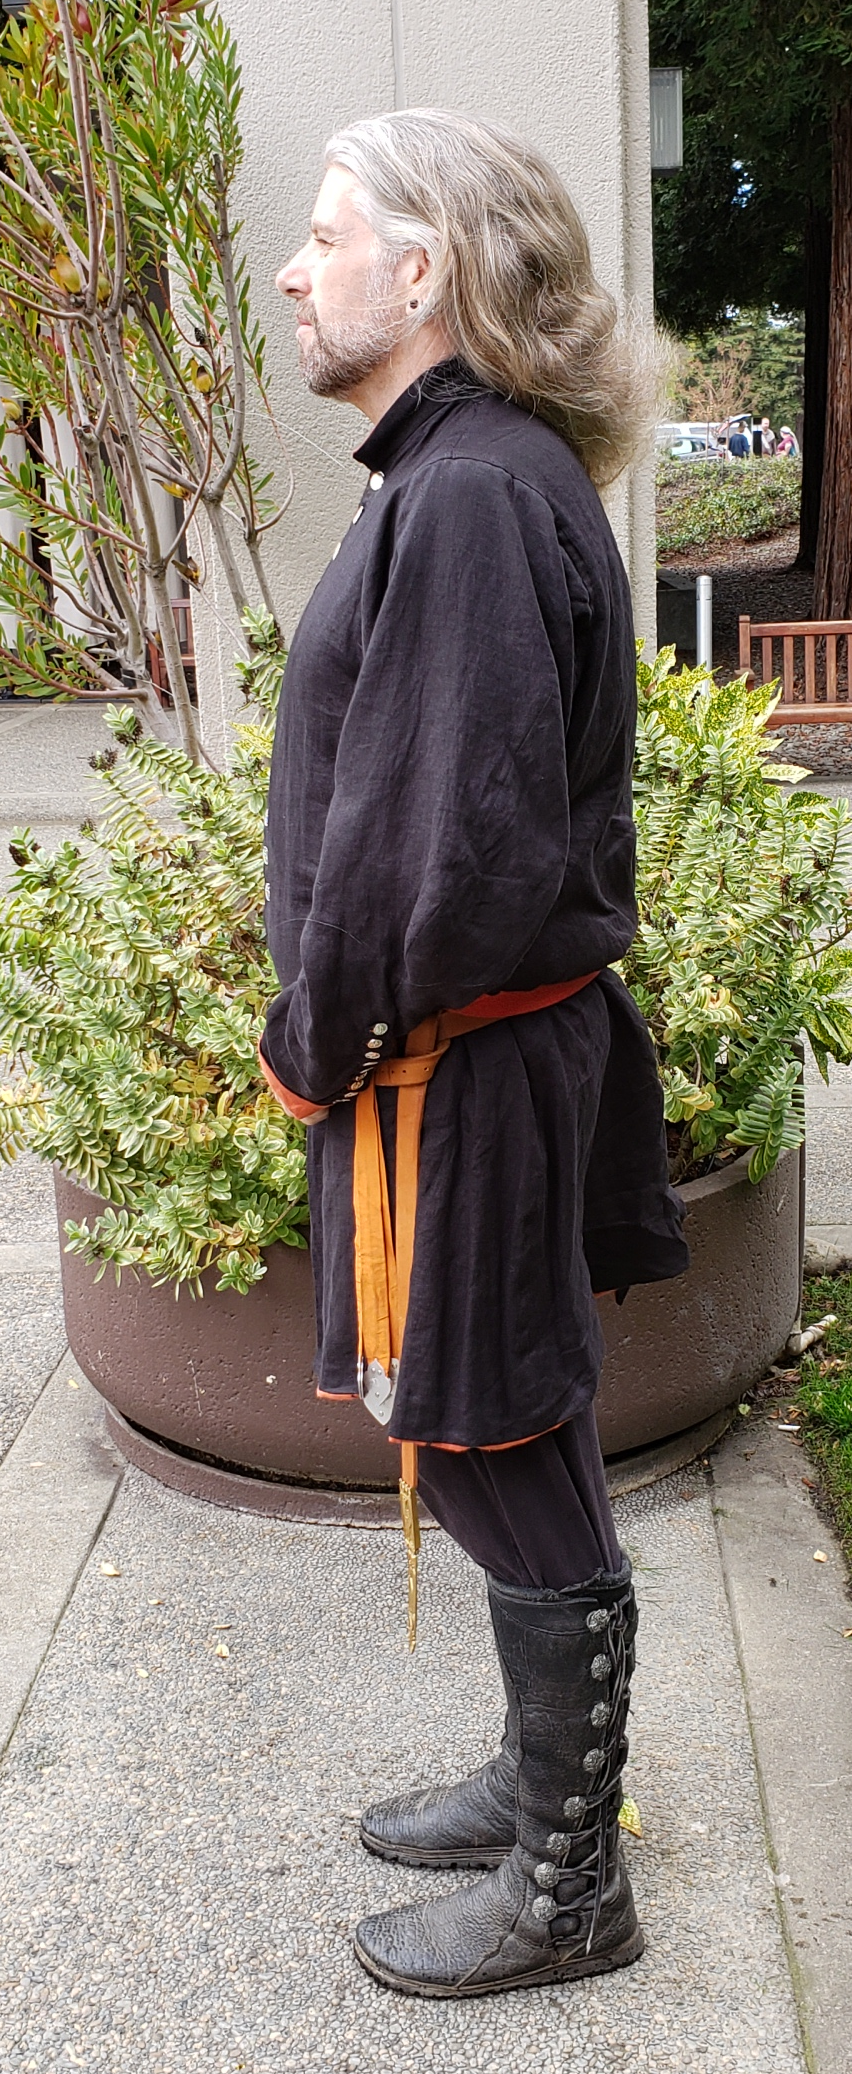
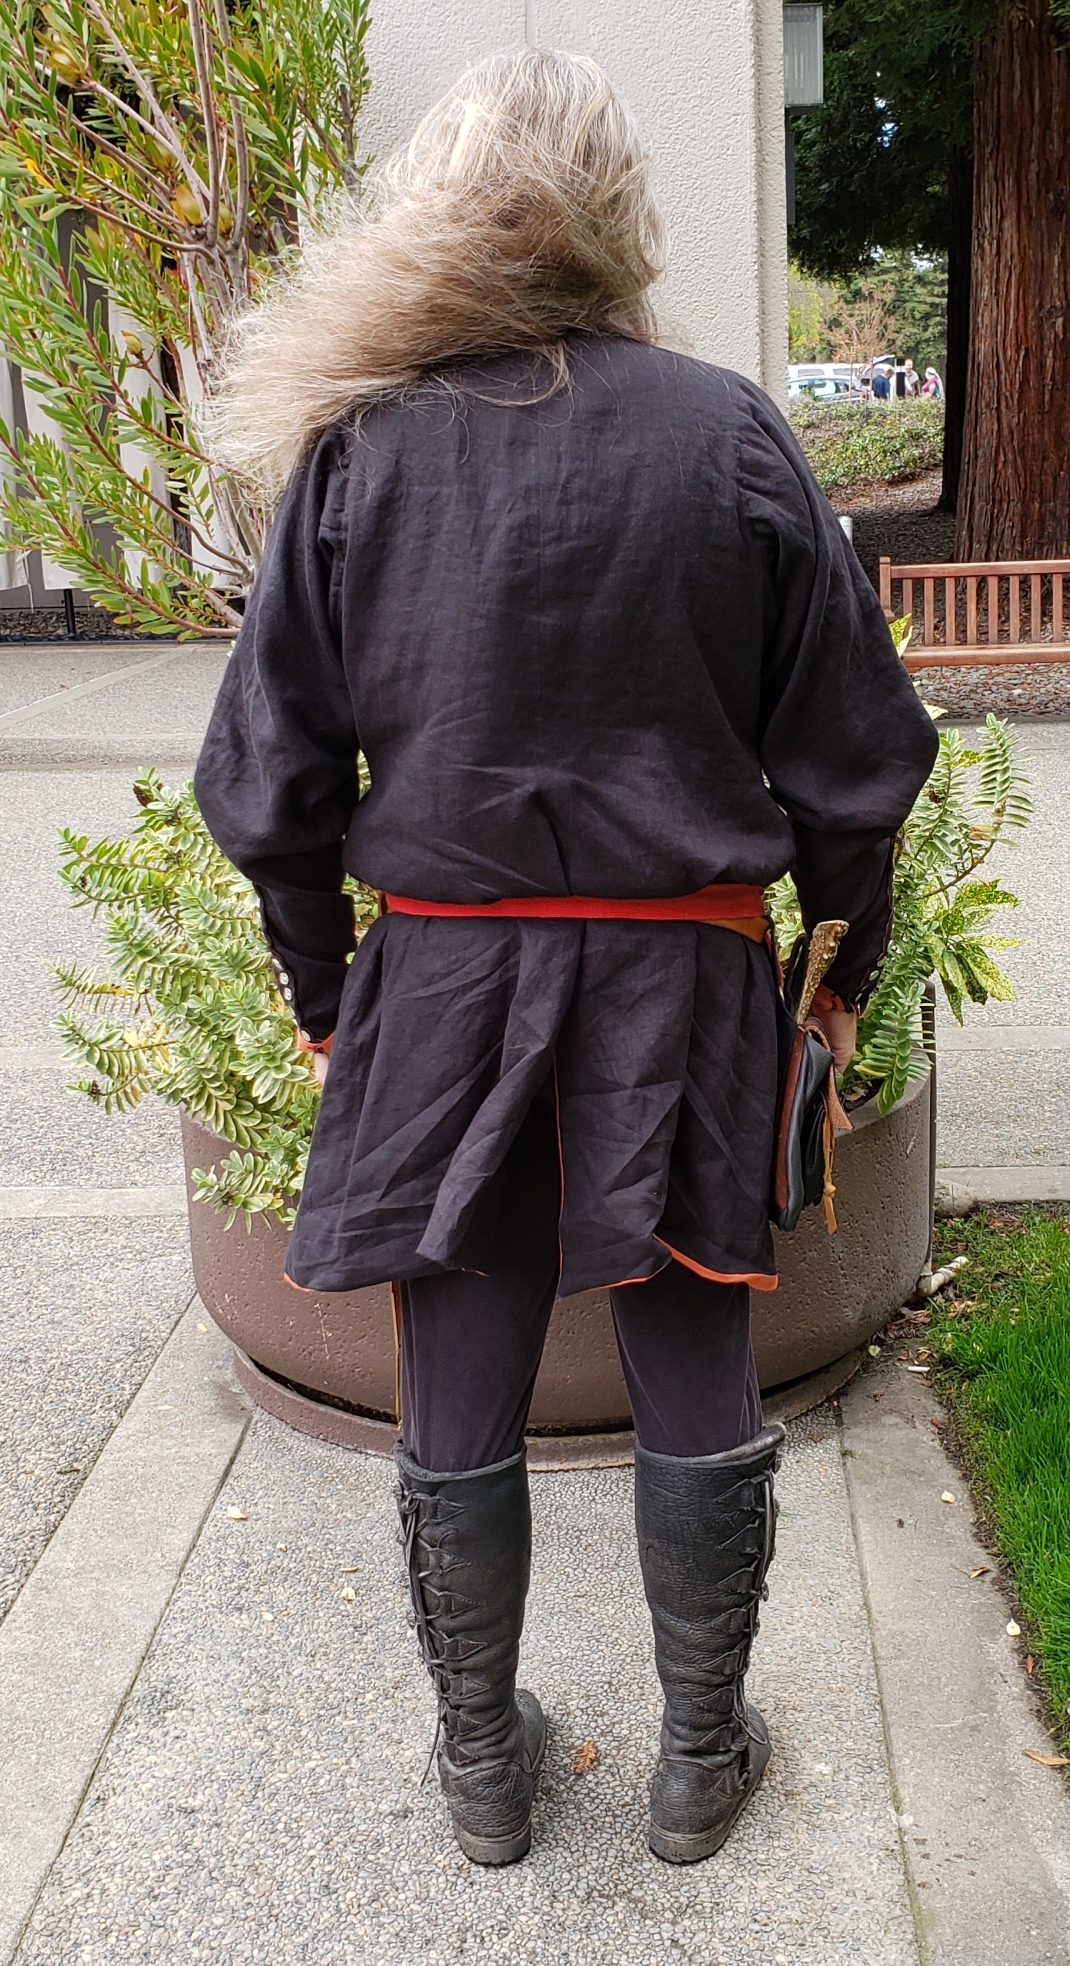
Coenwulf modeled this for me at 12th night. I’m very please with how this came out.

Front 
Side 
Back 
Showing off the lining 
Button detail


BINGE LIST
Lost in Space (Netflix) I finished watching Season 2.


2 thoughts on “Coenwulf’s Cotehardie”