This pattern will create a woman’s late 14th/15th century cotte/gown. Click here if you’re looking for the Men’s pattern.
When drafted the pattern includes 1/2″ seam allowance on all edges. Because of the tight fit this will need some type of closure (rather than pulling it on over your head). For women, on a supportive layer I recommend you use a spiral lace (¼” from edge, ¾” apart see: http://www.festiveattyre.com/p/the-zen-of-spiral-lacing.html). I prefer the lace on center front but you could put it on the side or back as you prefer. If you already have a supportive layer (whether through a cotte or by using a modern bra) then you should draft the over dress/gown with the chest tape just skimming the supported layer. This over gown can be closed with buttons. I do NOT recommend using buttons on the closure of a support layer (though buttons on the sleeve of the support layer is plausible). Make sure to adjust your pattern to have proper seam allowance to accommodate the type of closure you plan to use on the final garment.
I recommend you make a mockup in heavy linen to adjust the fit and determine the neckline. I also recommend you add a zipper at the center back of your mockup to make it easy to try on the mockup. Most/all of the fitting adjustments will be made on the center front seam.
The bodice neckline in the pattern is intentionally conservative. You will need to adjust this based on the style of cotte you are hoping to recreate. When adjusting the neckline make small changes. Making too drastic of a neckline change too quickly may render your mockup unusable.
The flair shown at the bottom of the bodice is fairly hand-wavy. Some body shapes may require more flair at each of the seams. It is worthwhile to cut a mockup with generous flair below the waist-line and figure out the necessary flair by draping the pattern.
If you can I’d recommend laying this out so that the center front of the skirt is cut on a fold. This will eliminate the seam down the front of the dress. If the side of the back skirt is cut on the straight grain then this will prevent stretching in the bias cut on the front side edge. In the skirt it is recommended that any bias edge be butted against an edge cut on the straight grain. It may be best to achieve this through the use of gores which have one straight and one bias edge. You’ll need to use your best judgement if you decide to use gores.
The sleeve pattern is meant to be baggy in the upper arm and tight/buttoned in the forearm. The seam runs down the back of the arm. It should be set 90 degrees off of the top of the armseye of the dress. The “pooch” at the elbow gives your elbow a pocket to move into when you touch your own shoulder. The baggy-ness of the upper arm allows for full range of motion. The shortening of the edge opposite the seam hold the sleeve so that the end of the sleeve falls at your wristbone and yet still allows full range of motion. The top of the sleeve will come out slightly large compared to the woman’s armseye. I recommend you fit the top of the sleeve to compensate.
The patterns provided are drawn using the bara notation described in The Modern Maker book series. Please see “Bara notation” section for more information. This notation shows up in some tailoring manuals from the end of the 16th century. I suspect this notation for sharing a pattern was not used in the 14th/15th century. That said, I’ve found it to be an elegant way to share scalable patterns.


Sleeve. Seam runs down the back of the arm.


Start with the back. Layout the draft. Then layout the front.
On the front on the baseline the measurement of the back-side seam is used between C-½Q and the bottom of the bodice.
From that mark you should measure up L-d to find the location where the bottom of the breast curve should start.
On the line at the bottom of the bodice the waist measurement is distributed around a pivot point.
At the bottom of the bodice, use the C tape to mark at C-s½ from the baseline. This is the pivot point and is approximately the center point of this pattern piece.
Change to the W tape. From the pivot point you just made at C-s½ measure back towards the baseline W-s½.
From the pivot point measure away from the baseline to W-o½.
Label the pattern pieces (name, date, measurements, ½” seam allowance on all edges)
The skirt is kind of hand-wavy. It should end up at about L-BM below the waist seam with a width of about L-B to L-BQ on each quarter.
This pattern as drafted should get you 90% there. For the last 10% of the fitting you should read The last 10%
Garments I have made using this pattern
Burgundy wool cotte with cut-on bodice
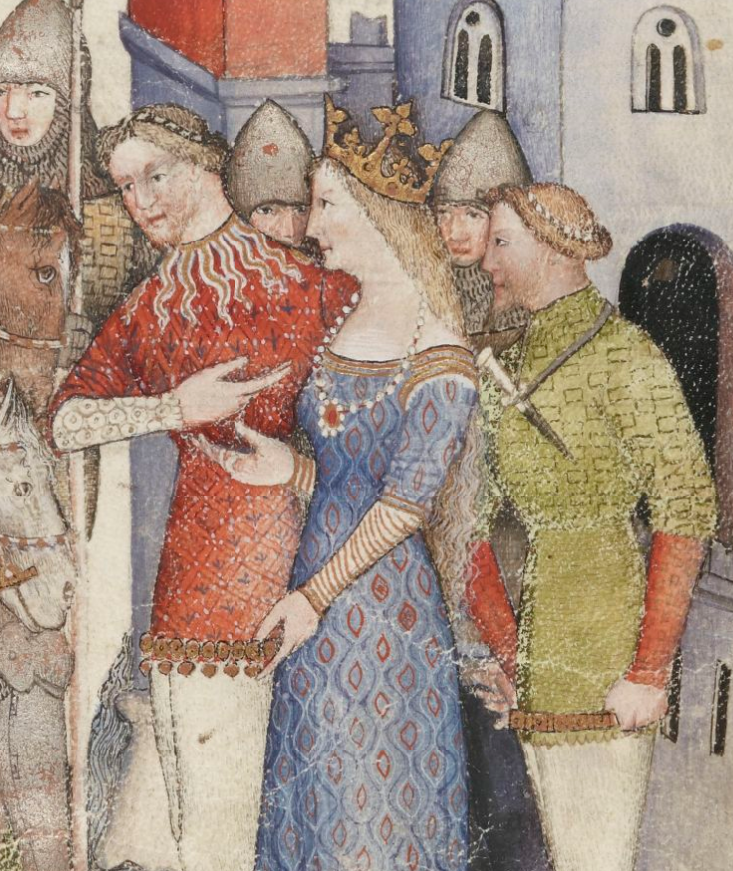
BnF 343, fol. 61v
ca. 1301-1400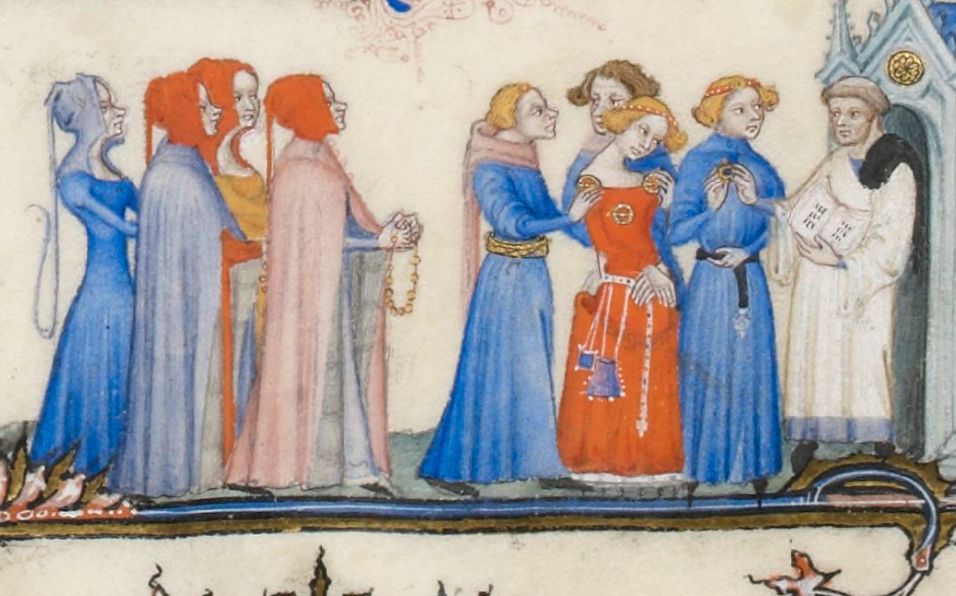
BnF NAL 3093, fol. 175v
ca. 1375-1400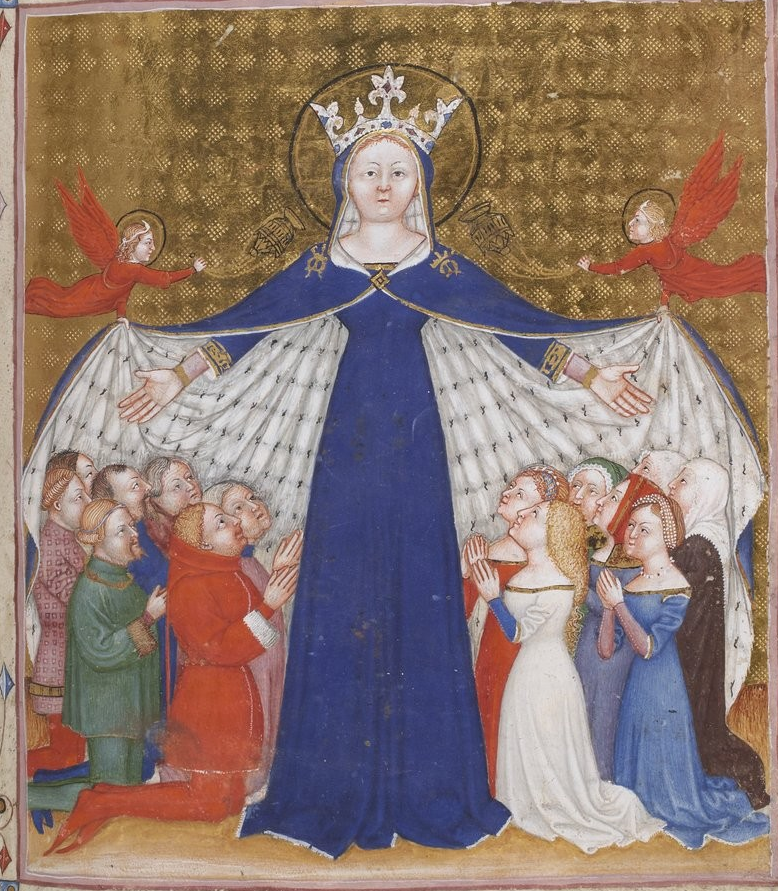
BnF Latin 757, f. 258r
ca. 1300-1400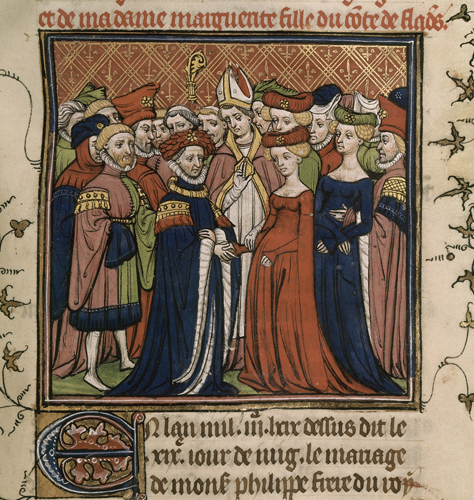
Royal 20 C.VII, f.182
ca. 1380-1400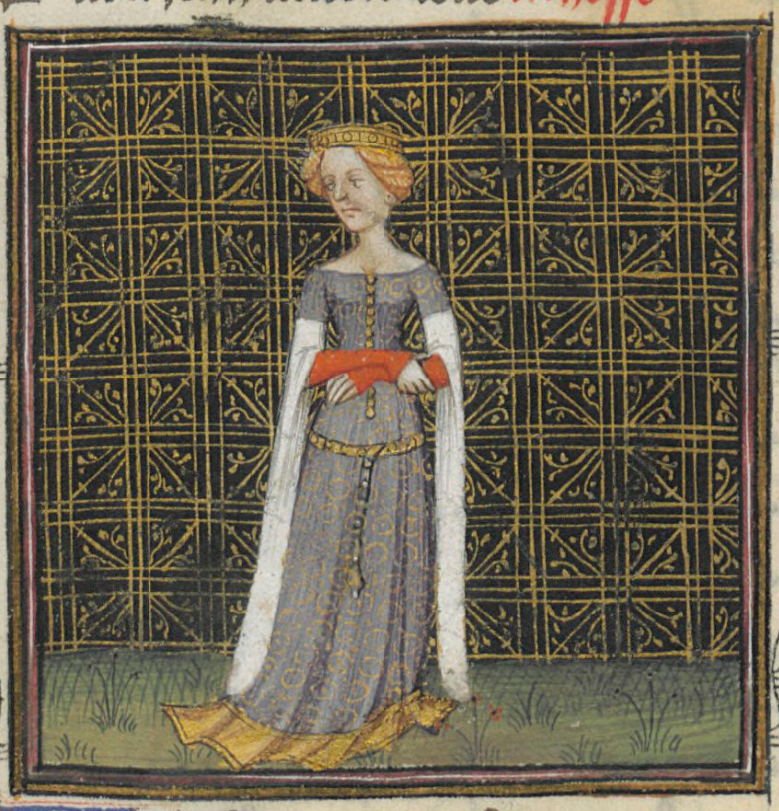
BnF Français 12595, f. 9v
ca. 1400-1402
BnF Français 598. f. 70v
ca. 1403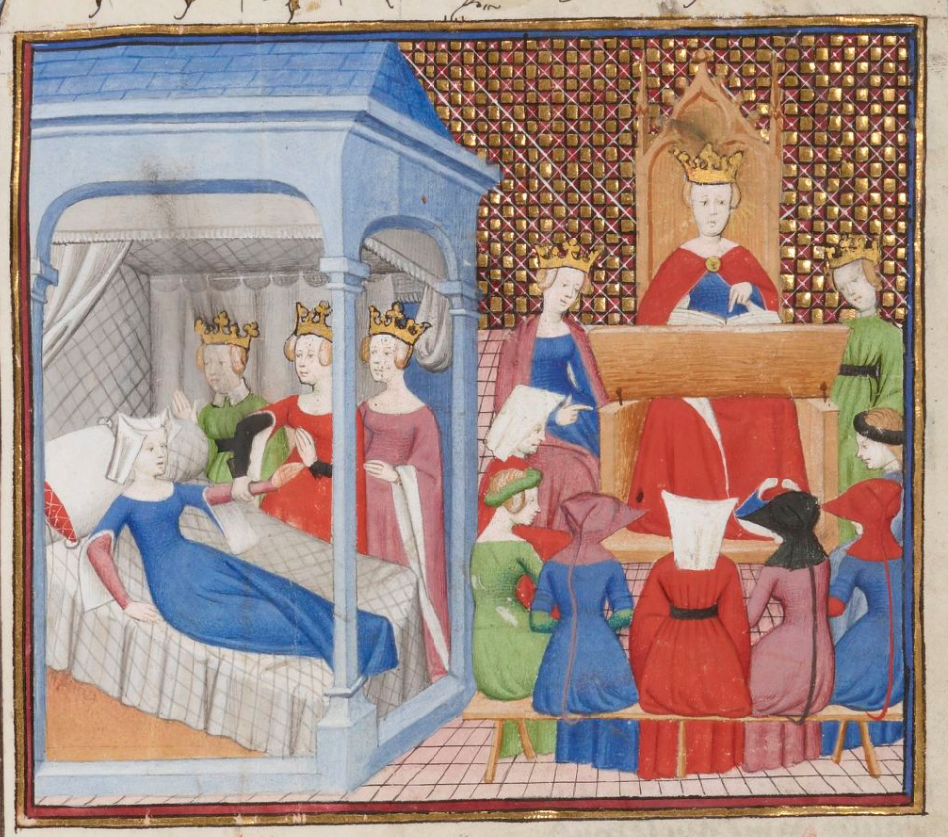
BnF NAF 25636, f. 2v
ca. 1405-1406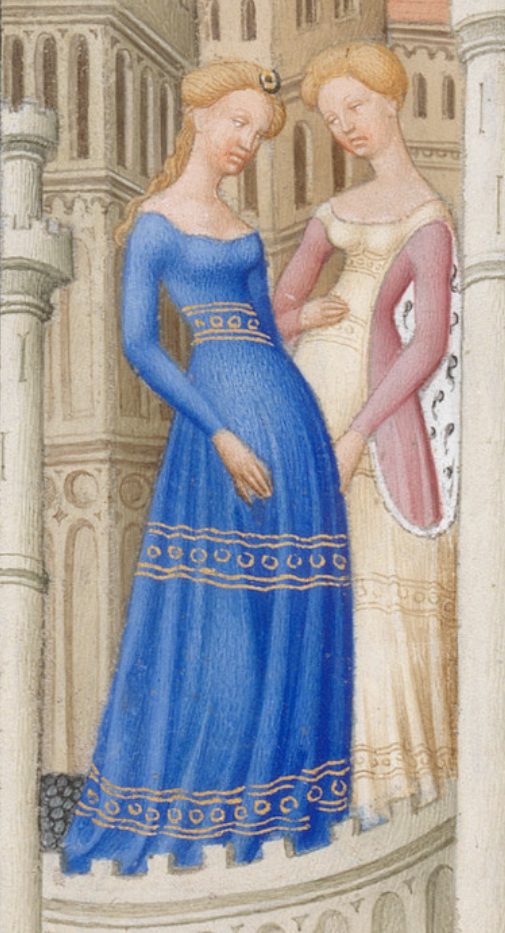
The Cloisters Collection, 1954, f. 86r
ca. 1405–1408/1409
Bara Method Notation
The bara method of pattern notation is described in “The Modern Maker” book. As such I believe the bara method as described constitutes Mathew Gnagy’s Intellectual Property and I am not willing to fully describe the method in my handouts or on my website. If you do not have a copy of one of the books and you are unfamiliar with the notation you can use the following key to help draw out these patterns.
C – Chest measurement with the tape pulled tight but not pinching. For women this should be with the tape pulled as tight as you want to be supported by a self-supporting dress that does NOT have a bra on under it (taken over sports bra/non-padded/non-underwire bra preferably)
W – Waist measurement pulled tight without pinching (ideally over skin with nothing modifying the measurement). For women this is the minimum measurements UNDER your breasts where your bra band sits (pulled tight without pinching)
L – half of your height in inches
H – hip measurement at widest point.
The measurements on the patterns are read like roman numerals.
Qi = Q + i
iQ = Q – i
Each measurement on the pattern is represented as a proportion of one of the above measurements. To find the correct measurement to create the pattern you will need to multiply the correct factor (listed in the table) by the measurement of the person for whom you are drafting the pattern. So C-iiQ would be the chest measurement (C) multiplied by 0.2083333333 (0.25-0.02083333333-0.02083333333).
Believe me when I say that using the bara method as described in the books to draft these patterns is MUCH easier than using the mathematical factors listed in the table. I cannot emphasize how much I recommend buying at least one of the books from the Modern Maker book series.
If you are at all interested in late period clothing I highly recommend you get a copy of Modern Maker vol 2 which includes men’s and women’s scaled patterns for many different articles of clothing from tailoring manuals published from 1589-1640.
Long Story Short: Buy the book Modern Maker vol. 2 https://amzn.to/2GRpmxy Just do it! You will thank me.


3 thoughts on “Conjectural late 14th/15th century women’s cotte pattern”