
[Late to the conversation? See all of the tunic sew-along from the beginning]
Step 3:
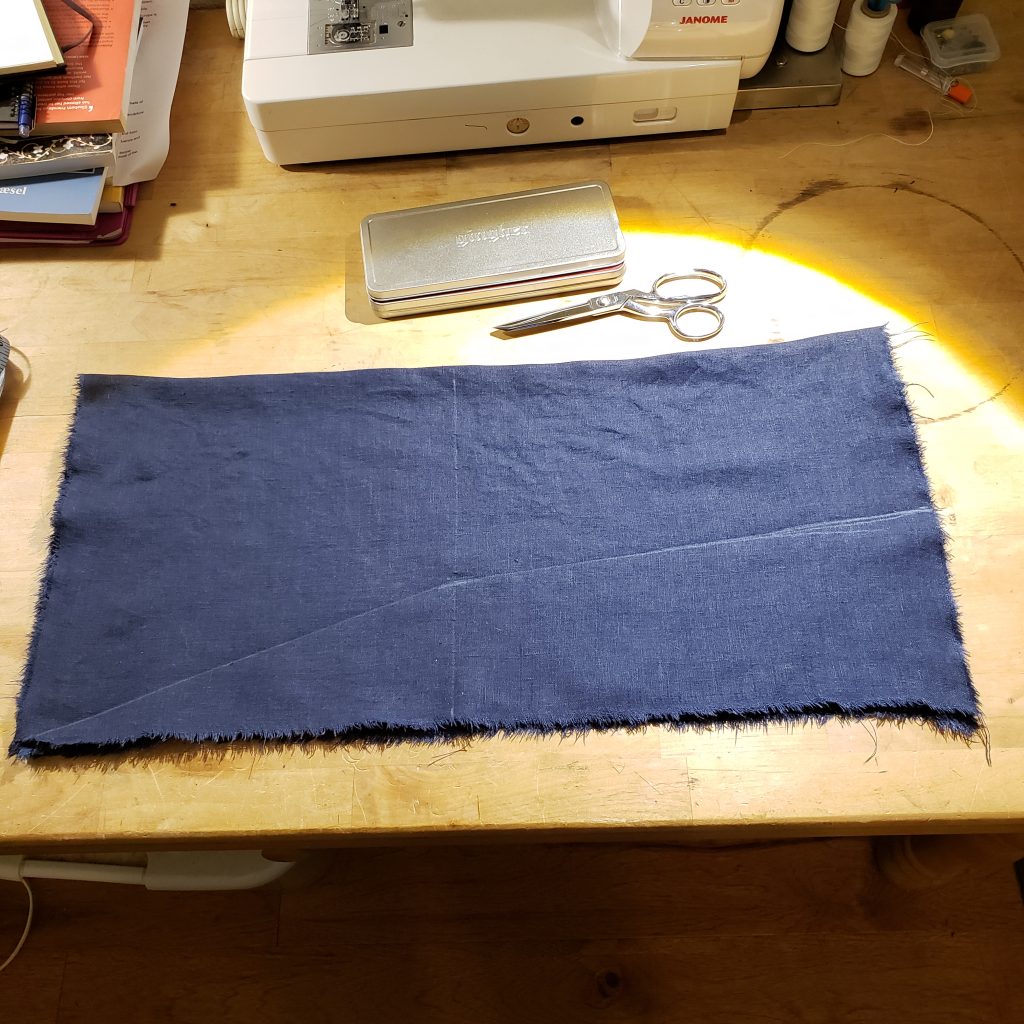
Cut your fabric.
I’m following my updated Kragelund tunic pattern for Fearghus which I posted (and then updated) here**:
My posted pattern already includes seam allowance for flat-felled seams at 1/4″ offset.
To cut out the pattern I’m using the nip and rip method for cutting the linen***. I cut into the edge of the linen about an inch and then apply pressure to both sides of this cut in order to tear this straight across the fabric. Note, this newly torn edge may need to be ironed.
Be sure to use the same measuring tape/ruler for all of your measurements.
1. Nip and cut about an inch away from the cut edge of the fabric to true up the edge of the fabric. I want to be sure everything is relatively square and the fabric store is not always careful about keeping the edges straight. I’m willing to sacrifice 1-2 inches of fabric from the leading edge to true up the fabric.


2. From your now true edge, measure 94″ (or whatever your pattern requires) along the selvedge and nip and rip there. Save yourself some frustration and take the left over of your fabric (if you have any) and move it off of your work surface and put it away.
3. If you haven’t already ironed your fabric you really should do that now.
4. (optional) Sometimes if the selvedge is especially wide or rough I will trim that off of the body piece. In this case I did not. If the selvedge is rough and wider than my expected seams it can leave a weird wobble along only one side of the body of the garment so normally I will nip/rip just beyond the edge of the selvedge to remove that from what will be the body piece. This is a pure vanity thing. Since I know I’ll be wasting ~1.5 inchs of the fabric anyway I know I have it to spare. In this case it turns out the “Dress Blue” IL019 has a nice selvedge so it was not necessary to trim it off. I’ve included a picture comparing it with the Cobalt blue which I would trim.
5. At the narrow end of my fabric I will measure down 32″ for the width of the body piece and then nip/tear this across the fabric to create my body piece. Take the body of your garment and move it off of your main work surface (I normally drape it over a nearby chair or ironing board).
6. From the remaining fabric, measure 26″ down on a short side and nip and rip the sleeves/gores rectangle. If you removed the selvedge from the body piece this rip may not be necessary/possible. In that case it’s okay to leave the selvedge on these pieces.
7. From this now 26″ wide rectangle nip and rip two rectangles at 27″ (sleeves) and 2 rectangles at 12.75″ (gore rectangles). Fold the sleeves along their length so you have a 27″ long sleeve and put it with your body piece (the fold is to remind you that these are sleeves). Save yourself some frustration and take the left over of your fabric and move it off of your work surface and put it away.

8. Stack up the two gore rectangles. Mark a line from corner to corner and cut the rectangles into 4 equal triangles. These are your gores. Stack the gores with the body of the garment and move the sleeves back to your work surface.
9. Fold each sleeve in half along its length (confirm it’s 27″ long) and stack these on the work surface with the folds lined up. On the end which will be the wrist part of the sleeve, measure down 6.5″ from the fold(the width of the sleeve at the wrist). From the shoulder part of the sleeve, measure 12.5″ along the fold(the elbow). From this mark (taking care to keep the measurement perpendicular), measure down 7.5″ (the width of the sleeve at the elbow). Draw a line from the armpit corner of the sleeve, to the elbow width mark. Draw a line from the elbow width mark to the wrist width mark. Cut this out with fabric scissors taking care to keep the two sleeves stacked so they are both cut out the same way. Stack the sleeves with the gores and move the body of the garment back to the work surface.

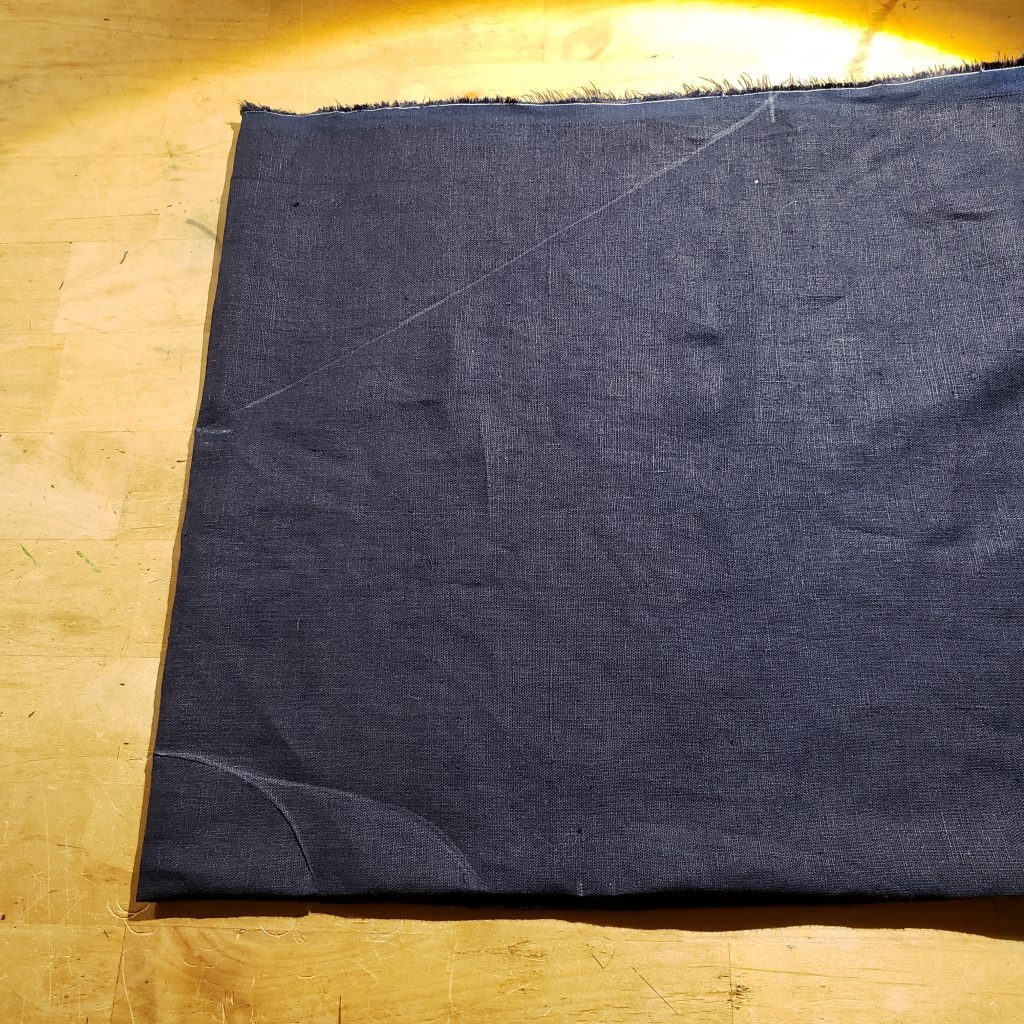


10. Fold the body of the garment in half long way and then side-to-side (yes, the order is important).
11. At the shoulder measure 7 1/4 from the edge along the fold. Also measure down 10 3/4″ starting at the shoulder fold. Cut out this triangle. Note: Actually, on this I’m thinking for the next iteration I will draw the triangle at it’s current location but also draw a line (parallel with the edge of the fabric) 1/2″ inside of the point of the triangle at the shoulder. This should ease the point of the triangle at the shoulder and make it easier to fit the sleeve into there.
Before taking pictures of the process I’d never really looked at how sharp that point is once you unfold the body piece. In thinking about it I’ve had trouble fitting the sleeve onto there but have just kind of muscled through it. I think by adding a bit more fabric there and removing that hard point it will improve the fit of the sleeve and make it easier to sew it together.
Since this one is already cut I’ll have to remember that for the next one.
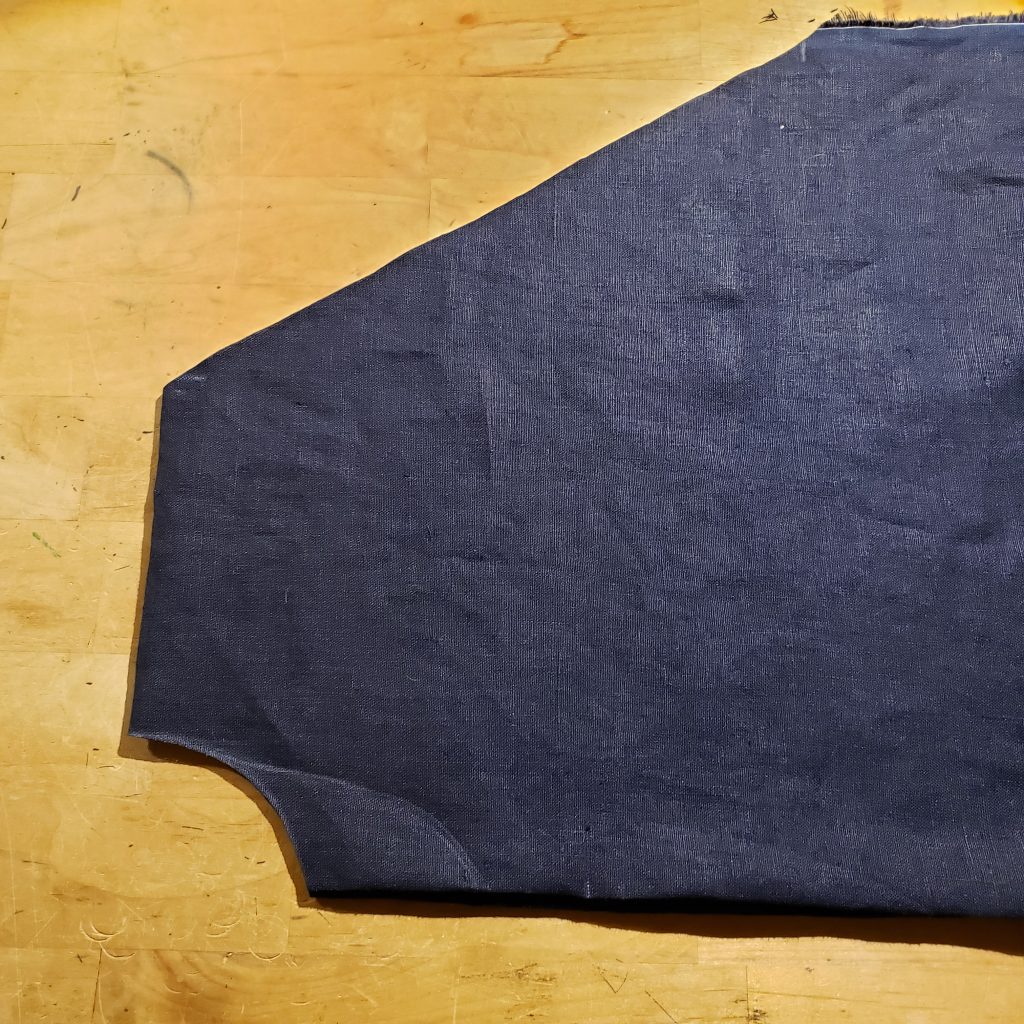
12. From center of the neck corner measure in 2 1/8″ along the shoulder fold and add a mark. From the corner measure down 2 5/8″ and add a mark for the back of the neck. From the corner measure down 5 1/4″ and add a mark for the bottom of the front of the neck opening. From the corner measure down 6 7/8″ and add a mark for the bottom of the slit on the front opening. Draw a circle free-hand to connect the back of the neck mark with the shoulder mark. Draw another circle to connect the front of the neck mark to the shoulder mark. Cut out the back of the neck circle through all layers of fabric. Move the back of the garment out of the way. Cut out the front of the neck circle through only the front layers of fabric. Cut the slit open.
13. Congratulations. You’re all set to start sewing.
** After I posted the initial pattern I had my husband try on the gold tunic which is the newest tunic I’ve made with this pattern. He commented that the tunic as sized originally was okay but he would like a bit more room in the arms and across the back of the shoulders. So V1 was modified to add 1″ overall to the width of the body of the garment and .5″ overall to the size of the top of the sleeve and then the triangle cut out was adjusted to work with 13″ at the top of the sleeve. I also updated the posted pattern to include the 1/2″ change in the shoulder triangle(from #8 above).
*** Since I’ve used fabric-store IL019 linen in the past I know that this fabric will reliably tear straight across the fabric both warpwise and weftwise. Beware that this is not always the case. Because I’m making a tunic all of the measurements are “close-enough”. If it was important that my measurements be exact (as it is for some later period garments) I would instead mark the fabric and cut it with a scissors. Note that this method only works for cuts which go along the grain of the fabric. For any cross-grain cuts I’ll mark the fabric and cut it with my fabric scissors. Note also that tearing this way will distort the edge of the fabric and leave a fringe of threads along the ripped edge. If you are planning to use french seams (or are especially concerned about this fringe) you can go back and clean this up with scissors. I don’t normally bother.
Next: Construct your tunic


1 thought on “Tunic Sew Along: Cut your fabric”