Saturday was about German-ating. I started the day with a nice fitting single layer of linen bodice mockup pattern and end the day with a mostly complete bodice.
- I clipped my seams on my mockup to 1/4 inch. Then I seam ripped my mockup apart.
- Using these pieces I cut two copies in linen and 1 in wool. Then I sewed these together along the front openings and then flipped the wool to the back so that there was a finished edge along the front opening and neck.
- I then sewed the front and back shoulder straps together. I think I’ll need to make a picture to describe how that works.. but anyway It ends up with all the raw edges enclosed.
- Then I sewed all around the raw edges of the bodice so that all three cloth pieces would move together and I could treat each of the bodice patterns as a single piece of cloth.
- Then I sewed the side seams. The raw edges are going to be on the inside. Initially I’ll jsut leave them raw in case I need to adjust the fitting. In the long term I expect I’ll bind them.
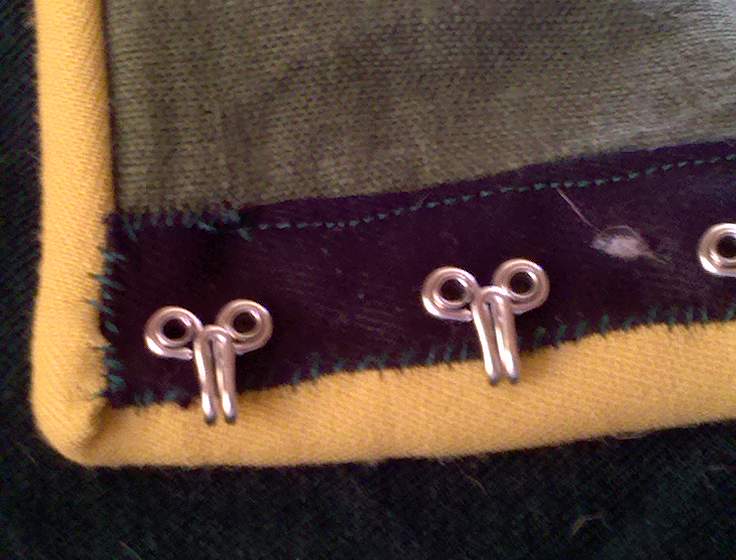
- Then I added the hook/eye tape along the front edge. The hook and eye barely line up with the front edge.. in fact from the outside I couldn’t even see the hooks/eyes. I don’t want to end up with gap-osis so they hook/eye is set a little bit back from the front opening.
- The guards are yellow wool (the same stuff I used for the yellow cote in fact). They’re doubled over and were originally cut at 6″ wide (when they wrap around the front of the dress the final guard is ~2 1/4 inches wide. which is narrower than I wanted originally.. but ok).
- Then I did the first seam for the guards. Because the hook/eye tape was only attached on the edge AWAY from the opening I was able to flip the hook/eye tape back and line the raw edges of the guards up with the front opening of the bodice. I think I used a separate piece of fabric for each straight edge and added a new one at each 90 degree turn. I overlapped the heck out of them so that after the guards were flipped they’d overlap enough to make a nice mitered corner.
- Then I flipped the guards around, pinned the snot out of them.
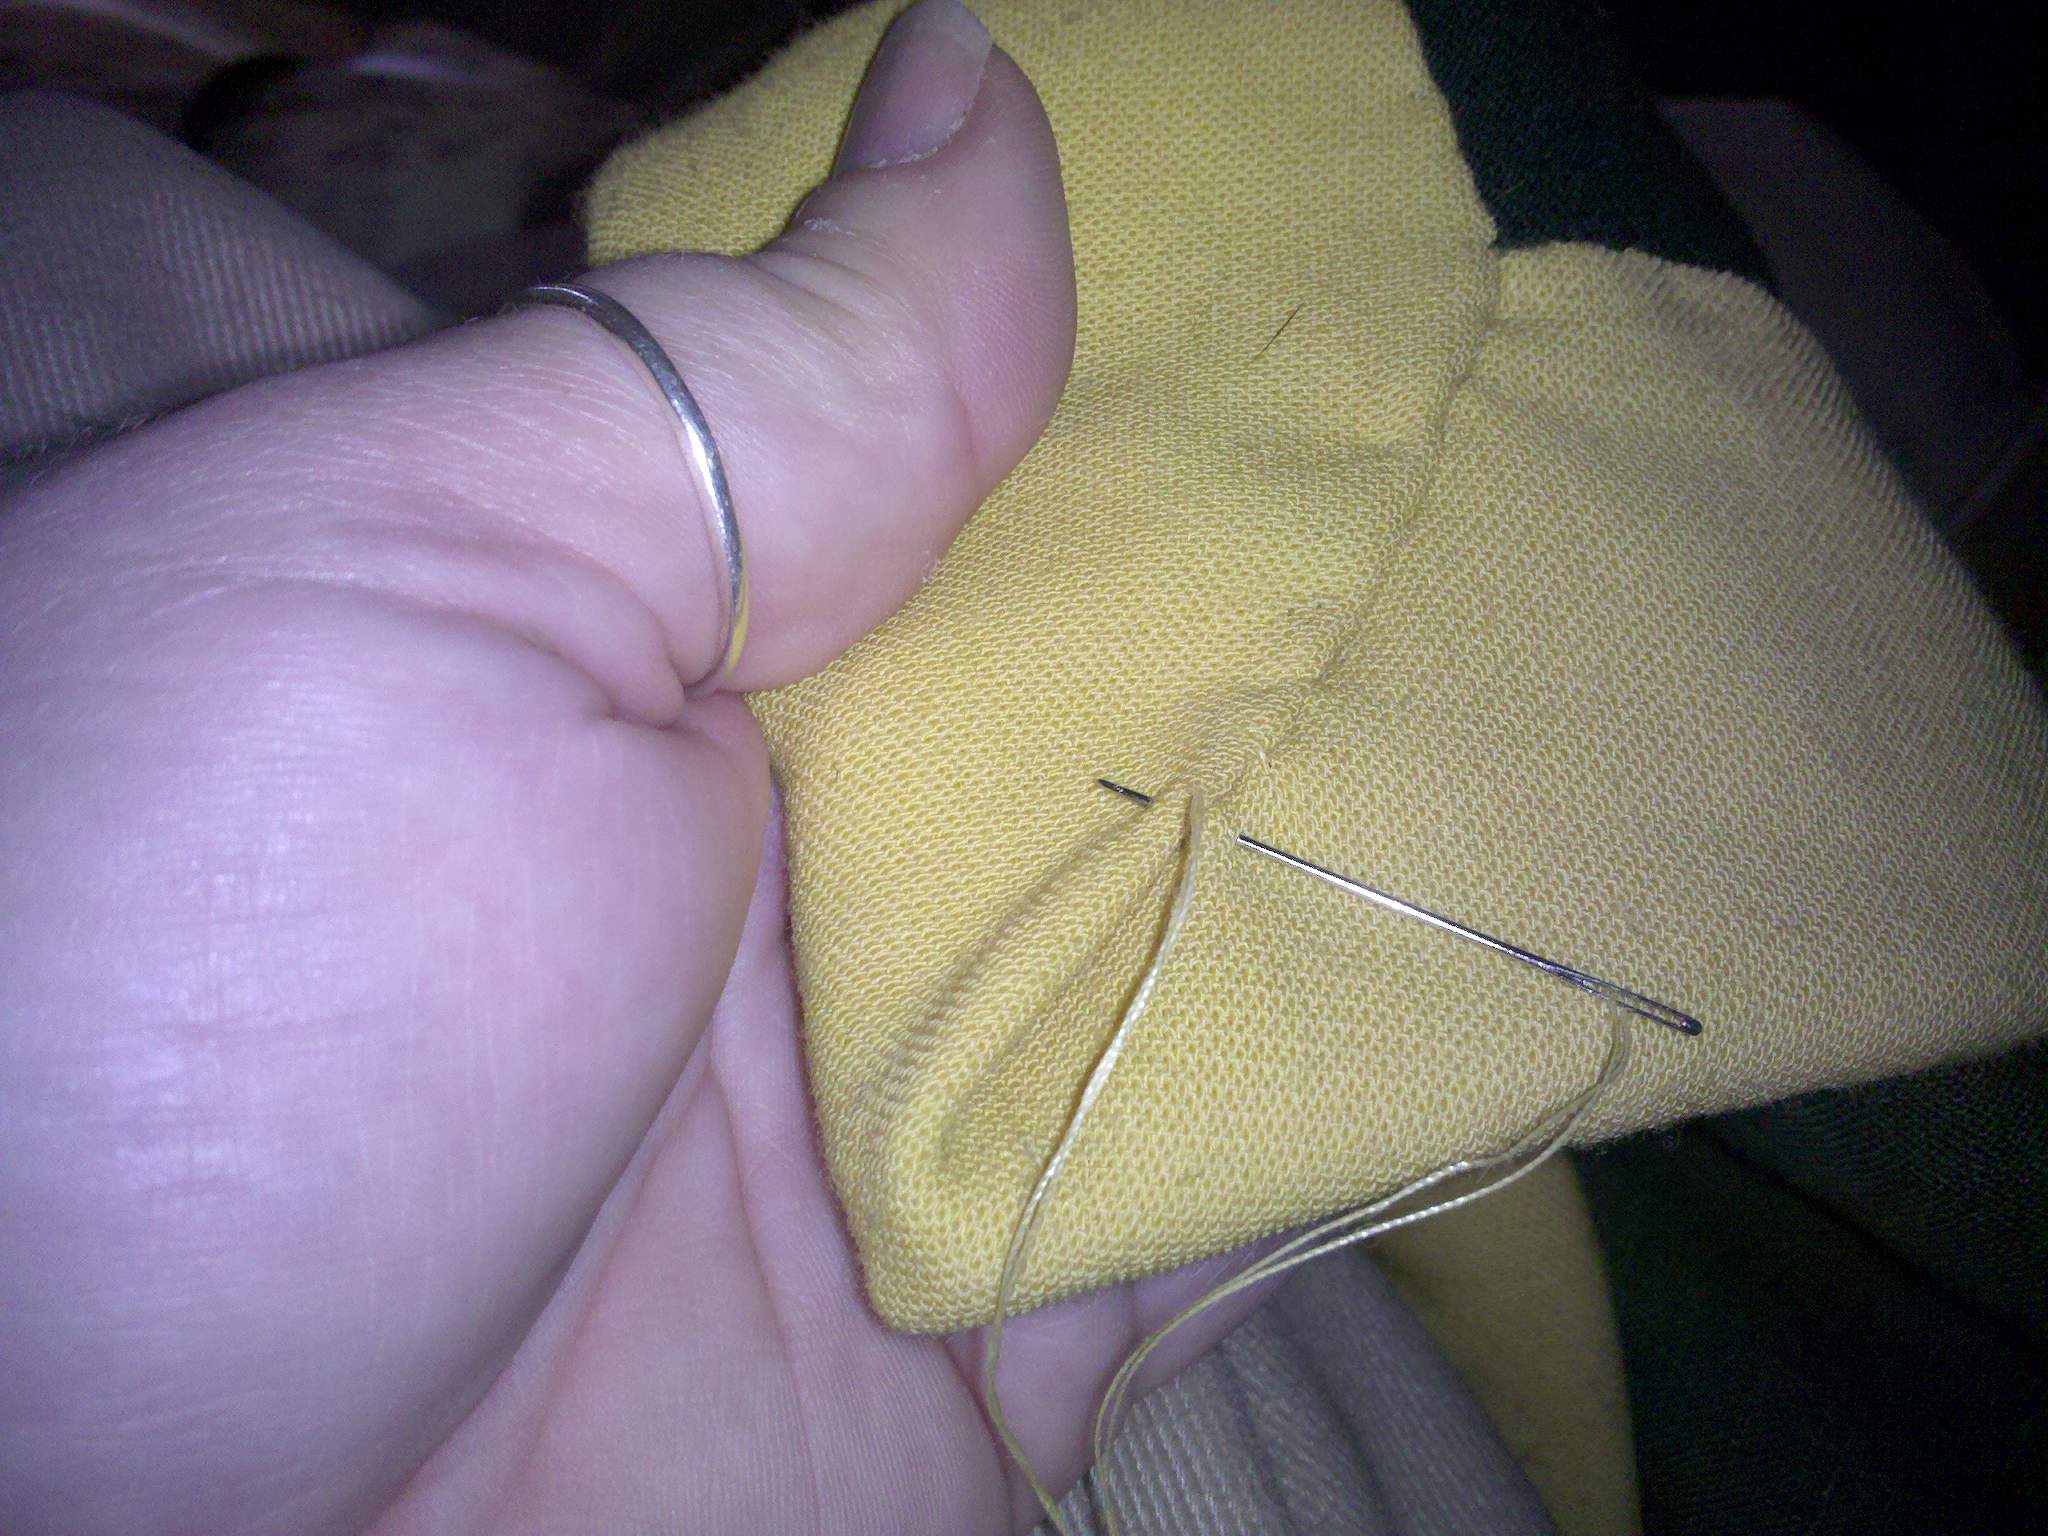
- Then sewed down the guards with what I learned as an “applique” stitch. I think it’s the same as a hidden hem stitch.
- Then I hand whip stitched the inner edge of the hook/eye tape to the inside of the guards.
- Then I sewed down the miter at each corner.
I’ve got one miter corner to go.
I decided to attach the guards plain. I may leave it that way.. or I may go back and slash them. Kind of undecided about that.. but I just wanted to get them done and not futz with the slashing right now. I -think- it will be relatively easy to do them on the bodice if I decide I want the slashing.


Since my pattern was a single layer of linen and my final is 3 layers of fabric I totally forgot to add seam allowance along the front edge (where the hook/eye are located). I also ended up using a 3/8″ seams on the sides… so overall the new bodice is a scotch smaller than the pattern. I’m hoping it will be ok. I’ve tried it on and it is tighter.. but not horribly so.
I also forgot to add seam allowance to the shoulder straps.. so these are thinner on the final than they were on the mockup.
Also, if the fabric inside the guard gets all smooshy I may need to run a tacking stitch down along the inside of the guard. I’ll have to wait and see how it behaves first.
Next up, gathering the skirts onto a band.